

Wix Bookings: Creating Discount Coupons with Automations
4 min
In this article
- Step 2 | Choose a trigger
- Step 3 | Add a coupon
- Step 4 | Activate the automation
- FAQs
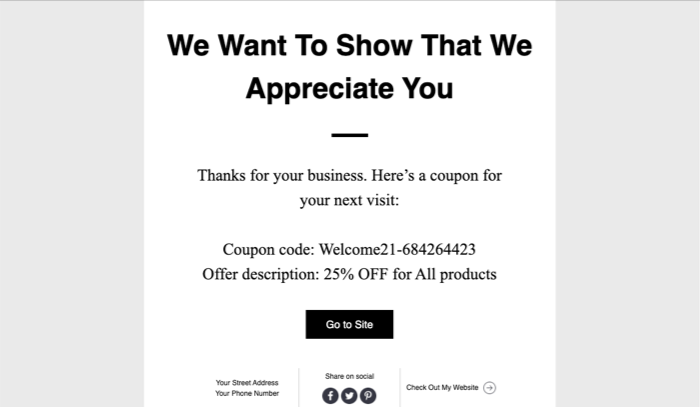
Use Wix Automations to automatically send coupons to clients after specific actions, like booking a session or canceling one. This helps retain clients, reward loyalty, and encourage repeat business.
Step 1 | Create a new automation
Create custom automations from the Automations tab in your dashboard. Add a name so you and your team can easily identify it.
To create a new automation:
- Go to Automations in your site's dashboard.
- Click + New Automation at the top right.
- Choose how to start creating your automation:
- From scratch: Click Start from Scratch to begin from a blank automation template.
- Suggested automation: Use the categories or search bar to find the suggested automation you want to edit. Then click Set Up next to the automation.
- Enter a title for your automation.
Step 2 | Choose a trigger
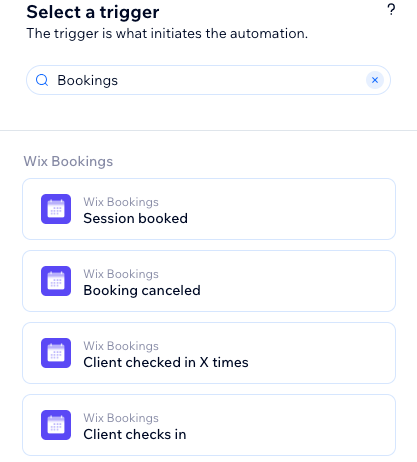
The trigger is a specific action your clients take on your site, such as checking in for a session, that activates the automation. Select a Bookings trigger for example, a client cancels a session or a client checks in to a session.
To choose a trigger:
- Enter Bookings in the search bar under Select a trigger.
- Select the relevant trigger:
- Sessions booked: Encourage clients to return for another session.
- Booking canceled: Retain clients following a cancellation.
- Client checked in 'X' times: Motivate clients to book more sessions.
- Client checks in: Engage clients to try your newest services.
- Client was last checked in a while ago: Offer discounts to clients who haven’t visited recently.
- Session starts: Encourage repeat business while clients are enjoying your services.
- Session ends: Make it easier for clients to book their next session.
- Appointment or class updated: Apologize for any inconvenience caused by changes with a coupon.
- Course updated: Encourage re-enrollment or continued attendance by offering a discount.
- Appointment request approved: Reward new bookings with a coupon and encourage future business.
- Appointment request declined: Send a goodwill gesture with a coupon after a declined request.
- Clients marked as "no-show": Follow up with clients who missed their appointments.
- Appointment requested: Reward new clients for booking their first session.
Step 3 | Add a coupon
Send discounts automatically using the coupon functionality. Adding a coupon alone doesn’t send it to your clients. You need to attach the coupon to a specific action, such as sending it in an email or an SMS notification, and include it as a dynamic value.
To add a coupon:
- Click + to add a step.
- Click Action.
- Click Add a coupon.
- Select whether to send a unique coupon or a fixed coupon each time in the Select the type of coupon code section.
- Click the + Select under Select a coupon to choose an existing coupon or click + Create New to make a new coupon by following the on-screen instructions.
- Add an action
- Click Apply.
Step 4 | Activate the automation
Click Activate at the top right is you're ready to turn on the coupon automation. You can click Save to save the automation as a draft if you're not ready to activate it yet. After saving or publishing, the automation now appears on your Automations page where you can monitor, edit, deactivate, or delete according to your needs.
Tip:
Learn more about using Wix Automations to streamline your business.
FAQs
Click a question below to learn more about creating coupons with automations.
What happens if a coupon reaches its use limit or expires?
What’s the difference between unique and fixed coupon codes?
How do I monitor the performance of my coupon automation?
Can I restrict coupon usage to specific services or bookings?
Can I use a single coupon across multiple automations?
Can I create a large number of coupon codes at once?
