

CMS: Adding a Preset Collection and Dynamic Pages
3 min
A CMS (Content Management System) preset acts as a template for creating dynamic pages that connect to CMS collections.
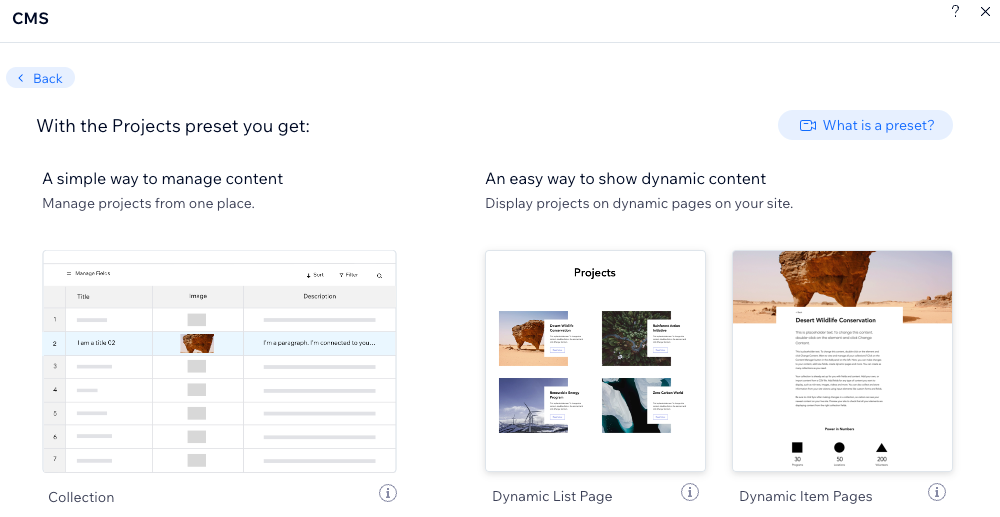
Each preset includes:
- A sample collection with content that connects to your dynamic pages.
- A dynamic list page that showcases the collection items in a repeater or gallery.
- A dynamic item page that displays details about individual collection items.
You can choose from several customizable presets. When you add a preset, the dynamic pages and their connected collection are automatically added to your editor. You can then customize them to fit your needs.
Wix Editor
Studio Editor
- Go to your editor.
- Click CMS
 on the left side of the editor.
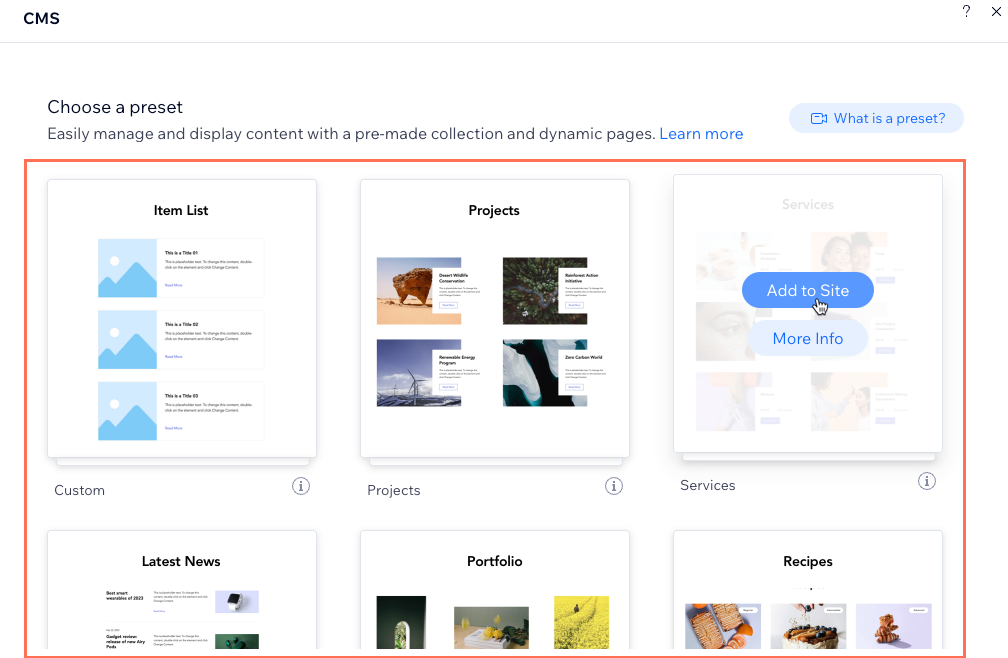
 - Click Add a Preset.

- Hover over the preset that you want to add and click Add to Site.
Tip: The Portfolio preset has a dynamic list page with a Pro Gallery that connects to the collection. The dynamic list page with all the other presets includes a repeater with attached elements that connect to the collection.
Next:
- Learn how to manage CMS collections.
- Learn how to design dynamic pages.
- Learn how to connect elements on your page to datasets to display collection content.
