

CMS: Adding and Setting Up Rich Text Fields
12 min
In this article
- Adding the 'Rich Text' field type in your collection
- Formatting your 'Rich Text' field content
- Displaying 'Rich Text' field content on your site
- Using the rich text input element to collect content from site visitors
The 'Rich Text' field allows you to store formatted text for items in your CMS (Content Management System) collection. Your site's font style is used in the Rich Text editor and when the field is displayed on your site. This allows you to keep a consistent look between your site's heading and paragraph style and your rich text content.
You can use the field to store content that you want to display on your site. For example, showing details about an item in its dynamic item page version, or showing details about several items in a repeater on a dynamic list page.
You can also use the 'Rich Text' field to store formatted text that visitors submit through a rich text input element on a custom CMS form.
Tip:
This 'Rich Text' field allows you to apply custom formatting to text that is stored in your collection. Use the 'Rich Content' field and element instead, if you would like to combine formatted text with media, files, HTML code, Wix business solutions and more.
Adding the 'Rich Text' field type in your collection
Choose the 'Rich Text' field type when creating a new field in your collection. If you plan to show the text on your site, use the Rich Text editor in your collection to add and format the text for the relevant items. If you plan to collect visitor submissions in the 'Rich Text' field, you can leave the field blank and set up a custom form using the rich text element.
To add a 'Rich Text' field to your collection:
- Go to CMS in your site's dashboard. Alternatively, you can click CMS
 in your editor, then click Your Collections.
 - Click the relevant collection.
- Click Manage Fields.
- Click + Add Field.
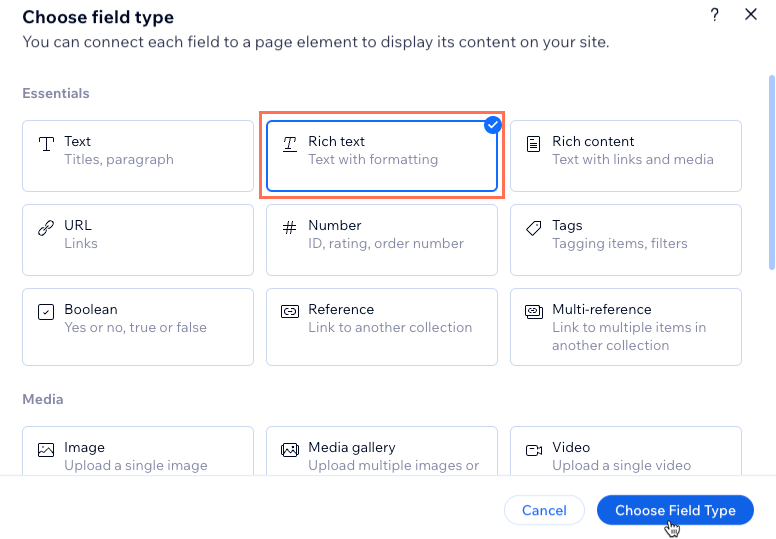
- Select Rich text and click Choose Field Type.
- Enter a name in the Field name field.
- (Velo only) Update the Field ID, which is used in the site's code. You cannot update this ID later.
- (Optional) Enter Help text if you want a tooltip to appear in your collection next to the field title.
- Click Save.
- Choose what you want to do:
Display your 'Rich Text' field content on your site

 to edit the text in a larger window.
Save visitor inputs to your 'Rich Text' field.
Formatting your 'Rich Text' field content
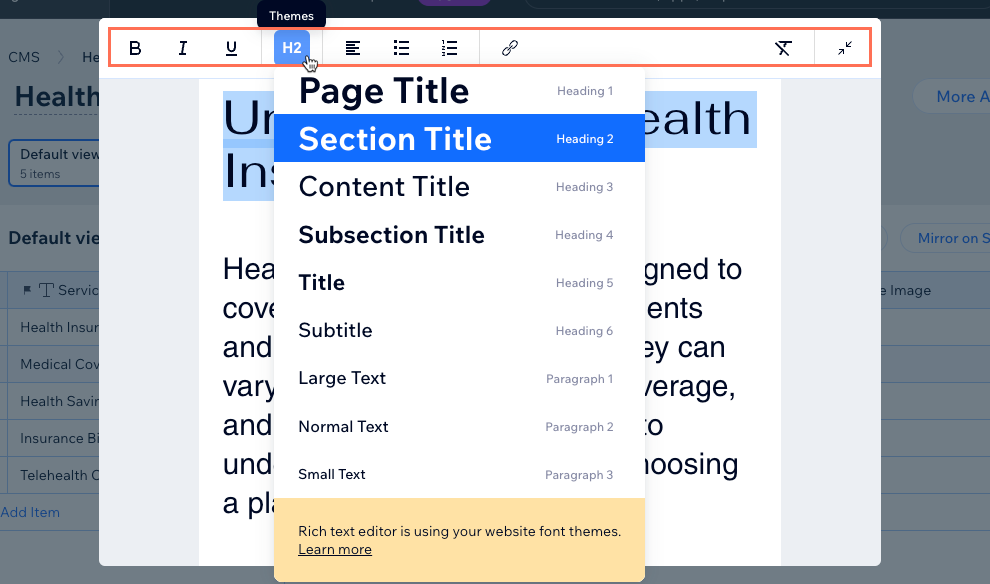
When editing your 'Rich Text' field from your collection, select from the options at the top to format your text. The Rich Text editor uses the same font theme that your site uses. Update your site's text theme from the Wix Editor or the Studio Editor to adjust the heading and paragraph styles used by your entire site and the Rich Text editor. In your site's text theme, you can also adjust the line and character spacing.
Learn how to update your site's text theme:
Displaying 'Rich Text' field content on your site
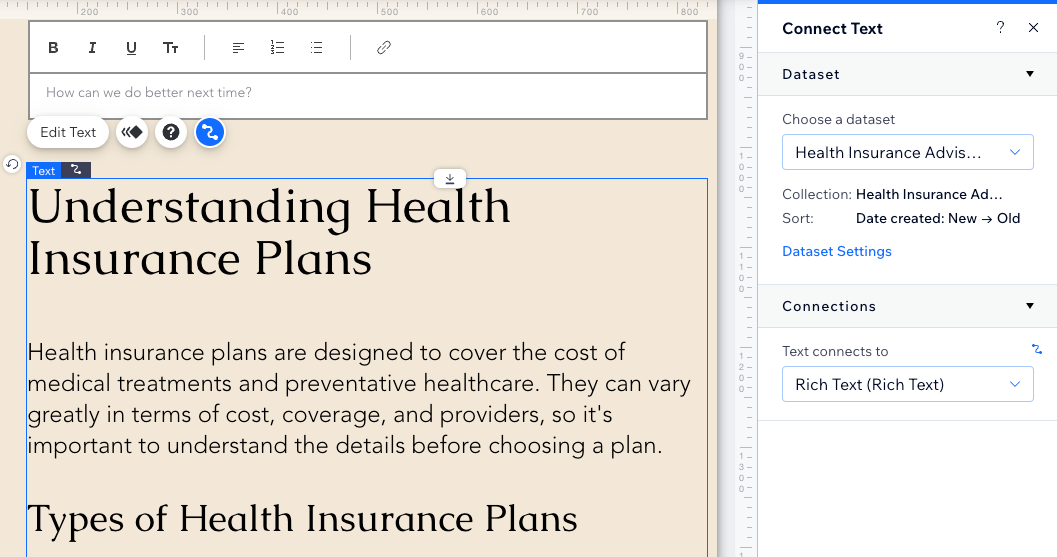
Add a text element to your page and connect it to a dataset that binds to your collection. Then choose your 'Rich Text' field in the dataset connection.
Wix Editor
Studio Editor
- Go to your editor.
- Go to the page in which you want to display the 'Rich Text' field contents.
- Add a text element to the page:
- Click Add Elements
 on the left side of the editor.
 - Click Text then drag the relevant text element onto your page.
- Click Add Elements
- Click the Connect to CMS icon
 on the text element.
 - Click the Choose a dataset drop-down and select an existing dataset that connects to the collection that includes your 'Rich Text' field. Alternatively, click Add a Dataset, then choose the collection that includes your 'Rich Text' field, give the dataset a name and click Create.
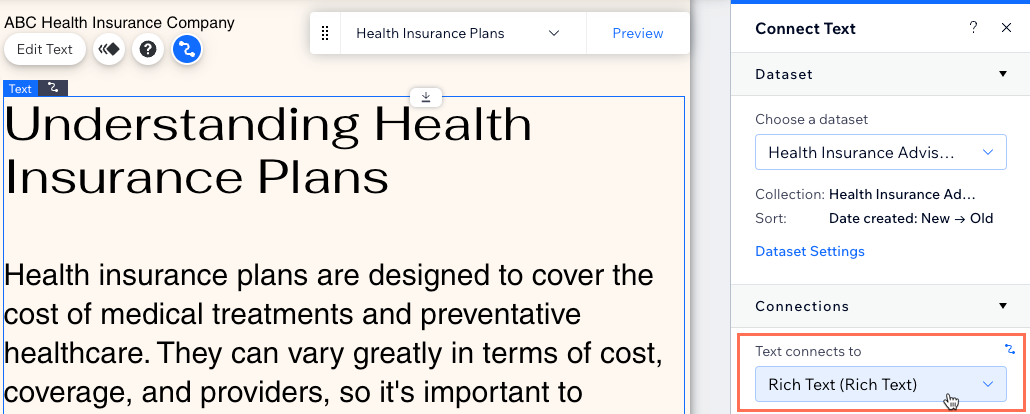
- Click the Text connects to drop-down in the Connect Text panel and select the Rich Text field you created.
Using the rich text input element to collect content from site visitors
Create a custom form that uses the rich text input element to submit formatted text to your 'Rich Text' collection field. If you want to collect different types of input from visitors, you can add other input elements to your form.
Wix Editor
Studio Editor
- Go to your editor.
- Add the rich text input element:
- Go to the page or section where you want visitors to submit text to your collection.
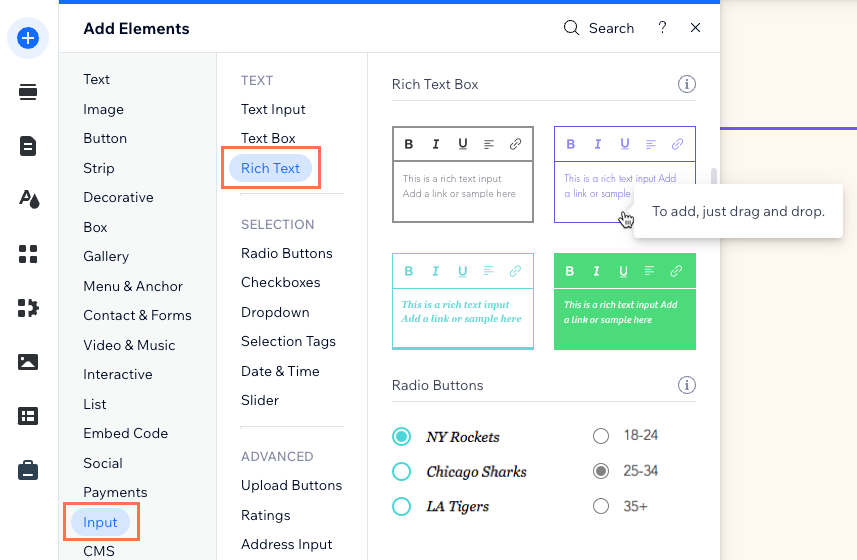
- Click Add Elements on the left side of the editor.
- Click Input.
- Click Rich Text.
- Click and drag the relevant rich text box onto the page.
- Connect the rich text element to the CMS collection where you will store the submissions:
- Click the Connect to CMS icon on the rich text element.
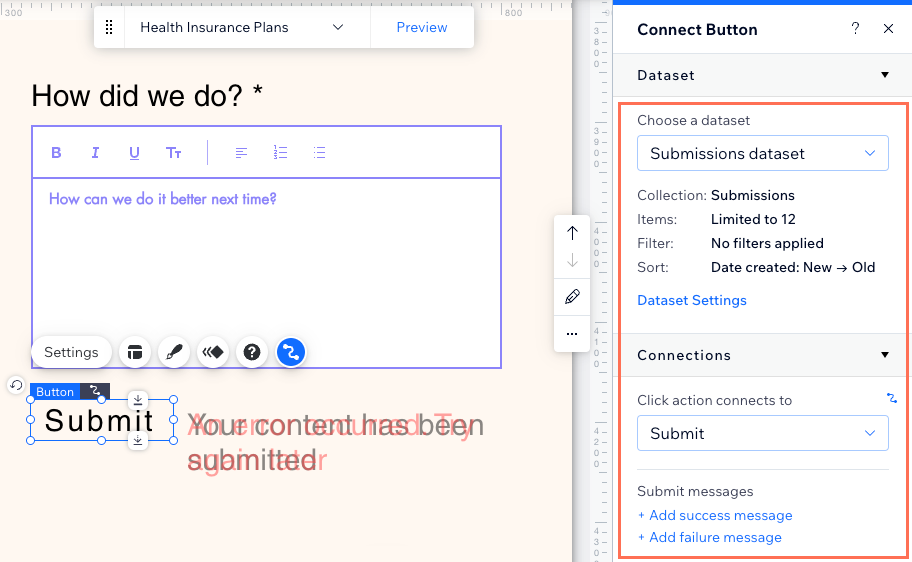
- Click the Choose a dataset drop-down and select an existing dataset that connects to a collection where you will save visitor submissions in a 'Rich Text' field. Alternatively, click Add a Dataset, then choose a collection where you will save visitor submissions in a 'Rich Text' field. Give the dataset a name and click Create.
- Click the Value connects to drop-down and choose the 'Rich Text' field in which you will store the submissions.
Tip: To add a new field for storing submissions, select + Add, then enter the field name and click Add.
- Click the Connect to CMS icon
- Click the permission type next to Permissions to determine who can view, add, update, or delete the collection's content.
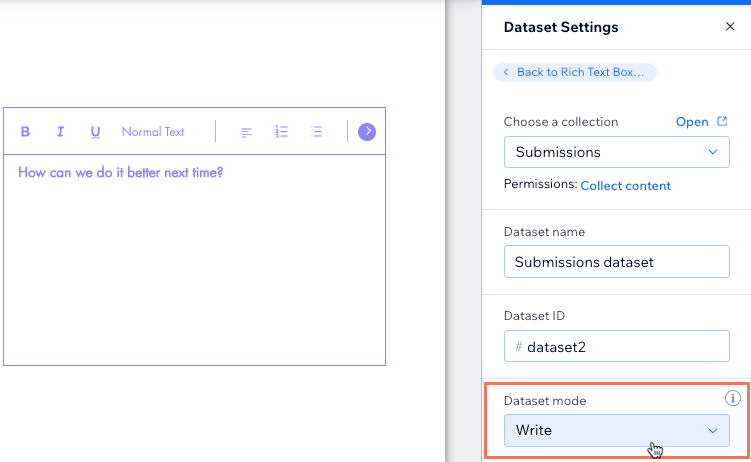
- Set the dataset mode:
- Click Dataset Settings.
- Click the Dataset mode drop-down and select the relevant option:
- Write: Connected elements cannot display content from the collection. Visitors can interact with user input elements and a submit button to add content as new items in the collection.
Note: This mode is not available in dynamic page datasets. - Read & Write: Connected elements can display content from your collection. Input elements can add or edit content in your collection.
- Write: Connected elements cannot display content from the collection. Visitors can interact with user input elements and a submit button to add content as new items in the collection.
- Click the rich text input element and customize it:
- Click Settings to edit the following:
- Field title: Enter a title that appears above the input element.
- Show initial text: Choose the initial text that displays.
- Field type: (Optional) Select the relevant options:
- Required: Make it mandatory that visitors enter a value in the box before submitting.
- Read only: Set the element to display content only. Visitors cannot edit the values but they can copy them
- Allow links: Enable the toggle to allow visitors to submit links in the element.
- Set character limit: Enable the toggle to limit visitor submissions to a set number of characters then enter the character limit.
- Click the Layout icon
 to set the text alignment, indentation, spacing, margin and toolbar position.
 - Click the Design icon
 to choose a preset design and customize it further.
- Click Settings to edit the following:
- Add a 'Submit' button for visitors to click to submit once they're done entering the text they want to submit. You can add other buttons for editing by connecting buttons to dataset click actions.
- Click Preview to test your rich text input element.
- Click Publish if you are ready to make the changes go live.
