Wix Mobile Apps: Tips for Customizing Your Native Mobile App for Your Business
5 min
In this article
- Customizing your app for:
- An online store
- Bookings & services
- A restaurant
- Events
- Communities
- Adding custom widgets
Build a native mobile app tailored to your business. Whether you run a store, restaurant, service, event, or community, customize the content and design to create a seamless, branded experience for your users.

Tip:
Design your launch screen, login screen, app icon, and color theme to reflect your brand.
Learn how to get started with your app.
Learn how to get started with your app.
Customizing your app for:
An online store
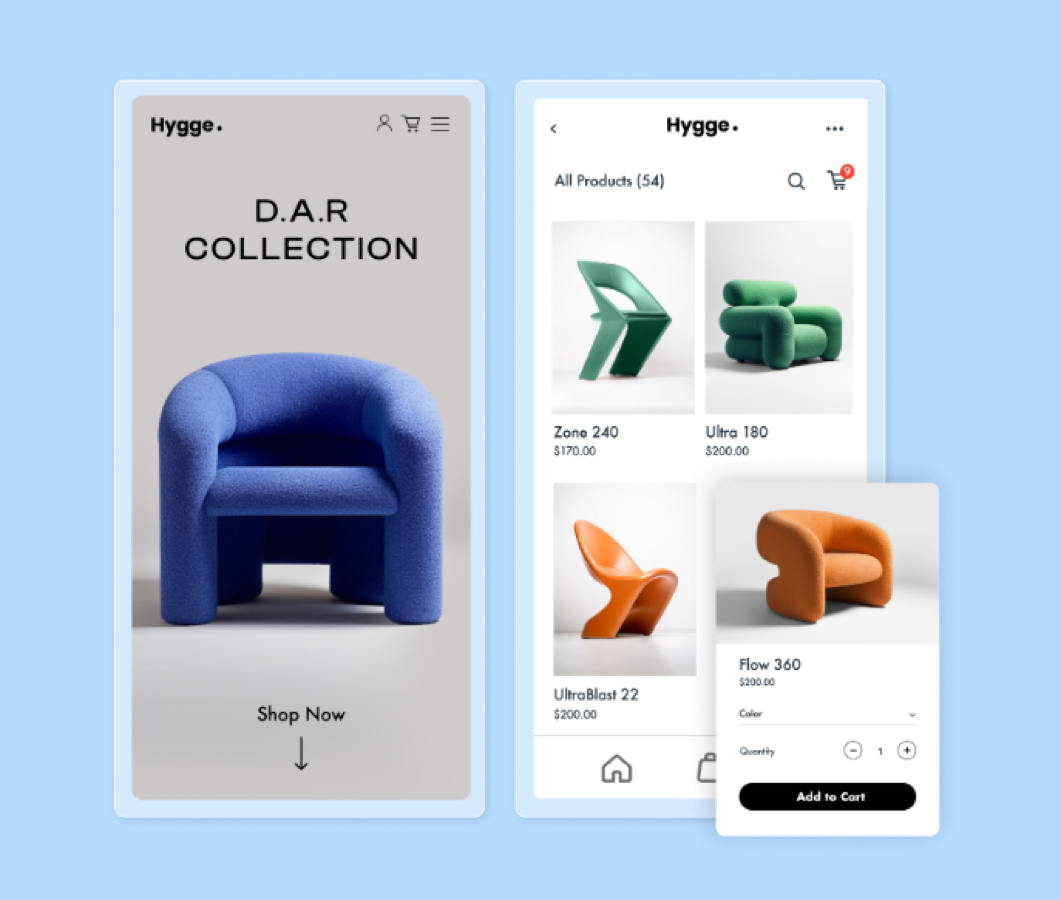
Turn your app into a branded shopping destination. Showcase products using galleries and carousels so customers can browse and buy directly from their phones. Organize your products with categories and filters so shoppers can explore by interest and include a search bar so they can jump straight to what they’re looking for. Let customers save favorites to a wishlist and shop with a quick add-to-cart button directly from the product gallery.
Offer a smooth, on-the-go shopping experience that keeps customers engaged and drives sales, with everything mobile-ready and tailored to your brand.
Tips for store apps:
🛍 Use a product gallery or product carousel to highlight bestsellers or promos.
🛍 Add a video element and upload a video that showcases your products.
🛍 Include an 'Add to Cart' button so customers can shop directly from the gallery.
🛍 Add a product search bar so customers can look for specific products.
🛍 Add a wishlist element so users can save products and view them later.
🛍 Include a quantity selector so customers can add multiple items to their cart at once.
🛍 Add a 'My Cart' icon in the header for a quick checkout process.
Learn more about customizing your app for your online store.
Bookings & services
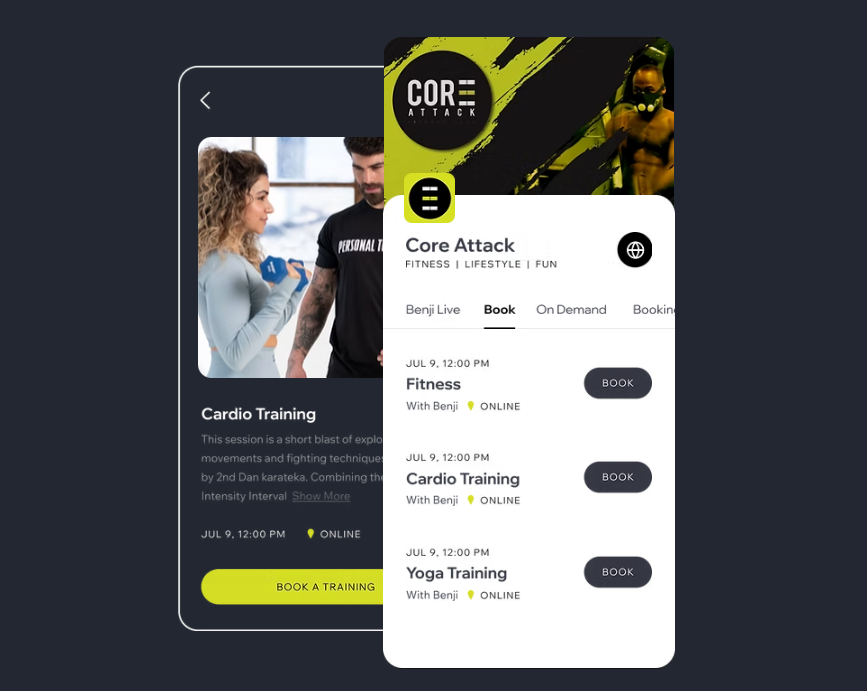
Allow your clients to book appointments, manage their memberships, and stay connected with your services—wherever they are. With built-in tools for bookings, pricing plans, and performance tracking, your app can become a go-to hub for everything you offer. Perfect for fitness studios, personal trainers, spas, beauty salons, and more.
Tips for service apps:
📆 Add services and agenda elements so clients can easily book or explore offerings.
📆 Include a pricing plans tab for quick access to membership options.
📆 Add a performance tracker so clients can track their progress.
📆 Use upcoming bookings to remind users of their upcoming booking.
Learn more about adding elements for your services.
A restaurant
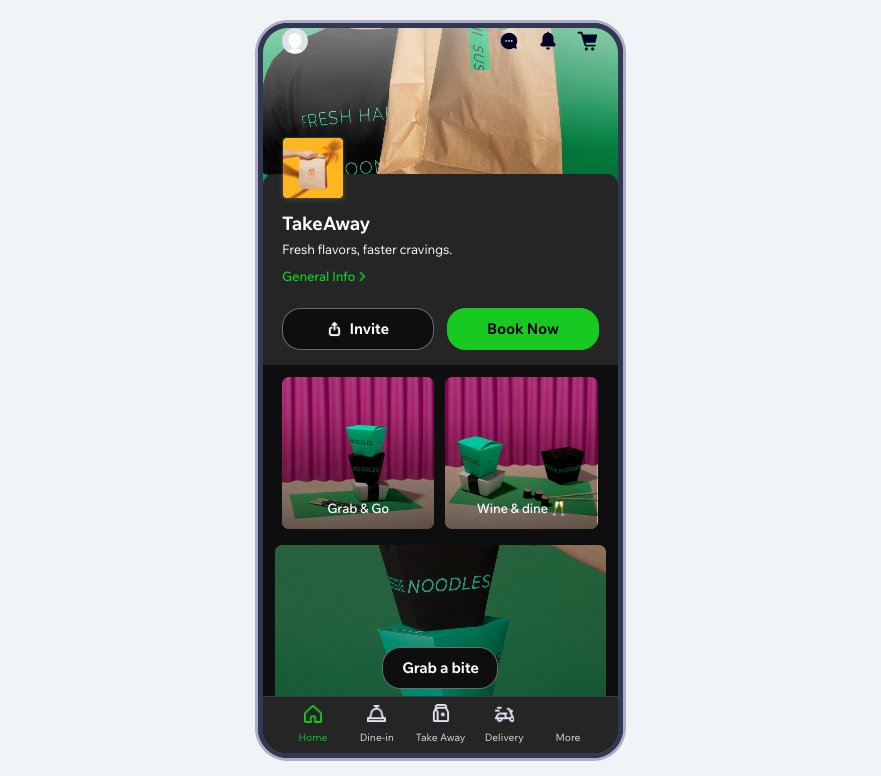
Whether you run a local diner, offer dine-in and catering across multiple locations, or manage a high-end, Michelin-starred restaurant, you can create a mobile experience that captures the essence of your business. Let customers browse your menu, reserve tables, and stay engaged with loyalty perks—all from your native app. Highlight signature dishes with image galleries, build anticipation with featured items, and encourage repeat visits through member-only benefits or rewards.
Tips for restaurant apps:
🍽 Use galleries to showcase your most popular dishes
📅 Add a table reservations element to streamline bookings
🎁 Set up a loyalty program to reward returning customers and build community
📅 Add a table reservations element to streamline bookings
🎁 Set up a loyalty program to reward returning customers and build community
Find out more about customizing your app for your restaurant.
Events
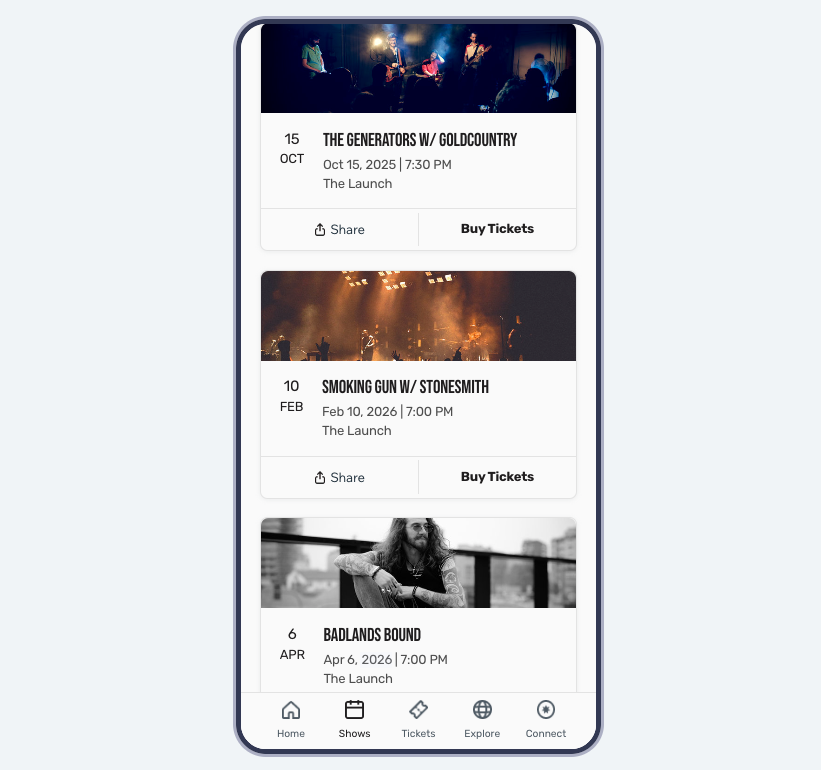
Create an immersive mobile experience that keeps event-goers engaged—before, during, and after your events. Whether you're hosting a one-time event or an ongoing series, your app becomes the central hub for ticket sales, updates, and community connections. Add event listings, schedules, guest lists, and live discussions to build excitement and encourage participation. Let users browse upcoming events, buy tickets, and share them with friends—right from your app.
Tips for event apps:
🎟 Use the events carousel, list, or schedule to share upcoming event details.
🎟 Add event discussion to encourage participation before and after your event.
🎟 Highlight attendees with the event guests element.
🎟 Add event discussion to encourage participation before and after your event.
🎟 Highlight attendees with the event guests element.
🎟 Create an event-specific group for attendees to chat and share media after the event.
Learn more about adding elements for events.
Communities
Build a space where members can connect, share updates, and strengthen their sense of belonging. Whether you’re managing a club, a professional network, or a loyal customer base, your app helps everyone stay connected and in the loop. Add announcements, member lists, forums, and group feeds to make it the heart of your community.
Tips for community apps:
💬 Encourage participation by creating a forum and posting engaging topics.
💬 Send announcements as push notifications to keep users connected and in the loop.
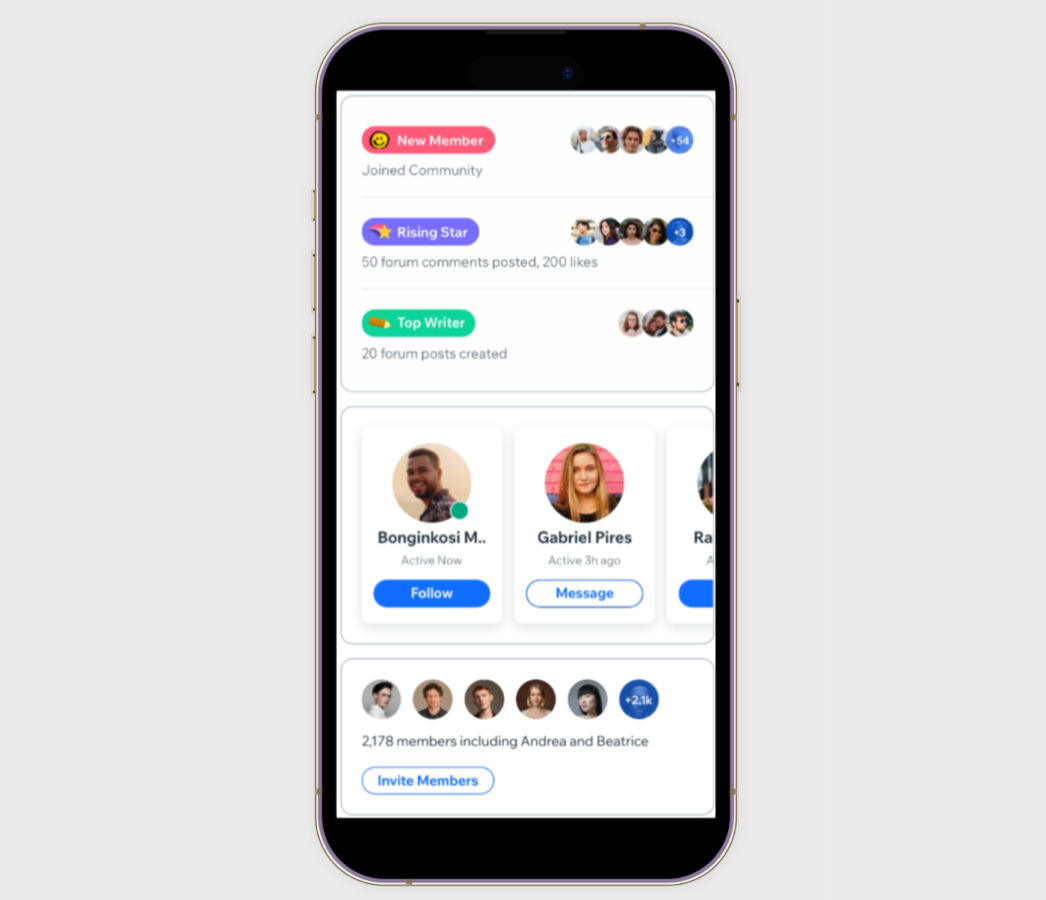
💬 Celebrate users with member badge list.
💬 Add member profile carousel and member profile list where people can follow and message each other.
Adding custom widgets
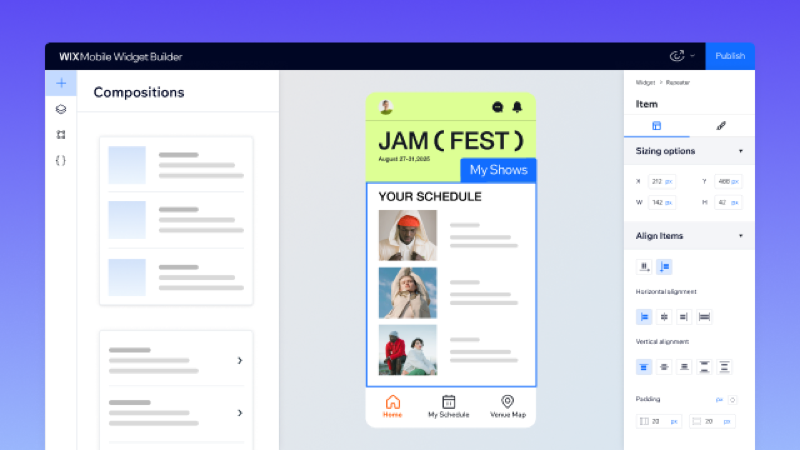
Need more flexibility? Build custom widgets using Wix's cross-platform widget builder for iOS and Android. Create unique interfaces from scratch or enhance your app with Wix solutions. Customize widgets with the drag-and-drop editor, connect dynamic content via Wix CMS, and add advanced functionality using JavaScript and Velo by Wix.
Custom widgets are great for personalized experiences—like event countdowns, seasonal banners, player stats and league standings, and more.
Important:
Currently, you can only build custom widgets for your native mobile app if your site is built with the Studio Editor. Learn more about getting started with custom widgets.
What's next? Keep users engaged and grow your reach with these features:
📲 Use a WebView element to embed content from websites
🛎 Send push notifications to engage with your audience
🔐 Set custom permissions to control what users can access
👤 Enable visitor mode to attract more users without sign-up
🎯 Promote your mobile app to reach your target audience
🛎 Send push notifications to engage with your audience
🔐 Set custom permissions to control what users can access
👤 Enable visitor mode to attract more users without sign-up
🎯 Promote your mobile app to reach your target audience


