

Creating a Sale Price Coupon
5 min
In this article
- Creating a sale price coupon
- Video tutorial
- FAQs
Important:
Sale price coupons can only be used with Wix Stores.
Encourage customers to make purchases by offering a sale price coupon (e.g. all posters are now $20).

Creating a sale price coupon
Offer customers some or all of your items at a sale price and choose dates to set when the offer is valid.
Dashboard
Wix app
- Go to Coupons in your site's dashboard.
- Click + New Coupon.
- Select Sale price.
- Enter the Coupon code customers need to enter.
- Enter the Coupon name.
Note: This name is for internal use only. Customers won’t see it. - Enter the sale price under Now Only.
- Select an option from the Apply to drop-down:
- All products: Applies to all products (customer can apply it to multiple products).
- Specific product: Applies to one product. Click the Product drop-down and select the product.
- Specific category: Applies to all products in a category (customer can apply it to multiple products). Click the Category drop-down and select the category.
- (Optional) Select the Include subscriptions checkbox to apply this coupon to store subscriptions.
Note: The discount applies to every billing cycle (e.g. every month of a monthly subscription). Make sure the coupon value is not greater than the subscription price. - Set when the coupon is valid:
- Enter the start date.
- Enter the end date or select the Don't set an end date checkbox.
- (Optional) Set coupon limitations:
- Limit the total number of uses for this coupon: Enter the total number of times it can be used.
Tip: Multiple purchases by the same customer count separately. - Limit to one use per customer: Each customer can use the coupon only once.
- Limit the total number of uses for this coupon: Enter the total number of times it can be used.
- Click Create Coupon.
Video tutorial
Watch the video tutorial, or scroll down to read FAQs.
FAQs
Click a question below to learn more about coupons.
What happens if the discount is more than the item price?
Can I temporarily deactivate a coupon?
 next to the coupon and select the relevant option.
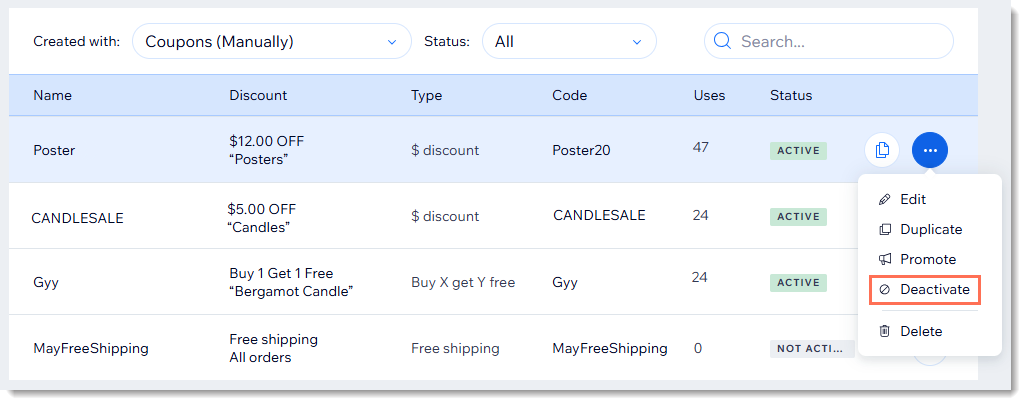
Are coupon codes case sensitive?
Why isn't the promo code visible on the cart page?
Can I offer discounts without coupon codes?
For purchases with the manual payment method, when does the available coupon count update?
Can I create a coupon with unique codes for each use?
How can I promote or share my coupon?
 next to the relevant coupon.
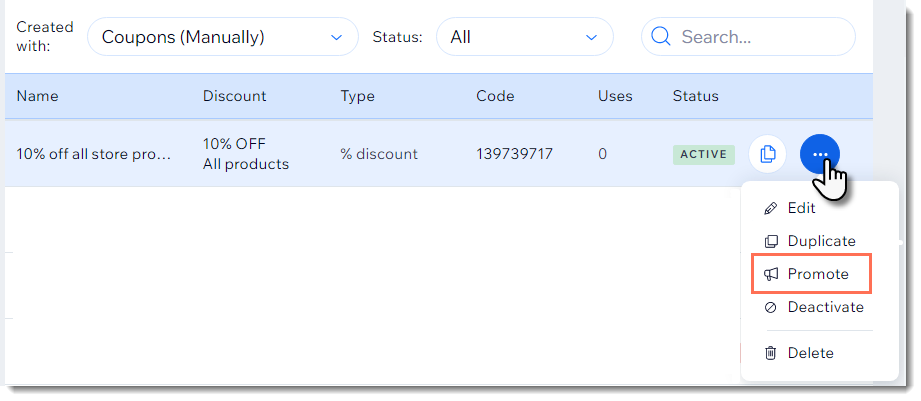
How can I apply a coupon to a group of store products?
How are coupons applied to store product subscriptions?
