

Wix Inbox: Managing Your Inbox Settings
4 min
In this article
- Customizing your email template
- Inviting inbox collaborators
- FAQs
Wix Inbox helps you personalize your business communications and control team access to your messages. Customize email details to match your brand, such as your sender identity and email signature, and set permissions so your team can work together smoothly.
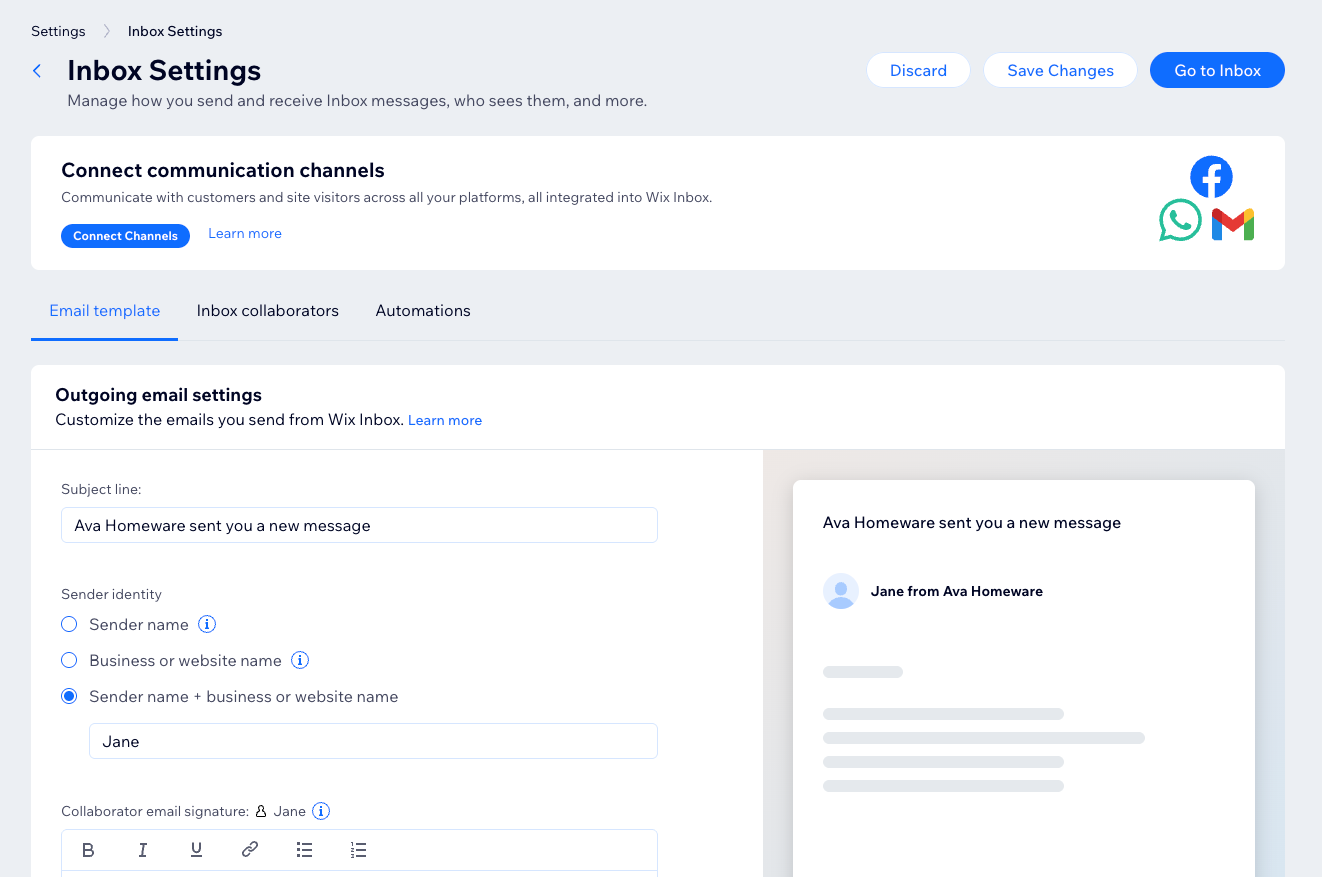
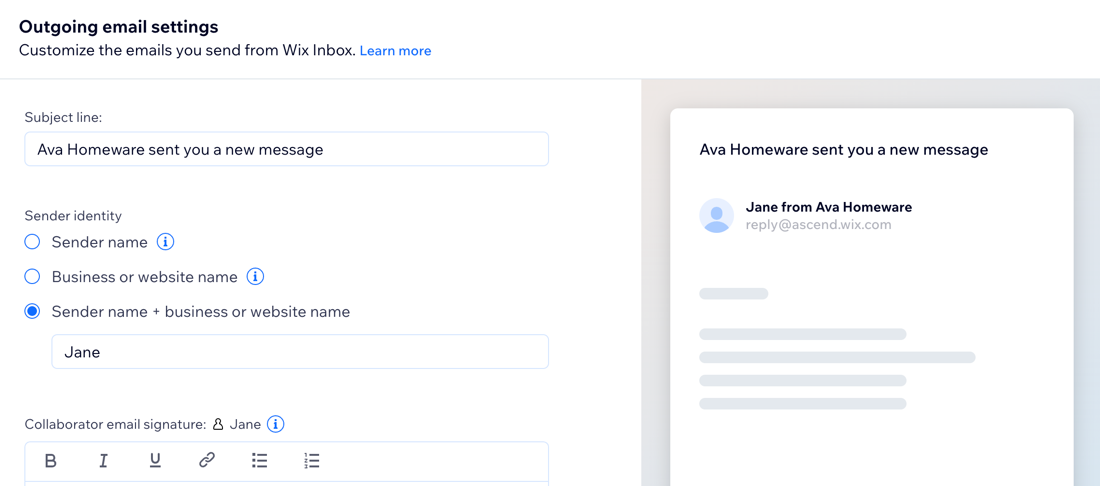
Customizing your email template
Personalize your outgoing emails by editing the subject line, sender identity, and your individual email signature. These settings help you maintain a consistent, professional image when communicating with your customers.
Tip:
These settings apply to to emails you write on your own, and not to automated emails sent by Wix.
To customize your email template:
- Go to Inbox in your site's dashboard.
- Click the Settings drop-down at the top right.
- Select Inbox Settings.
- Choose what you want to customize:
Subject line
Sender identity
Collaborator email signature
5. Click Save Changes at the top right.
Tip:
Use the email preview on the right to check how your email will look to recipients.
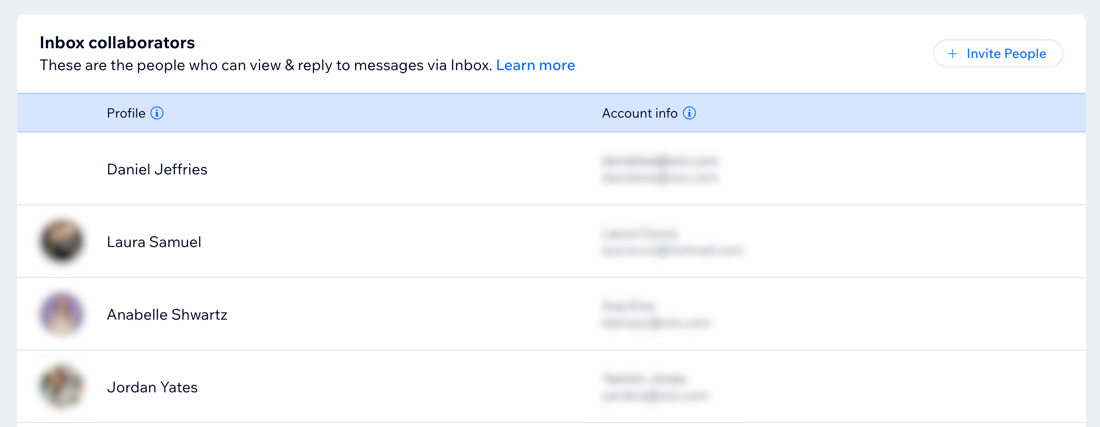
Inviting inbox collaborators
As site owner, you can invite collaborators to work on different aspects of your site. Share the responsibility of managing your inbox by assigning inbox permissions to your collaborators, allowing them to view and answer messages.
Note:
Anyone you've assigned the Admin or Back Office Manager role has access to your inbox, as well as some roles for integrated Wix apps (e.g. Customer Relations Manager, Front Desk Staff), and custom roles with added Wix Inbox permissions. Learn more about roles and permissions.
To invite collaborators:
- Go to Inbox in your site's dashboard.
- Click the Settings drop-down at the top right.
- Click Inbox Settings.
- Click the Inbox collaborators tab.
- Click + Invite People.
- Enter the email address of a person you'd like to add.
Note: This will assign them the role of Back Office Manager by default. You can edit their role after you add them. - Click Send Invite.
- Click Done.
- (Optional) Repeat these steps for any other team members you'd like to add.
FAQs
Click a question to learn more about your Inbox settings.
Who can access the Inbox collaborators tab?
What can my site collaborators do?
What if I want a collaborator to work in my inbox but I don't want to assign the Back Office Manager role?

Can I manage which notifications my team receives?
Which email address does it use as my sender address?
