

Wix Harmony Editor: Customizing Your Site's Header
11 min
In this article
- Customizing your header's background
- Designing your header
- Adjusting the header behavior
- Hiding your header from a specific page
- FAQs
Your site’s header sets the tone for every page, helping visitors find their way and showing off your personal style. In the Wix Harmony Editor, you can customize everything from backgrounds and borders to scroll effects, so your header looks just right.

Customizing your header's background
Choose the background that gives your header the right feel – it can be a solid color, an image or even a looping video for extra energy. Fine-tune the settings until your header feels perfectly you.
To customize the header background:
- Go to your editor.
- Select the header.
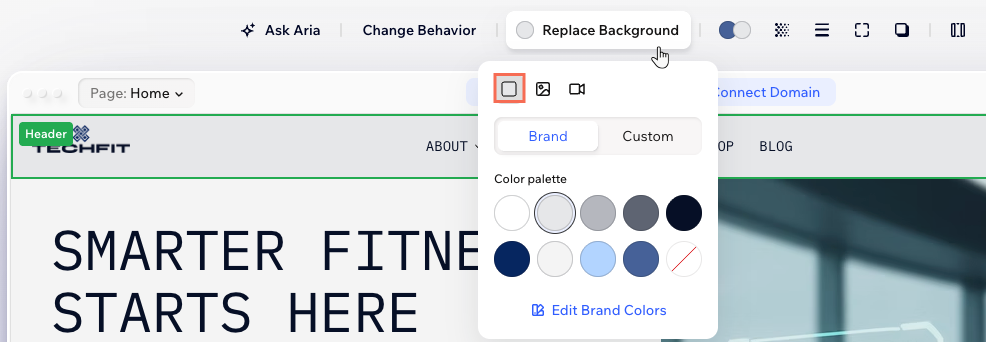
- Click Replace Background on the action bar.
- Choose the background type by clicking the relevant icon: Color
 , Gradient
  , Image
  or Video
  .
. - Set up the header background:
Color background
Gradient background
 , Radial
  , Conic
  or Fluid
  .
.
Image background
 .
. to choose your image's fit mode (scale to fill, tile or original size) and write
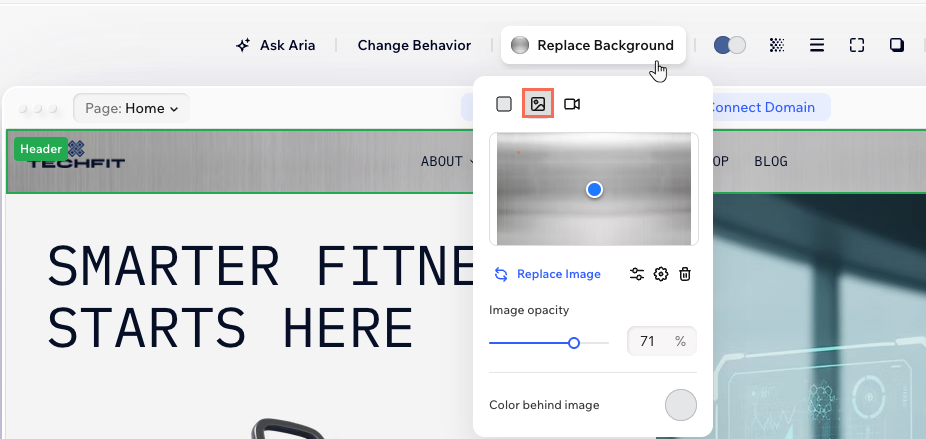
 .
. to access the
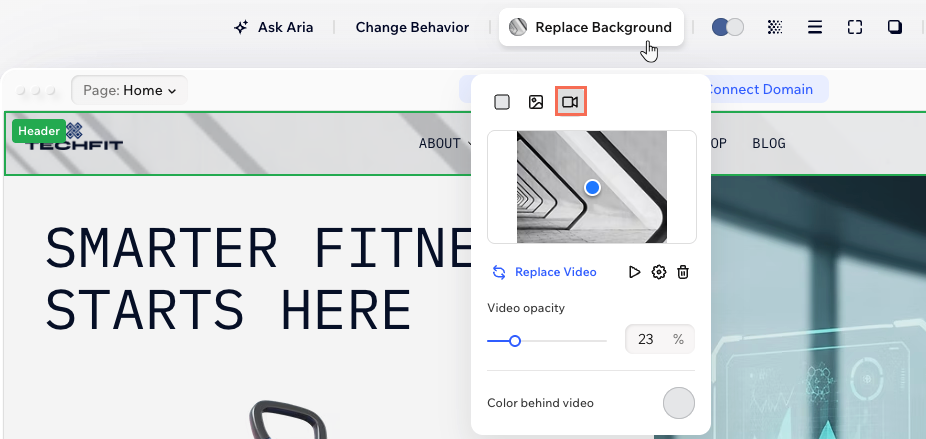
 Video background
 .
. 
Designing your header
Once you’ve chosen the perfect background, take your header’s design even further with a few creative touches. Add borders, play with corners, adjust spacing, and layer in shadows to make your header truly stand out.
To design your header:
- Go to your editor.
- Select the header.
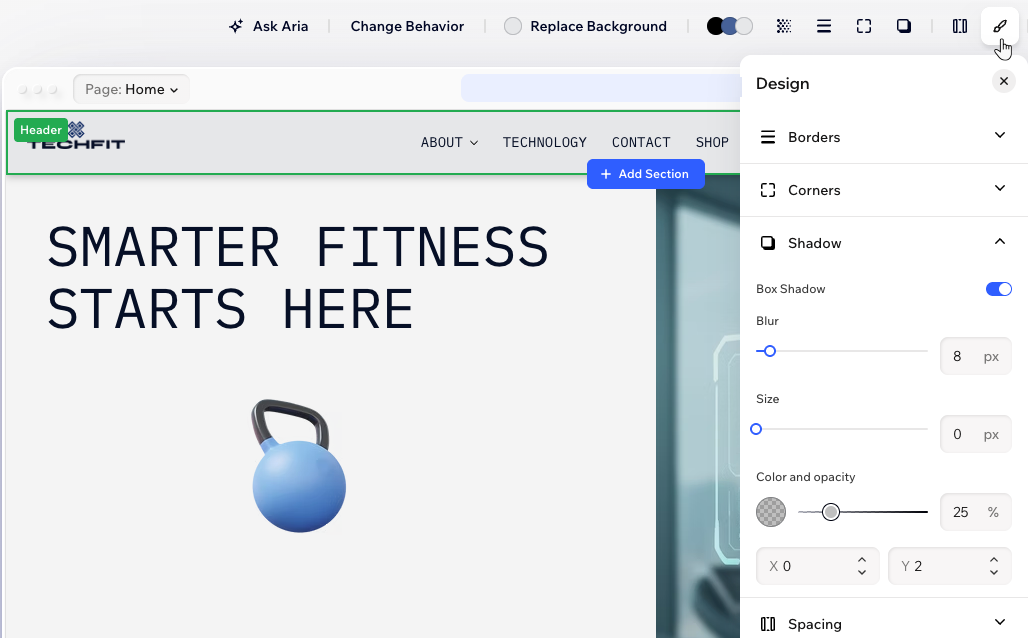
- Click the All design options icon
 on the action bar.
 - Choose how to design your header:
- Borders
 : Define the borders of your header so it stands out, choosing a color, width and style.
 - Corners
 : Make the corners of your header more square or round by dragging the slider under Radius. Click the Edit individual corners icon
  to design each corner separately.
 - Spacing
 : Drag the slider to add space between the header and the edges of the screen. Click the Edit individual sides icon to only add padding to specific sides.
 - Shadow
 : Apply inner and outer shadow to give your header an interesting 3D effect, setting the position, blurriness, color and more.
- Borders
Resize your header:

Drag the handle to change the header's height. If there's a lot of blank space at the bottom of the header, double-click the handle to remove this space.
Adjusting the header behavior
Choose whether your header overlaps the next section or stays separate. Overlapping creates a modern, layered effect, while keeping sections apart gives everything a crisp, classic feel. Pick the style that best fits your site’s personality.
Then, bring your header to life with a scroll effect that matches the flow of your site. Choose whether your header moves with the page, stays visible for easy access, or disappears and fades out as visitors scroll. Each effect creates a different navigation experience for your visitors.
To adjust the header behavior:
- Go to your editor.
- Click the header.
- Click Change Behavior on the action bar.
- Click the toggle next to Overlap next section:
- Enabled: The header sits above the next section with a clear separation between them.
- Disabled: The header floats over the top of the next section, creating a layered look where content appears behind your header.
- Choose a scroll effect:
- Move with page: No scroll effect is applied. When visitors scroll down the page, they also scroll away from the header (i.e. the top of the page).
Note: This option is disabled when setting the header to overlap with the next section. - Stay fixed: The header stays at the top of the page as visitors scroll up and down, giving them easy access to your site's menu.
- Disappear: When visitors scroll through the page, the header gradually disappears. When visitors start scrolling up, the header appears again.
- Fade out: The header slowly fades out when your visitors scroll through the page and reappears when they start scrolling back to the top.
- Move with page: No scroll effect is applied. When visitors scroll down the page, they also scroll away from the header (i.e. the top of the page).
- (Optional) Preview your page to see the effect in action.
Hiding your header from a specific page
You have the freedom to choose whether your header appears on every page of your site. By default, the header is always visible to help visitors navigate smoothly, but you can easily hide it from specific pages whenever you want.
To hide your header from a page:
- Go to your editor.
- Open the page where you want to hide the header.
- Select the header.
- Click the Layers icon
 at the bottom left of the editor.
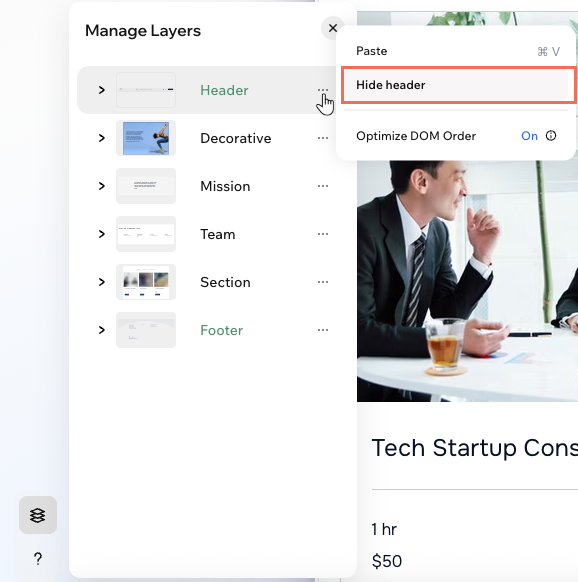
 - Click the More Actions icon
 next to Header.
 - Select Hide header.
Want to show the header again? 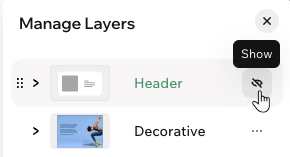
Go to the relevant page, access the Layers panel and click the Show icon  next to Header.
next to Header.FAQs
Click a question below to learn more.
How does my header look on mobile?
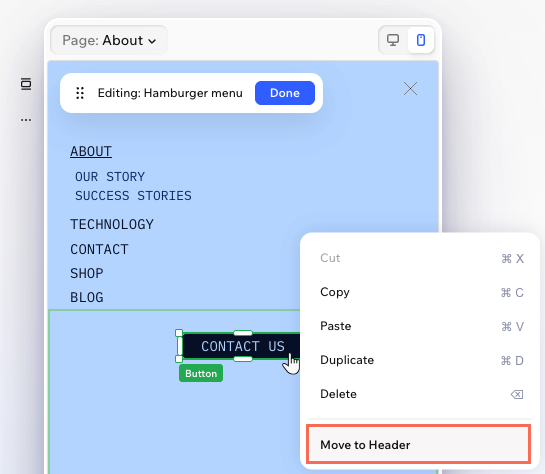
Can I add multiple menus to my header?
