


Wix Harmony Editor: Working With Gradients
7 min
In this article
- Understanding the different gradient types
- Setting up a Linear, Radial, or Conic gradient
- Setting up a Fluid gradient
- FAQs
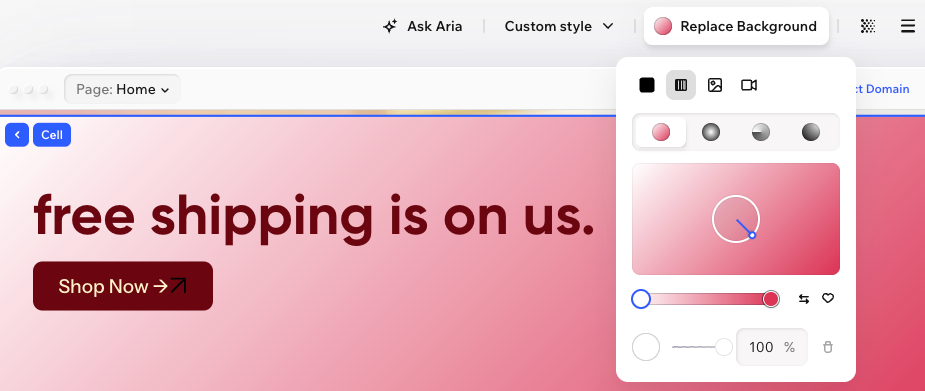
Gradients blend 2 or more colors together and let them flow into each other, giving your background more movement than a solid color.
Choose from Linear, Radial, Conic, and Fluid gradients to create different looks for your site. You can add more colors, change each color’s opacity, and save gradients to your brand so they’re easy to use again later.
Good to know:
Gradient backgrounds are currently available for sections, cells within sections, headers, footers, buttons and boxes.
Understanding the different gradient types
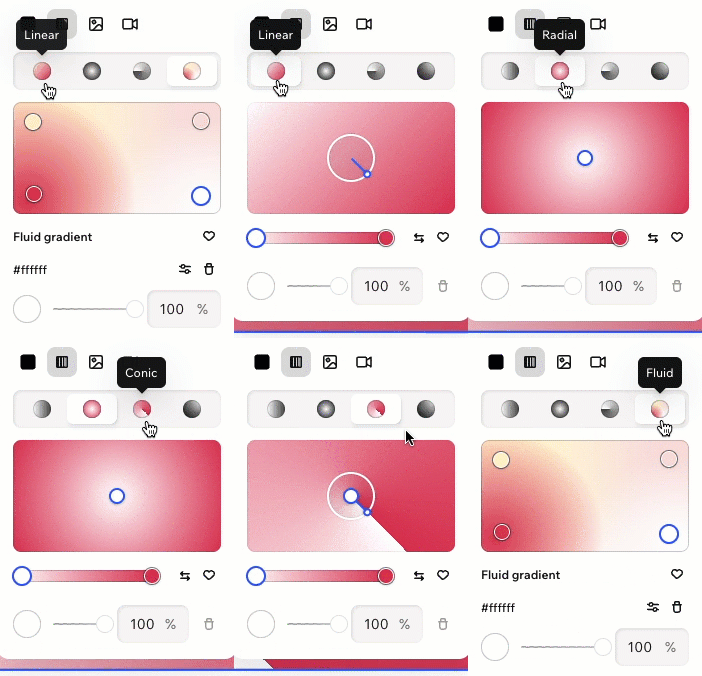
When setting up your gradient, there are 4 different gradient types to choose from. Each gradient creates a unique visual effect, so the best choice depends on the look you want for your background.
- Linear: Colors blend in a straight line from one side to another (you choose the angle). This is a good choice for clean, simple backgrounds with a clear direction.
- Radial: Colors spread outward from a central point. This creates a softer look that draws attention toward the middle or a specific area.
- Conic: Colors rotate around a central point in a circular motion (you choose the angle). This can create a more dynamic, spotlight-style effect.
- Fluid: Colors blend more freely across the background, creating a soft, mesh-like look with less defined edges.
Setting up a Linear, Radial, or Conic gradient
Linear, Radial, and Conic gradients create more defined color transitions. Add more colors to the gradient, change existing colors and adjust the opacity to create the exact look you want.
To set up a Linear, Radial or Conic gradient:
- Go to your editor.
- Click the relevant element.
- Click Replace Background on the action bar.
- Click the Gradient icon
 .
. - Choose a gradient type at the top: Linear
 , Radial
  , or Conic
  .
. - Set up the gradient using the options:
- Add more colors: Hover over the colors bar where you want to add the new color. When your cursor changes to this icon
 , click and select a color.
 - Change a color: Click the relevant color dot on the colors bar, then select a different color.
- Change a color’s opacity: Click the relevant color dot on the colors bar, then drag the opacity slider or enter an exact percentage (e.g. 100% means full opacity).
- Delete a color: Click the Remove color icon
 .
.
Note: Gradients need at least 2 colors. If your gradient only has 2 colors, this icon will be disabled.
- Add more colors: Hover over the colors bar where you want to add the new color. When your cursor changes to this icon
- Adjust the gradient based on the type you chose:
- Linear: Drag the circle on the gradient preview to change the angle of the color flow.
- Radial: Drag the circle in the center of the preview to move the focal point.
- Conic: Adjust the angle and drag the focal point on the preview to change how the colors flow.
Tips:
- Click the Save to brand icon
 to save the gradient you created for later use.
 - Click the Flip order icon
 to quickly reverse the color order.

Setting up a Fluid gradient
Fluid gradients create a softer, mesh-like blend. This style works well when you want the colors to feel more organic and free-flowing.
To set up a Fluid gradient:
- Go to your editor.
- Click the relevant element.
- Click Replace Background on the action bar.
- Click the Gradient icon , then click the Fluid icon
 .
. - Set up the gradient using the options:
- Add more colors: Hover over the spot in the preview where you want to add another color. When your cursor changes to this icon , click and select a color.
- Move a color: Click and drag a color dot to move it around the preview.
- Change a color: Click the relevant color dot, then select a different color.
- Change a color’s opacity: Click the relevant color dot, then drag the opacity slider.
- Open more settings: Click the More settings icon
 to adjust the size, spread, and color behind the gradient.
 - Delete a color: Click the relevant color dot, then click the Remove color icon .
Note: Gradients need at least 2 colors. If your gradient only has 2 colors, this icon will be disabled.
- Add more colors: Hover over the spot in the preview where you want to add another color. When your cursor changes to this icon
Tip:
Click the Save to brand icon to save the gradient you created for later use.
to save the gradient you created for later use.
FAQs
Click a question below to learn more.
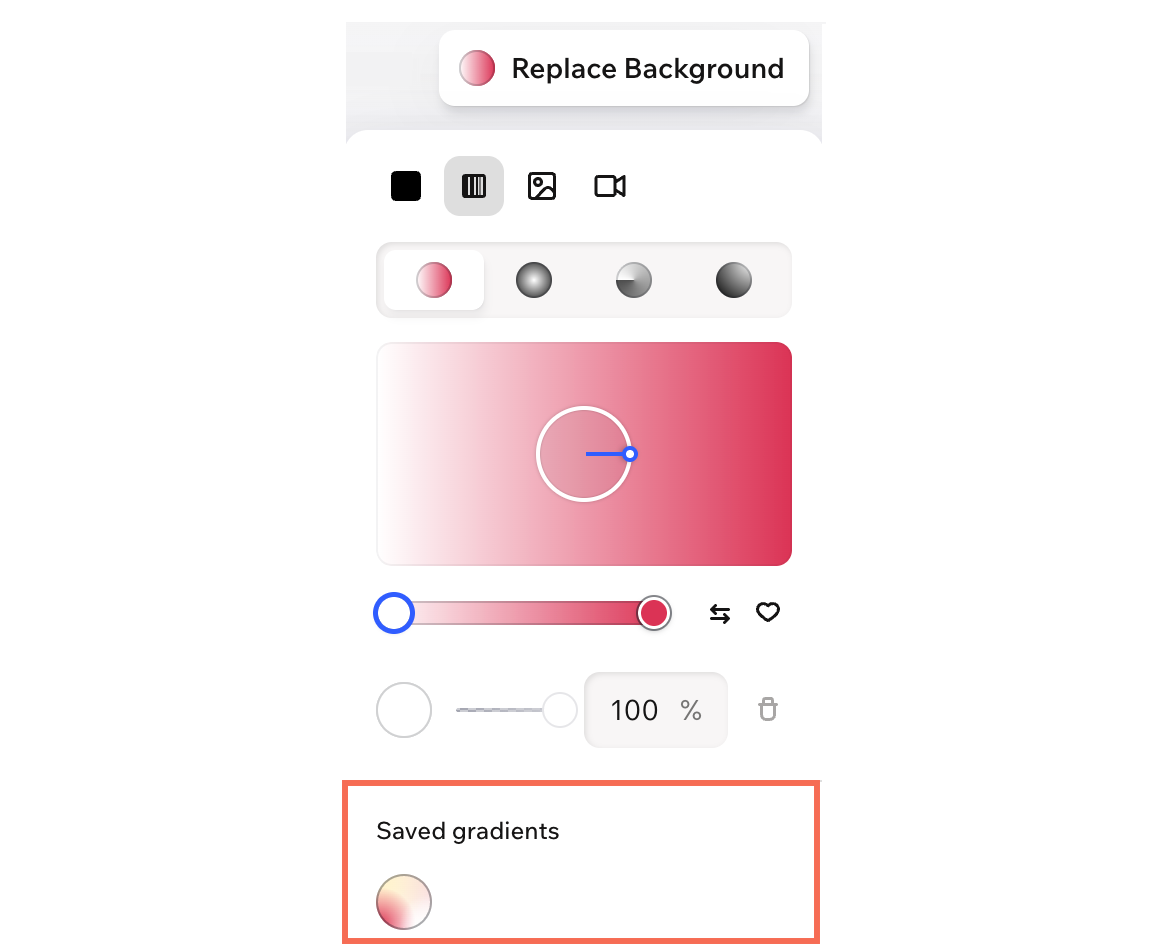
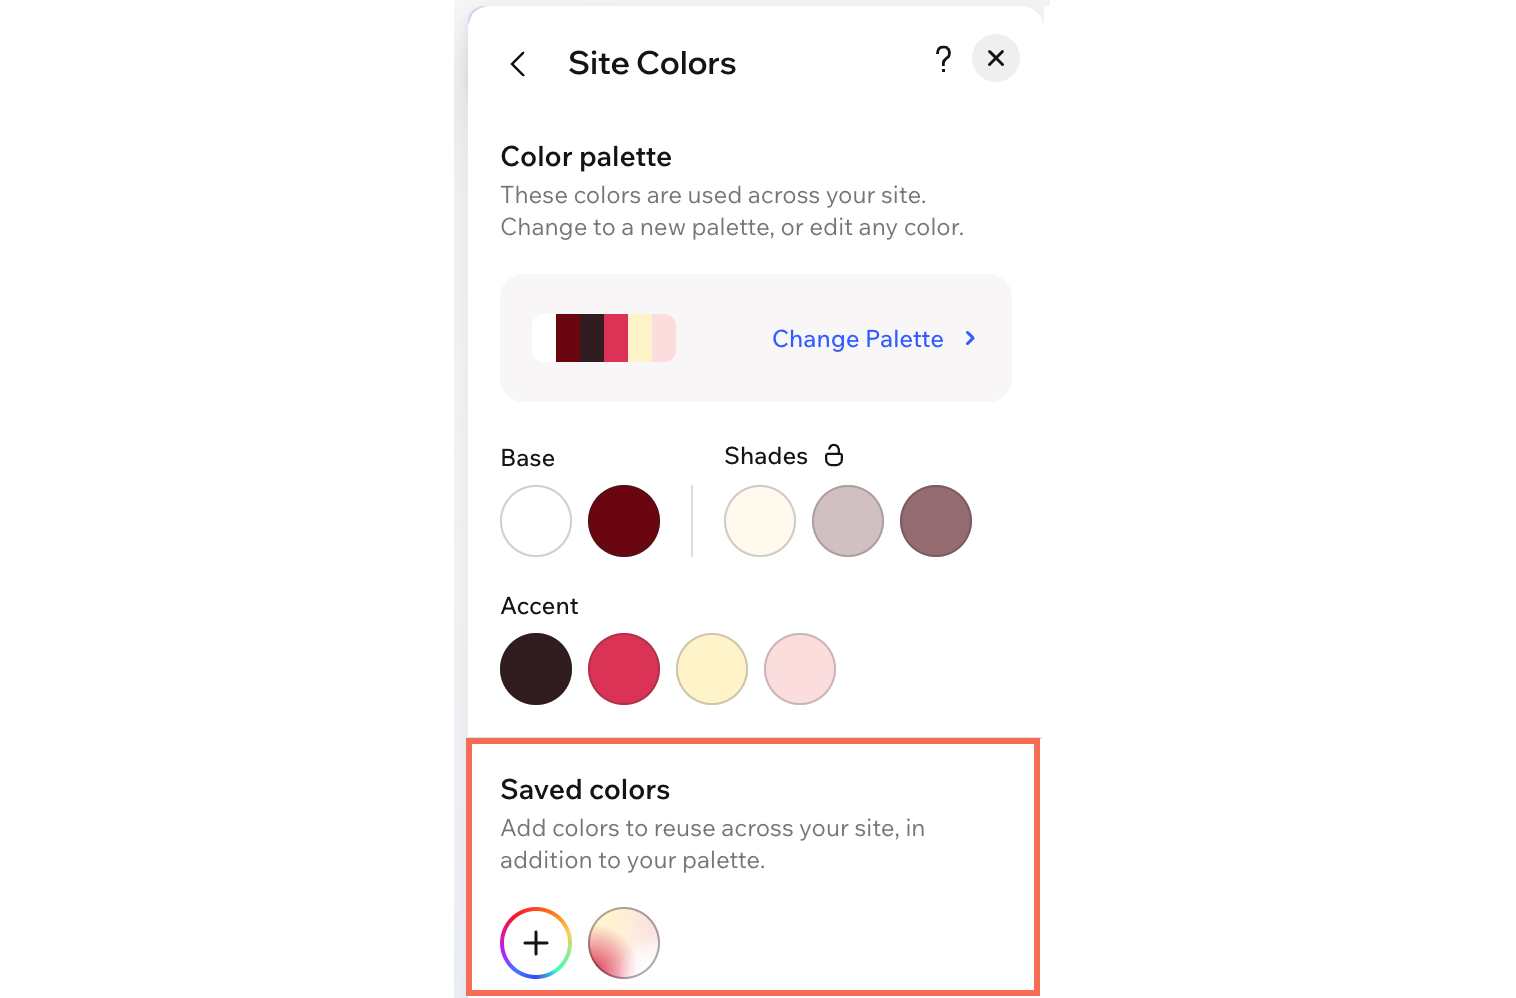
Where do I see my saved gradients in the editor?
Why is the option to remove a color disabled?
