

Wix Groups: Adding and Setting Up Wix Groups
4 min
In this article
- Step 1 | Add the Wix Groups app to your site
- Step 2 | Create your first group
- Step 3 | Design your group pages
- Step 4 | Invite group members
- FAQs
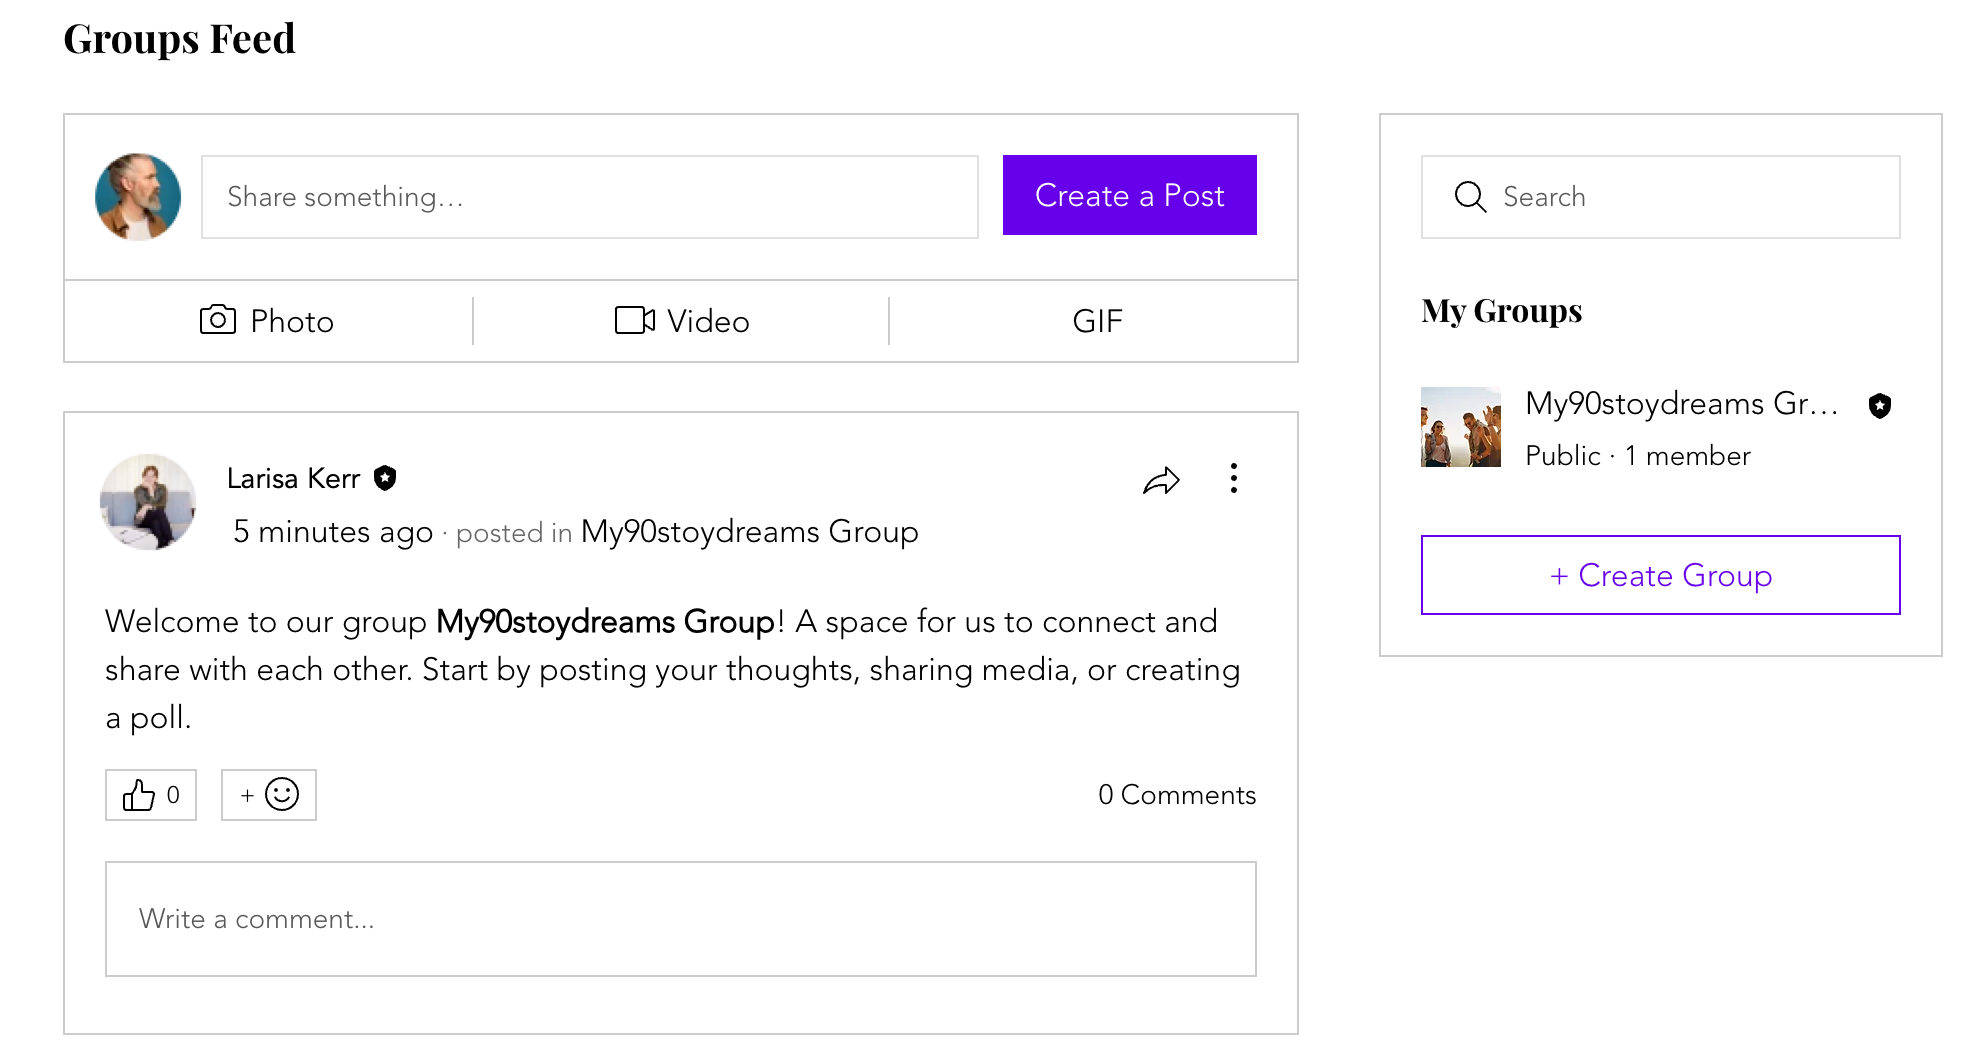
Groups are a wonderful way to connect with people who share your interests. You can post updates, talk to members, and even ask others to help run the group. You can make your group look special to attract more members. Use a ready-made group or create your own.
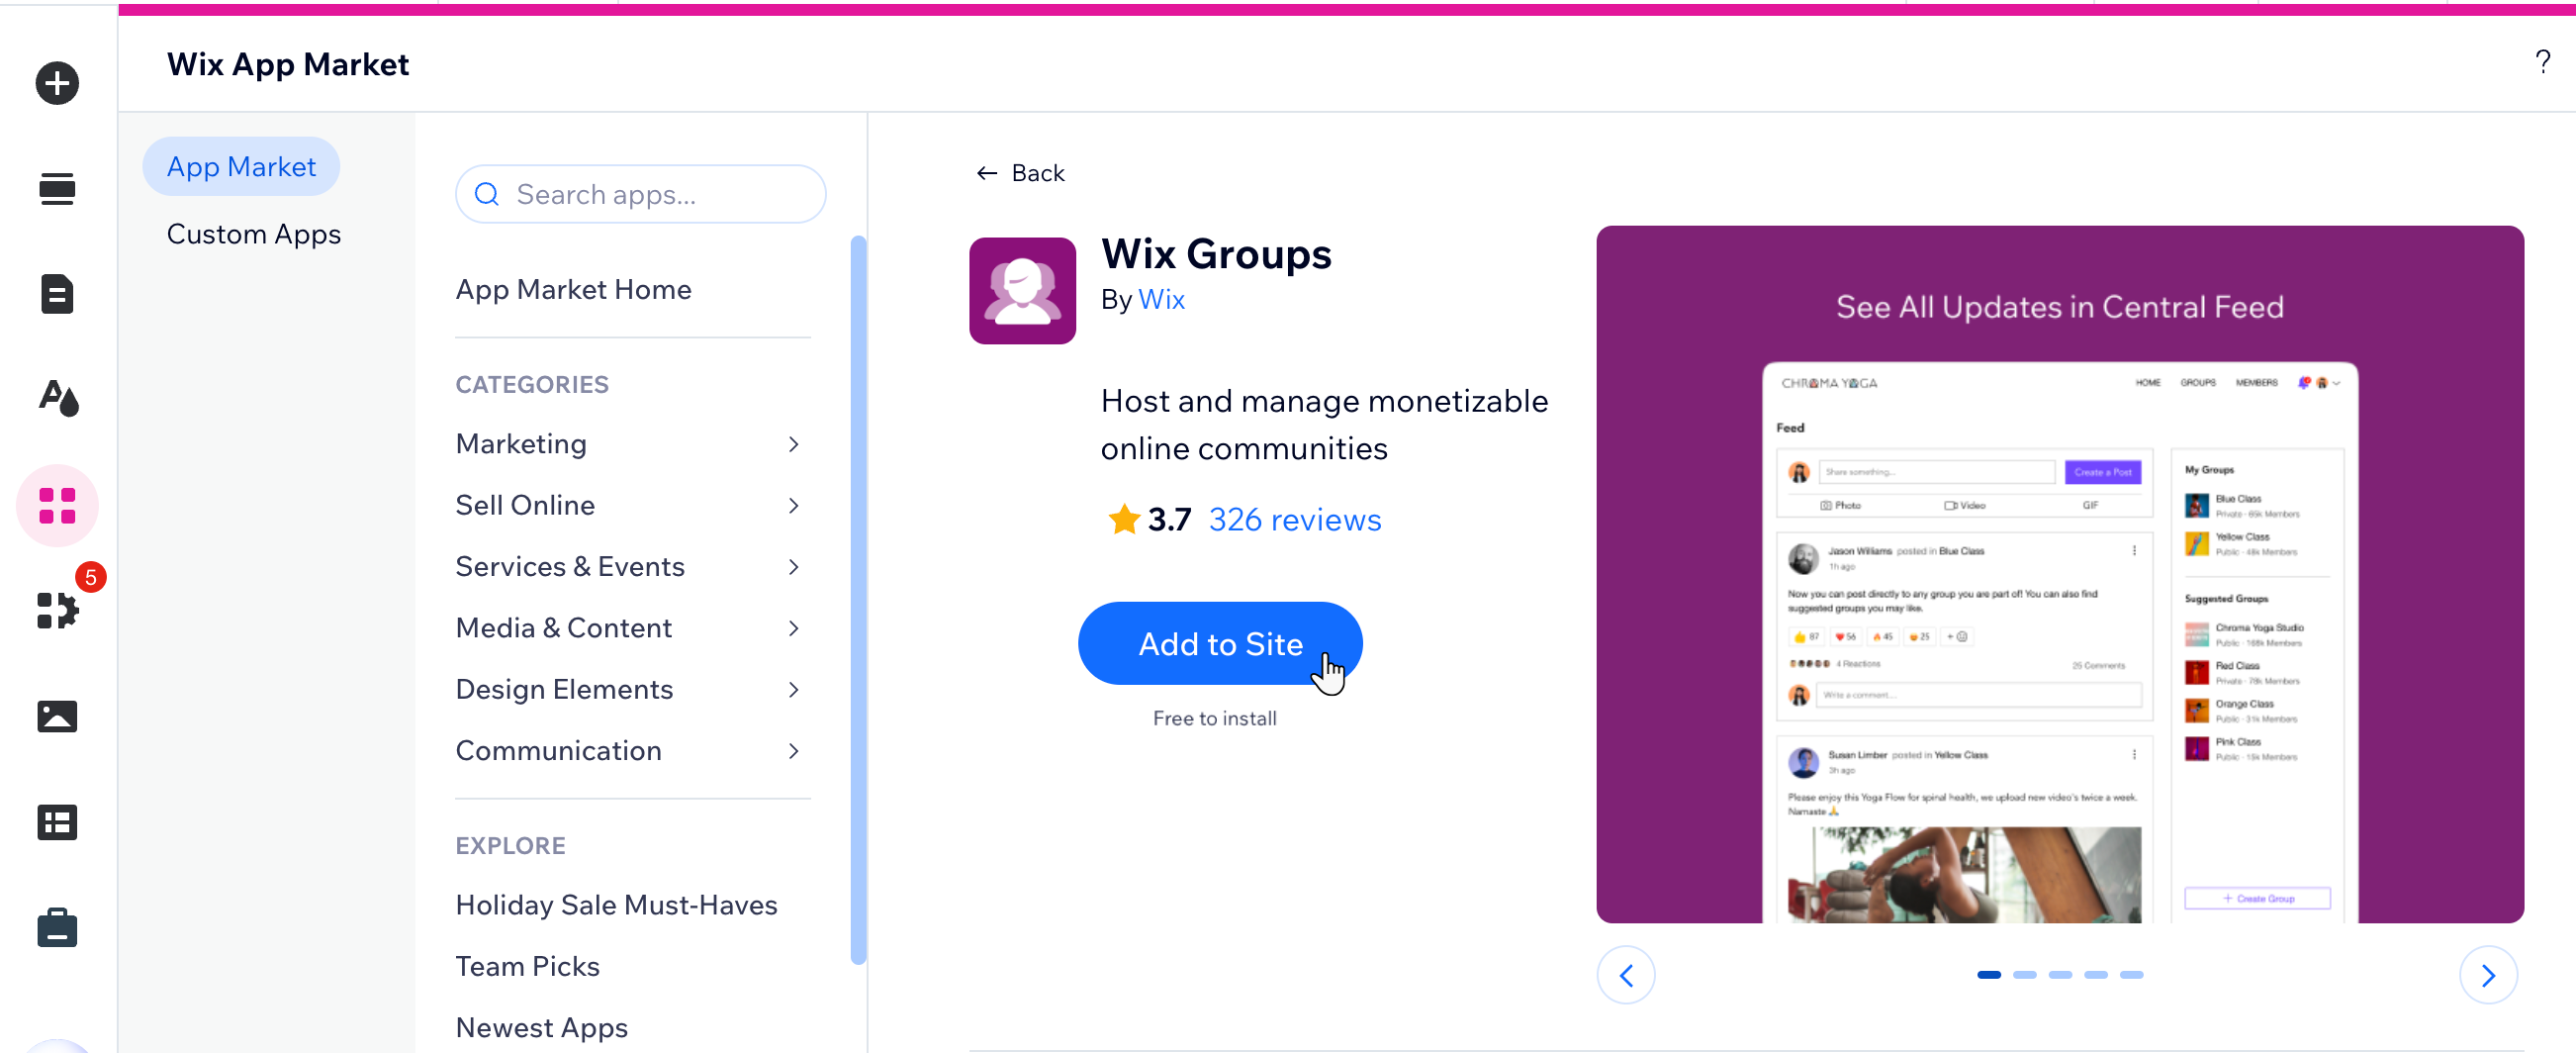
Step 1 | Add the Wix Groups app to your site
Get started by adding the Wix Groups app to your site from the Wix App Market. You can add Wix Groups from the editor or the Apps tab in your site's dashboard.
Wix Editor
Studio Editor
Dashboard
Harmony Editor
- Go to your editor.
- Click Add Apps
 on the left side of the editor.
 - Search for the Wix Groups app in the search bar.
- Click Add to Site.
Step 2 | Create your first group
After you've added Wix Groups to your site, you're ready to create your first group. You can use an existing template or create your own group from scratch. Later, manage your group settings to serve the goal and vision you have for your community.
Step 3 | Design your group pages
Once you've created your group, it's time to customize its appearance. In your editor, you can choose a layout and decide what information to display on your group pages and add-ons.
Step 4 | Invite group members
Is your group ready to go live? You can now invite people to join your group and become members.
FAQs
Click a question below to learn more.
Can I prevent members of a group from downloading shared videos?
How can I make a group private so only invited members can access it?
How do I transition a free group to a paid group without losing members?
Can I limit group access based on user roles, such as buyers and affiliates?
How can I manage access to group pages for paid members only?
Is there a limit to how many groups I can create, or how large each post can be?
