


Wix Chat: Allowing Members to Chat with Each Other Using Members Chat
In this article
- Activating members chat
- Managing members chat
- Creating and managing group chats
Important:
Wix Chat is no longer available to install on new sites.
Wix Smart Chat is replacing it as the new AI and manual chat solution.
Learn more about Wix Smart Chat.
Build a community around your site by adding members chat. Members chat is an additional Wix Chat feature that allows your logged-in site members to chat with each other in addition to chatting with you (the business). Once enabled, your members can see private chats as well as create group chats.
Before you activate members chat:
- Make sure you have installed a members area as well as one of the social apps (Wix Blog, Wix Groups).
- Make sure at least one of your members has selected the 'join a community' checkbox when registering to join your site.
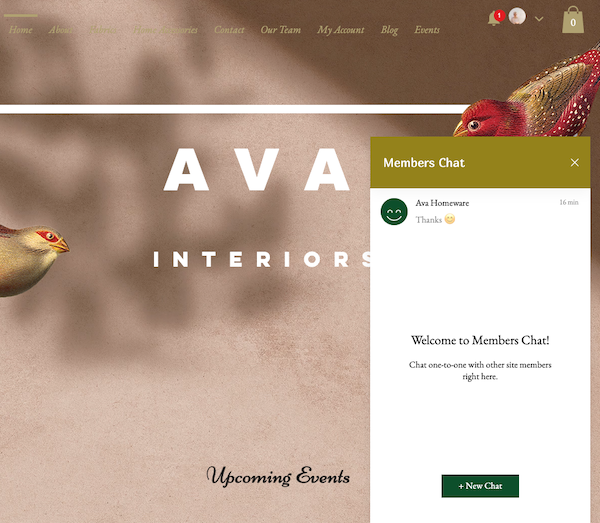
Activating members chat
You need to activate members chat to allow your site members to view and communicate with each other.
To activate members chat:
- Go to Chat Settings in your site's dashboard.
- Scroll down to the Members chat section.
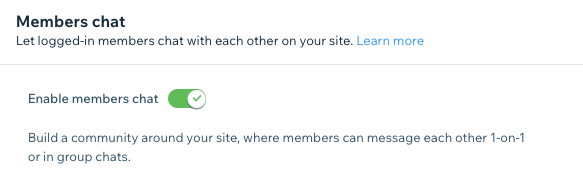
- Click the Enable members chat toggle to add or remove members chat from your site:
- Enabled: Logged-in site members can chat with each other and start group chats.
- Disabled: Site members can only use Wix Chat to chat with you (the business).
Managing members chat
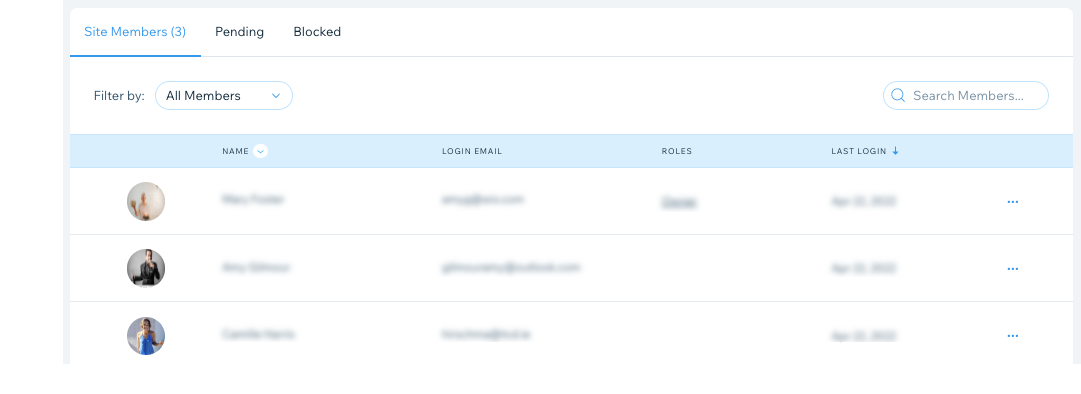
Only members can use members chat, so you can control who has the ability to chat by adding or removing members in your site's dashboard.
You can:
- Block or delete a site member to prevent them from accessing members areas or participating in members chat.
- Approve a site member to allow them to use members areas and participate in members chat (this is only applicable if you've set up manual approval for site members and they're not approved automatically).
Tip:
From this members list, you can also
assign different roles or
badges to categorize members or make them stand out.
Creating and managing group chats
Activating members chat gives you the ability to create group chats. Group chats are a great way to keep your members engaged and build a community around your site. Members can also create group chats to interact with each other.
To create and manage a group chat:
- Log in to your live site's Members Area.
Note: Use your Wix account credentials to log in. - Click the chatbox at the bottom corner of your live site.
- Click + New Chat.
- Click New Group Chat.
- Add members to your group by clicking their names. When your list is ready, click Next.
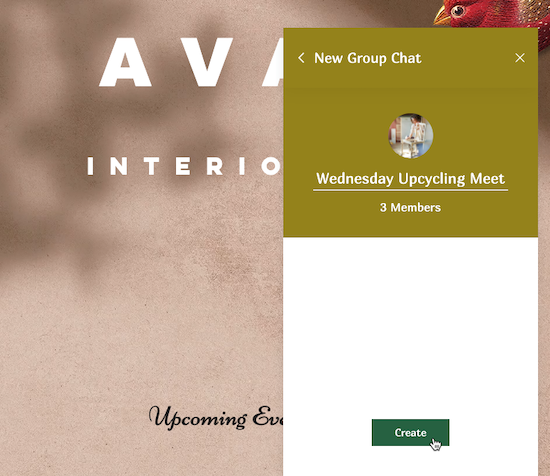
- Enter a name for your group.
- (Optional) Click the camera icon
 to select a group image.
 - Click Create.
Tip: Your logged-in members can create group chats following the same steps as above.
- (Optional) Click the More Actions icon
 to manage your group chat settings or participants:
Edit your group chat name or image

Add or remove group chat participants


