Studio Editor: About Site Styles
2 min
In this article
- Create color consistency
- Optimize a site's typography
- Define the site's width
- Create engaging navigation
The Site Styles panel is a one-stop shop to manage the site typography, colors, page transitions, and max width. Creating a theme for your client's site is a great, holistic way to save time and ensure the design is consistent.
How do I access the site styles?
 on the left side of the editor.
Create color consistency
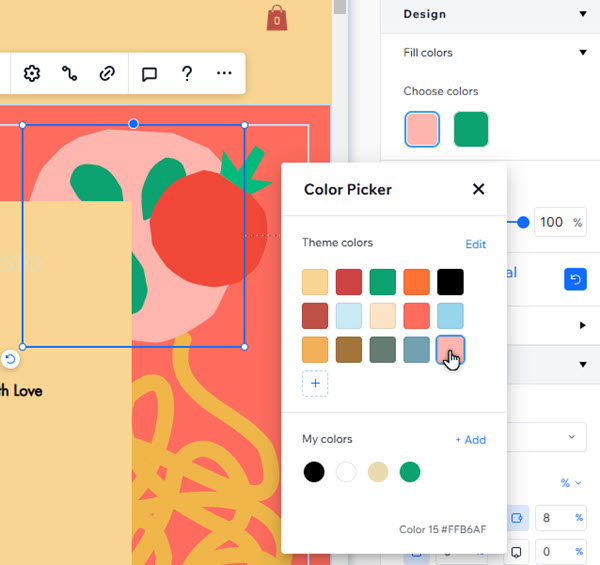
Site colors are a creative way to reinforce and express your client's brand. Use the Colors tab to manage and customize shades, and create a cohesive theme across the site.
Finished customizing the site colors? You can quickly apply shades to elements from the Inspector. Learn more about working with site colors
Optimize a site's typography
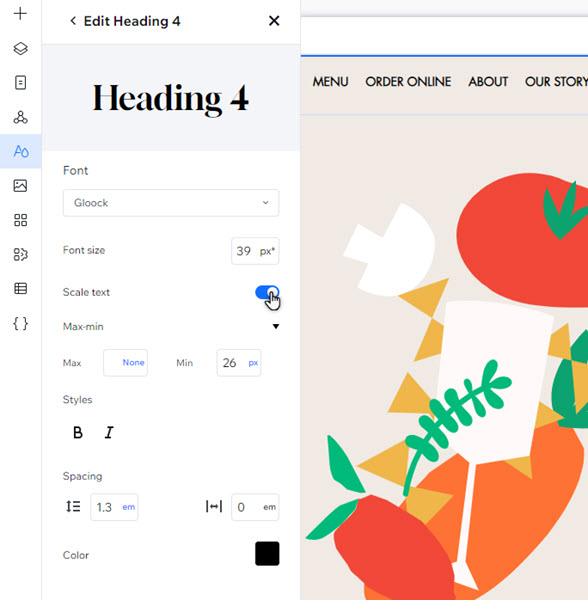
Text is a crucial part of a site, and you can use the design to reiterate a brand's messaging and content.
The Typography tab is a great way to adjust every aspect of text. Update fonts to quickly apply site-wide changes, or customize individual text styles (e.g. Heading 4, Paragraph 1) for more detailed design. Learn more about working with typography
Define the site's width
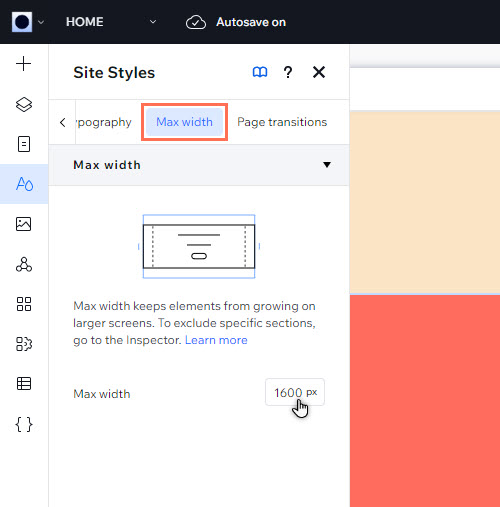
Want to limit how much elements grow on different screen sizes? Use the Max width tab to set the maximum value.
This prevents elements you've set to scale proportionally from scaling up past a certain width, so you don't need to worry about oversized components or blocked content.
Create engaging navigation
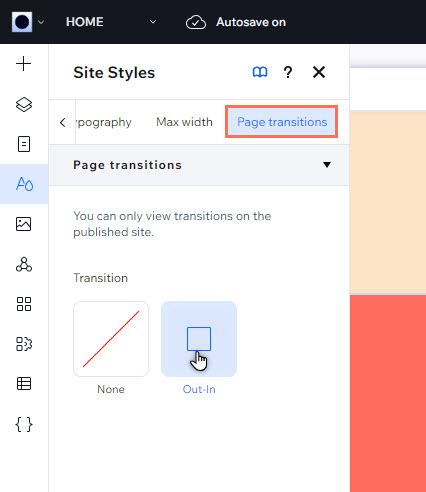
Page transitions make the navigation experience more engaging for site visitors. Once you apply the effect, it appears on every page of your client's site.
You can apply an Out-In effect from the Page transitions tab. Doesn't look how you want on the live site? You can remove it by clicking None.
Note:
You can only view page transitions on the published site. In preview mode, they won't appear.