Studio Editor: Working with Site Colors
5 min
In this article
- Understanding site colors
- Editing site colors
- Managing site colors
- Applying site colors to elements
In the Studio Editor, you can manage the colors used across your client's site from one convenient panel. This helps you to create a cohesive color story and make quick updates as you go.
How do I find site colors?
Understanding site colors
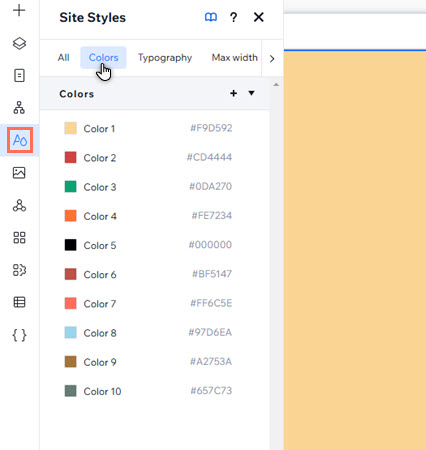
The Colors tab in the Site Styles panel shows you the colors that are used across the site you're working on. These are usually wired to components, and you can add, manage, and replace them ensure a smooth design experience.
The number of site colors you start with differs between individual site templates, as well as sites built from scratch. However, each Studio site comes with at least 6 default colors that are connected to certain elements and apps across the site:
- Color 1: The primary color applied to element and app backgrounds (e.g. Wix Stores, Wix Online Programs etc.).
- Color 2: The secondary background color.
- Color 3: This is the default color applied to actions / elements in the 'Disabled' state. For example, unavailable dates in a Wix Bookings calendar.
- Color 4: The secondary color for text elements, and text in additional elements and apps.
- Color 5: The primary color of text on the site.
- Color 6: The color of links and actions on the site.
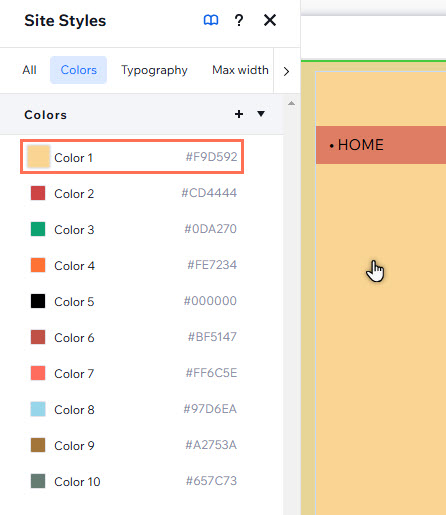
In the screenshot below for example, Color 1 is automatically applied as the background color of the header.
Note:
- Depending on the template you choose, these colors may have a different name in the panel. For example, 'Color 1' might be named 'Primary background'. Regardless, default colors are connected to the same elements / apps in the same order across all Studio Editor sites.
- Sites can have a maximum of 25 site colors.
Editing site colors
Customize the site colors from the Site Styles panel to suit your design needs, and reinforce your clients' branding.
Important:
Changing a color instantly affects the elements with the color you are updating - e.g. any themed elements you have previously added, or elements you have used this color on.
To edit the site colors:
- Click Site Styles
 on the left side of the editor.
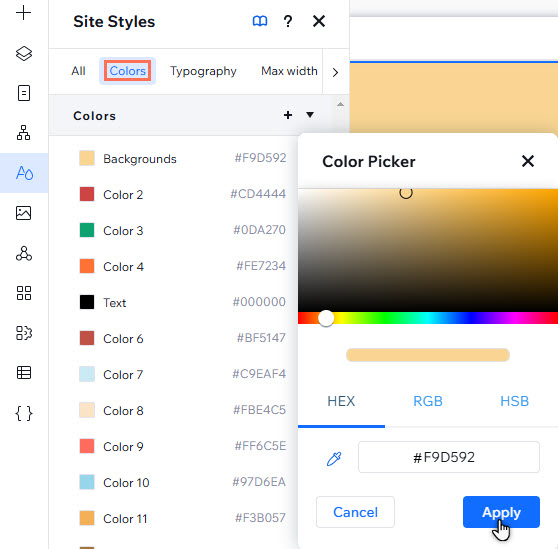
 - Select the Colors tab.
- Click the color you want to adjust.
- Choose how to select the color from the following options:
- Select a new color from the picker using your cursor.
- Input the HEX, RGB, or HSB information into the relevant fields.
- Click the Dropper
to select a new color from anywhere on your screen.
- Click Apply.
Managing site colors
Manage site colors to make the design process as smooth as possible. You can rename colors to make them easy to find, or replace colors to make quick changes to the site.
To manage site colors:
- Click Site Styles
 on the left side of the editor.
 - Select the Colors tab.
- Hover over the relevant color and click the More Actions icon
.
- Choose what you want to do:
- Change the color name:
- Click Rename.
- Enter the new color name into the field.
- Delete / replace:
- Click Delete.
- Select the replacement color from the picker.
- Click Apply.
- Change the color name:
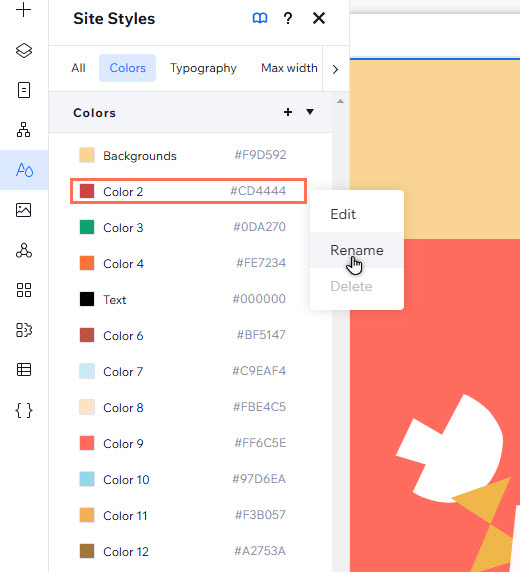
Can't delete / replace a color?
- Certain shades are used as the default color for Wix apps and elements on the site, and the Delete option is therefore greyed out. However, you can click the color in the panel to replace it.
- Shades that have not been set as a default color may still be in use across the site, and you are therefore prompted to replace the color instead.
Applying site colors to elements
As colors are assigned to categories, they're automatically applied to some themed elements in the Add Elements panel (e.g. styled text elements). You can also apply site colors to elements on the canvas from the Inspector panel.
Good to know:
If the element contains more than 1 color, you can customize each shade by clicking its color box.
To apply site colors to elements:
- Select the relevant element.
- Click the Open Inspector icon
 at the top right of the editor.

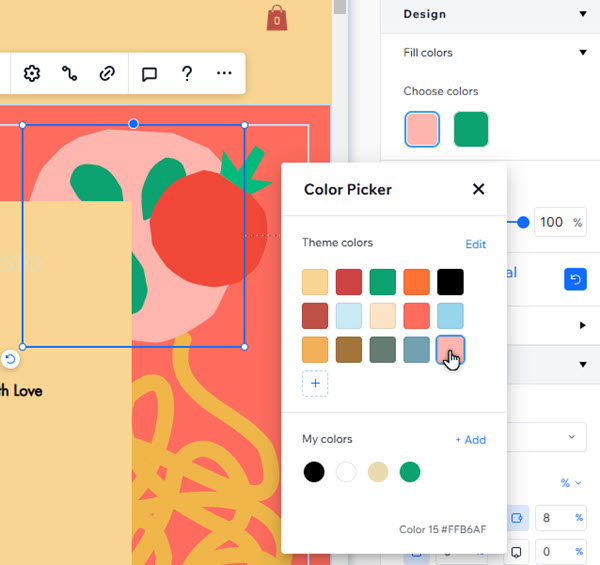
- Click the color box under Design to open the color picker.
- Select a shade from Theme Colors to apply it.
