Studio Editor: Exporting Your Designs from Figma
9 min
In this article
- Step 1 | Prepare for the export
- a | Upload custom fonts to Wix Studio
- b | Compare the frame width to the editing size
- Step 2 | Install the plugin
- a | Install the plugin on Figma
- b | Open the tool on your client's site
- Step 3 | Choose what to export from Figma
- Step 4 | Complete the import in the editor
- FAQs
- Troubleshooting
Using Figma to design sections and elements? The Wix Studio plugin lets you turn your static designs into a responsive live site, with one streamlined process. You can import entire Figma frames, specific components and sections, or use our wireframes (UI kits).
Once in Studio, you can enhance your designs with no-code animations, custom CSS, connection to business solutions like Wix Stores, and much more.
- We recommend keeping Figma and the Studio Editor open, in separate browser tabs, as you'll need both for this process.
- In the middle of the process and need help? Read our FAQs and troubleshooting info below.
Step 1 | Prepare for the export
Before trying to import designs from Figma, there's a few things we recommend checking. This will ensure a seamless transition from Figma to Wix Studio.
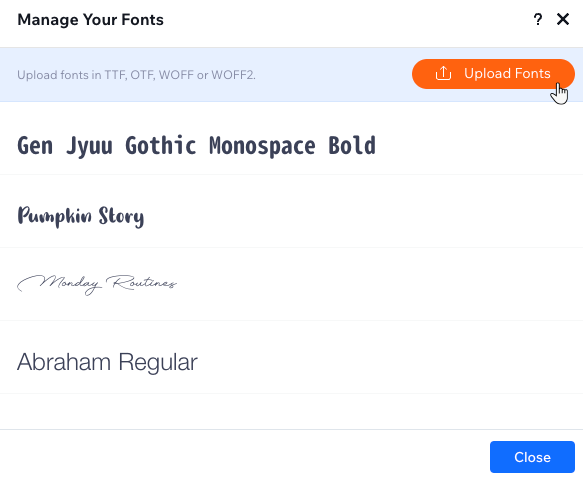
a | Upload custom fonts to Wix Studio
Make sure all of the fonts you're using on Figma are also available in your Wix account. It's better to upload the fonts to Wix in advance – otherwise, system fonts replace the fonts you intended to show.
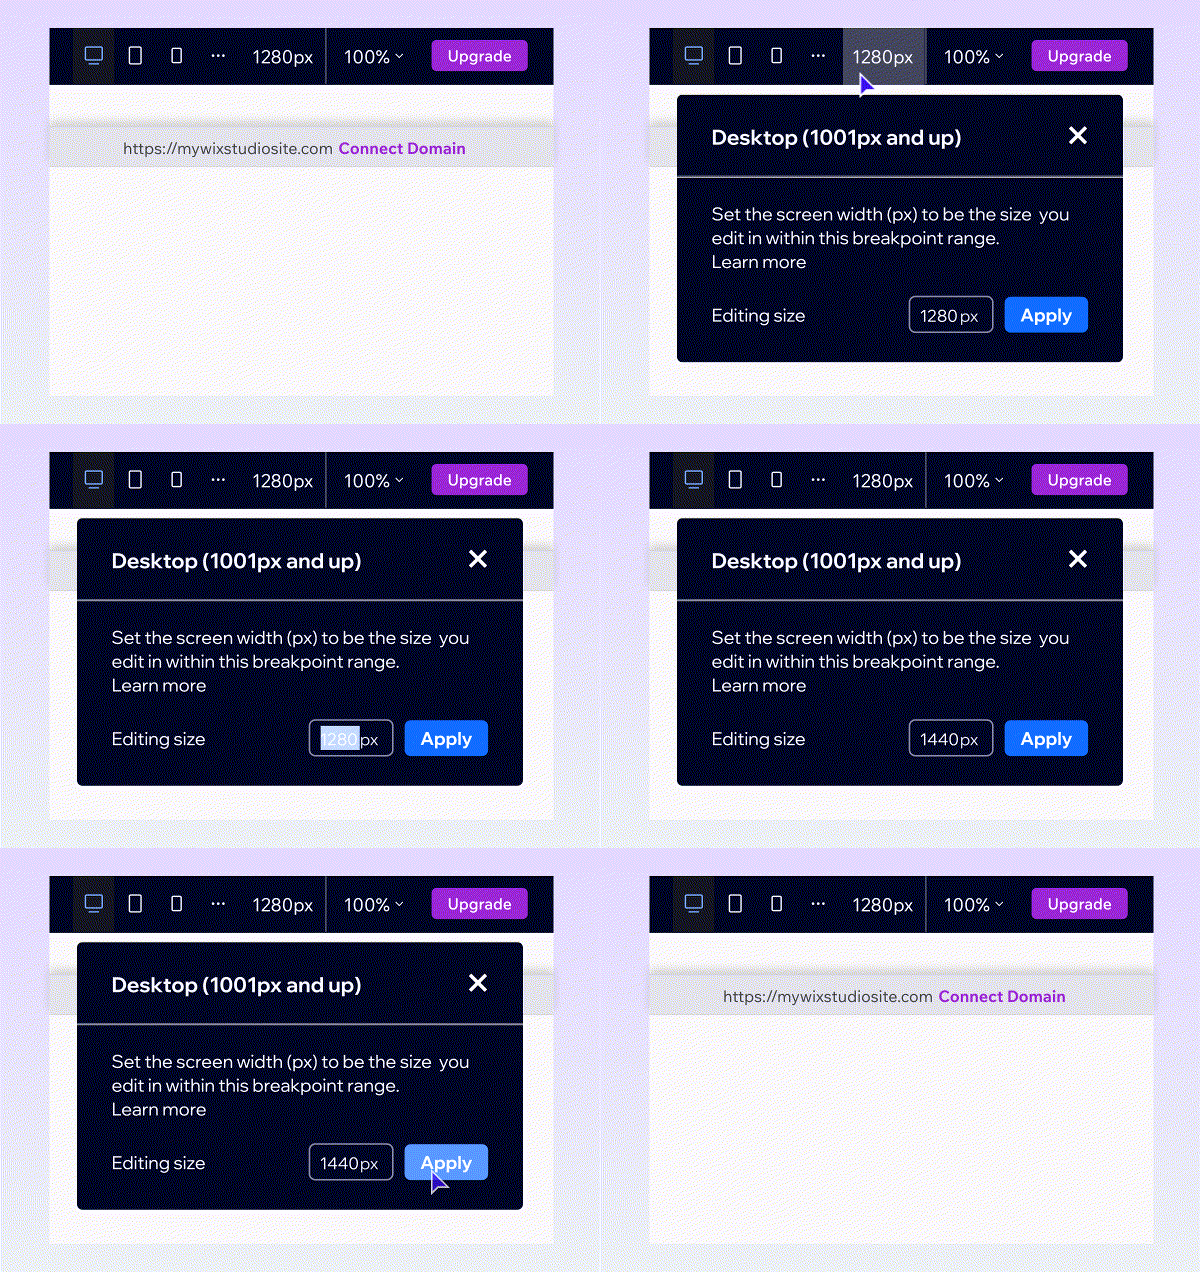
b | Compare the frame width to the editing size
The Figma frame width should match the editing size of the relevant page in your client's site. If there's a mismatch, your design won't be exported in the same ratio, which means it will not appear in the right proportions in Wix Studio.
Exporting elements?
You should still check the width of the frame that contains them to ensure a 1:1 result.
Step 2 | Install the plugin
If you haven't already, install the Wix Studio plugin from the file you want to export. Once installed, you can easily access the plugin from any other designs in your account.
Next, open the plugin panel from the Studio Editor.
a | Install the plugin on Figma
- Open the file you want to export in your Figma account.
- Press Ctrl + K on your keyboard (Cmd + K on Mac).
- Click the Plugins and widgets tab.
- Search 'Wix Studio' and select Figma to Wix Studio from the results.
- Click Run.
- Sign in to your Wix account on the plugin.
b | Open the tool on your client's site
- Go to your client's site in the editor.
- Click the Wix Studio icon
 at the top left.
 - Hover over Tools.
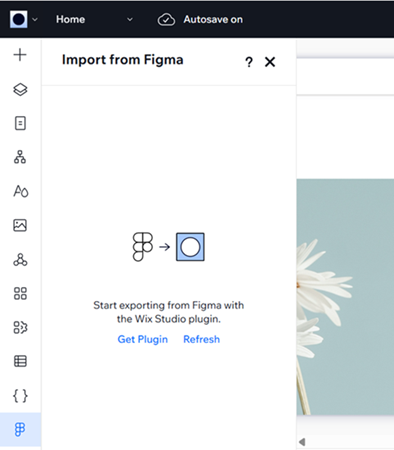
- Click Import from Figma.
Tip: This adds a new icon on the left side of the editor.
Step 3 | Choose what to export from Figma
After installing the plugin, go back to the file in your Figma account. The plugin lets you choose what to export–a frame, or your styles.
We recommend exporting your styles first (i.e. typography and colors), so they're already set up in the Studio Editor by the time you start exporting frames.
Which elements does the plugin recognize automatically?
To export from Figma:
- (If not already open) Open the relevant Figma file.
- Access the Studio plugin:
- Click the Figma icon
 to open the main menu.
 - Hover over Plugins and click Figma to Wix Studio.
- Click the Figma icon
- Click Set up Export.
- Click Next.
- Verify that the editing size in Wix Studio matches the Figma frame width. When ready, click Start Export.
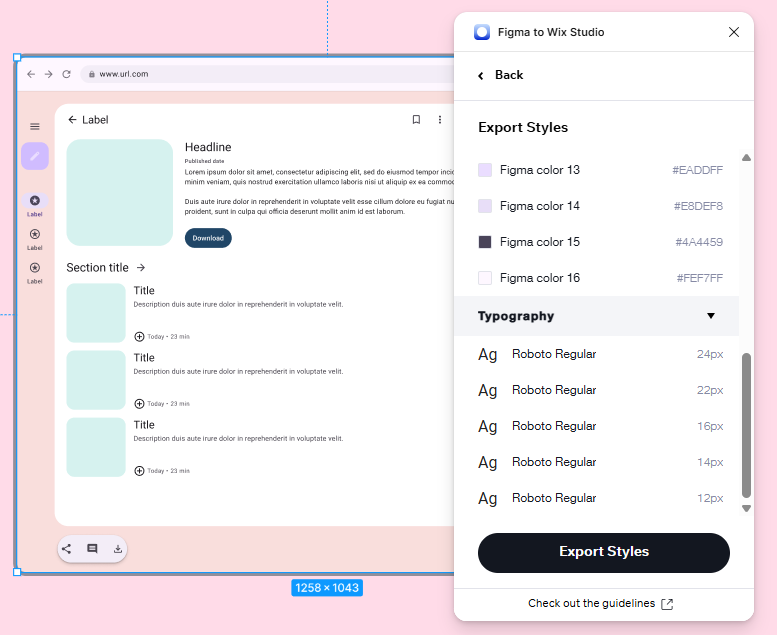
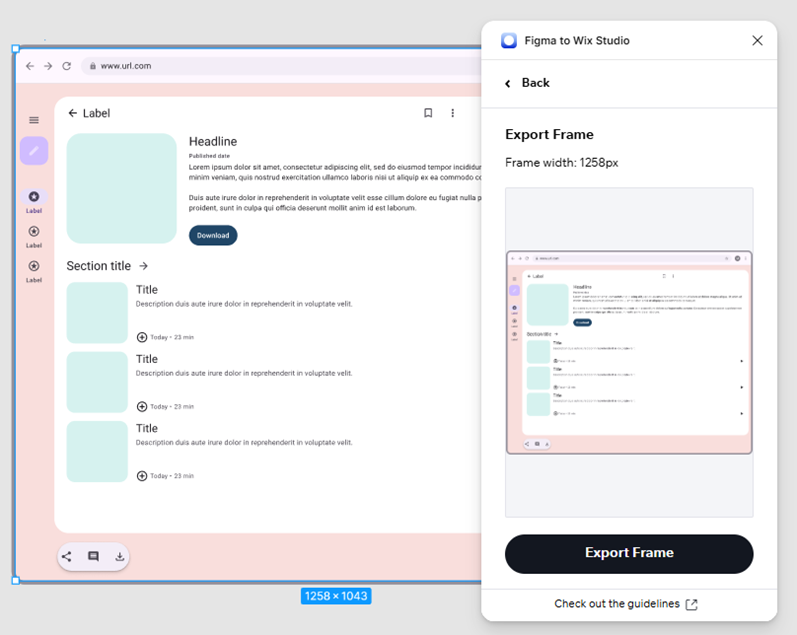
- Choose what to export and follow the steps:
Styles
Frame
Step 4 | Complete the import in the editor
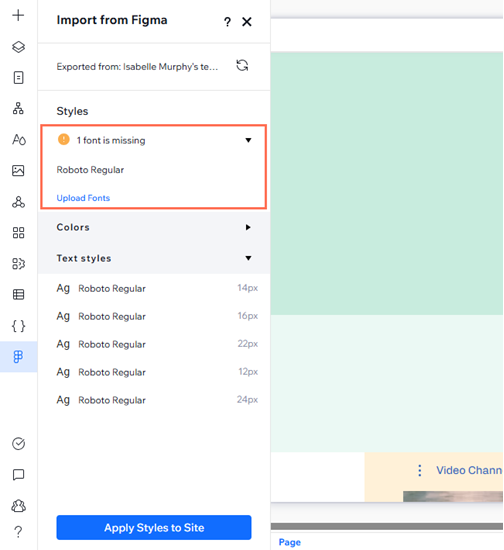
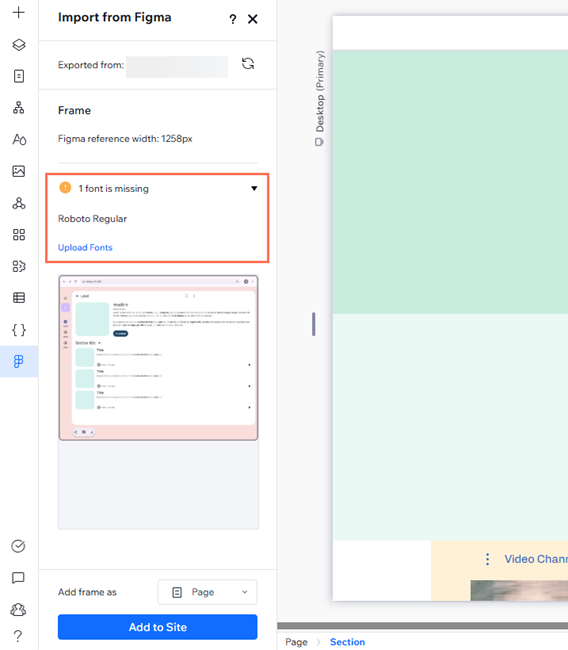
Once the export is finished in Figma, go back to your editor and make sure there are no missing fonts or size mismatches.
Working with a frame? You can choose whether to import it as a container, section, etc.
To complete the import:
- Go to your client's site in the editor.
- (If not already open) Click the Import from Figma
 icon on the left.
 - Depending whether you've previously imported from Figma to the current Wix account, refresh the panel:
- First time import: Click Refresh.
- Have previously imported: Click the the Refresh import icon
 .
.
- Depending on what you're importing, follow the steps below:
Styles
Frame
FAQs
Click a question below to learn more about importing designs from Figma.
Can I import designs from Figma to an existing site?
Can I import multiple pages at once?
Do my Figma designs automatically connect to Wix apps (e.g. Wix Stores)?
What happens when importing menus, forms, and buttons? Will they function on my client's site?
How will my imported design look across breakpoints?
If I make further changes to my Figma design after importing it to Studio, will they automatically sync?
Can I export designs the other way around, from Wix Studio to Figma?
Troubleshooting
Experiencing issues while exporting your Figma designs to Wix Studio? Click an issue below to learn what caused it and how to resolve it.
Before you troubleshoot:
If you are unable to export your design, we recommend checking whether you have reached the rate limit on your Figma account.
(On Figma) No styles appear in the panel when trying to export
(In the editor) Can't see the option to add a frame as a page / section
(In the editor) The design doesn't look proportionate after importing it
Still need help?
What information should I include if I need to reach out for assistance?


