

Charging Customers from the Orders Page
5 min
In this article
- Charging with a pay link
- Charging with a card reader
- Charging by manually entering a credit card
- Charging with an invoice
- Manually authorizing a payment for later
Charge customers for unpaid orders right from the Orders tab in your site's dashboard. You can send a pay link, charge with a card reader, enter your customer's credit card manually, send an invoice requesting payment, or authorize a payment for later.
Charging with a pay link
Send customers a pay link that they can click to make a secure online payment. You can copy the link and share it with the customer, send the link directly to their email address, or generate a QR code you can print or download. To make your link more professional, add your company logo and customize the "Pay Now" button.
To charge with a pay link:
- Select the order you want to collect payment for.
- Click Collect Payment.
- Select Charge with pay link.
- (If Wix Tips is enabled during checkout) Select a tip amount and select Add Tip and Continue, or Continue Without Tip.
Tip: Learn more about adding and setting up Wix Tips. - Enter the link name.
- Enter the amount you want to charge in the Price field.
- (Optional) Add a description for your pay link.
- (Optional) Click Open Settings:
- : Enable the toggle and select a date to define how long the pay link will be active. Your pay link will display the expiration date.
- Click Create Pay Link.
- Share the link with your customer by copying the link, sending it via email, or generating a downloadable QR code.
Note: You'll be notified when you receive payment. - Click Done.
Learn more about creating and managing pay links.
Charging with a card reader
Important:
- The Wix POS Go card reader is currently only available in the US and Canada.
- The Desktop Card Reader is currently no longer for sale. Alternatively, you can purchase our Wix POS Go card reader from our Wix POS shop.
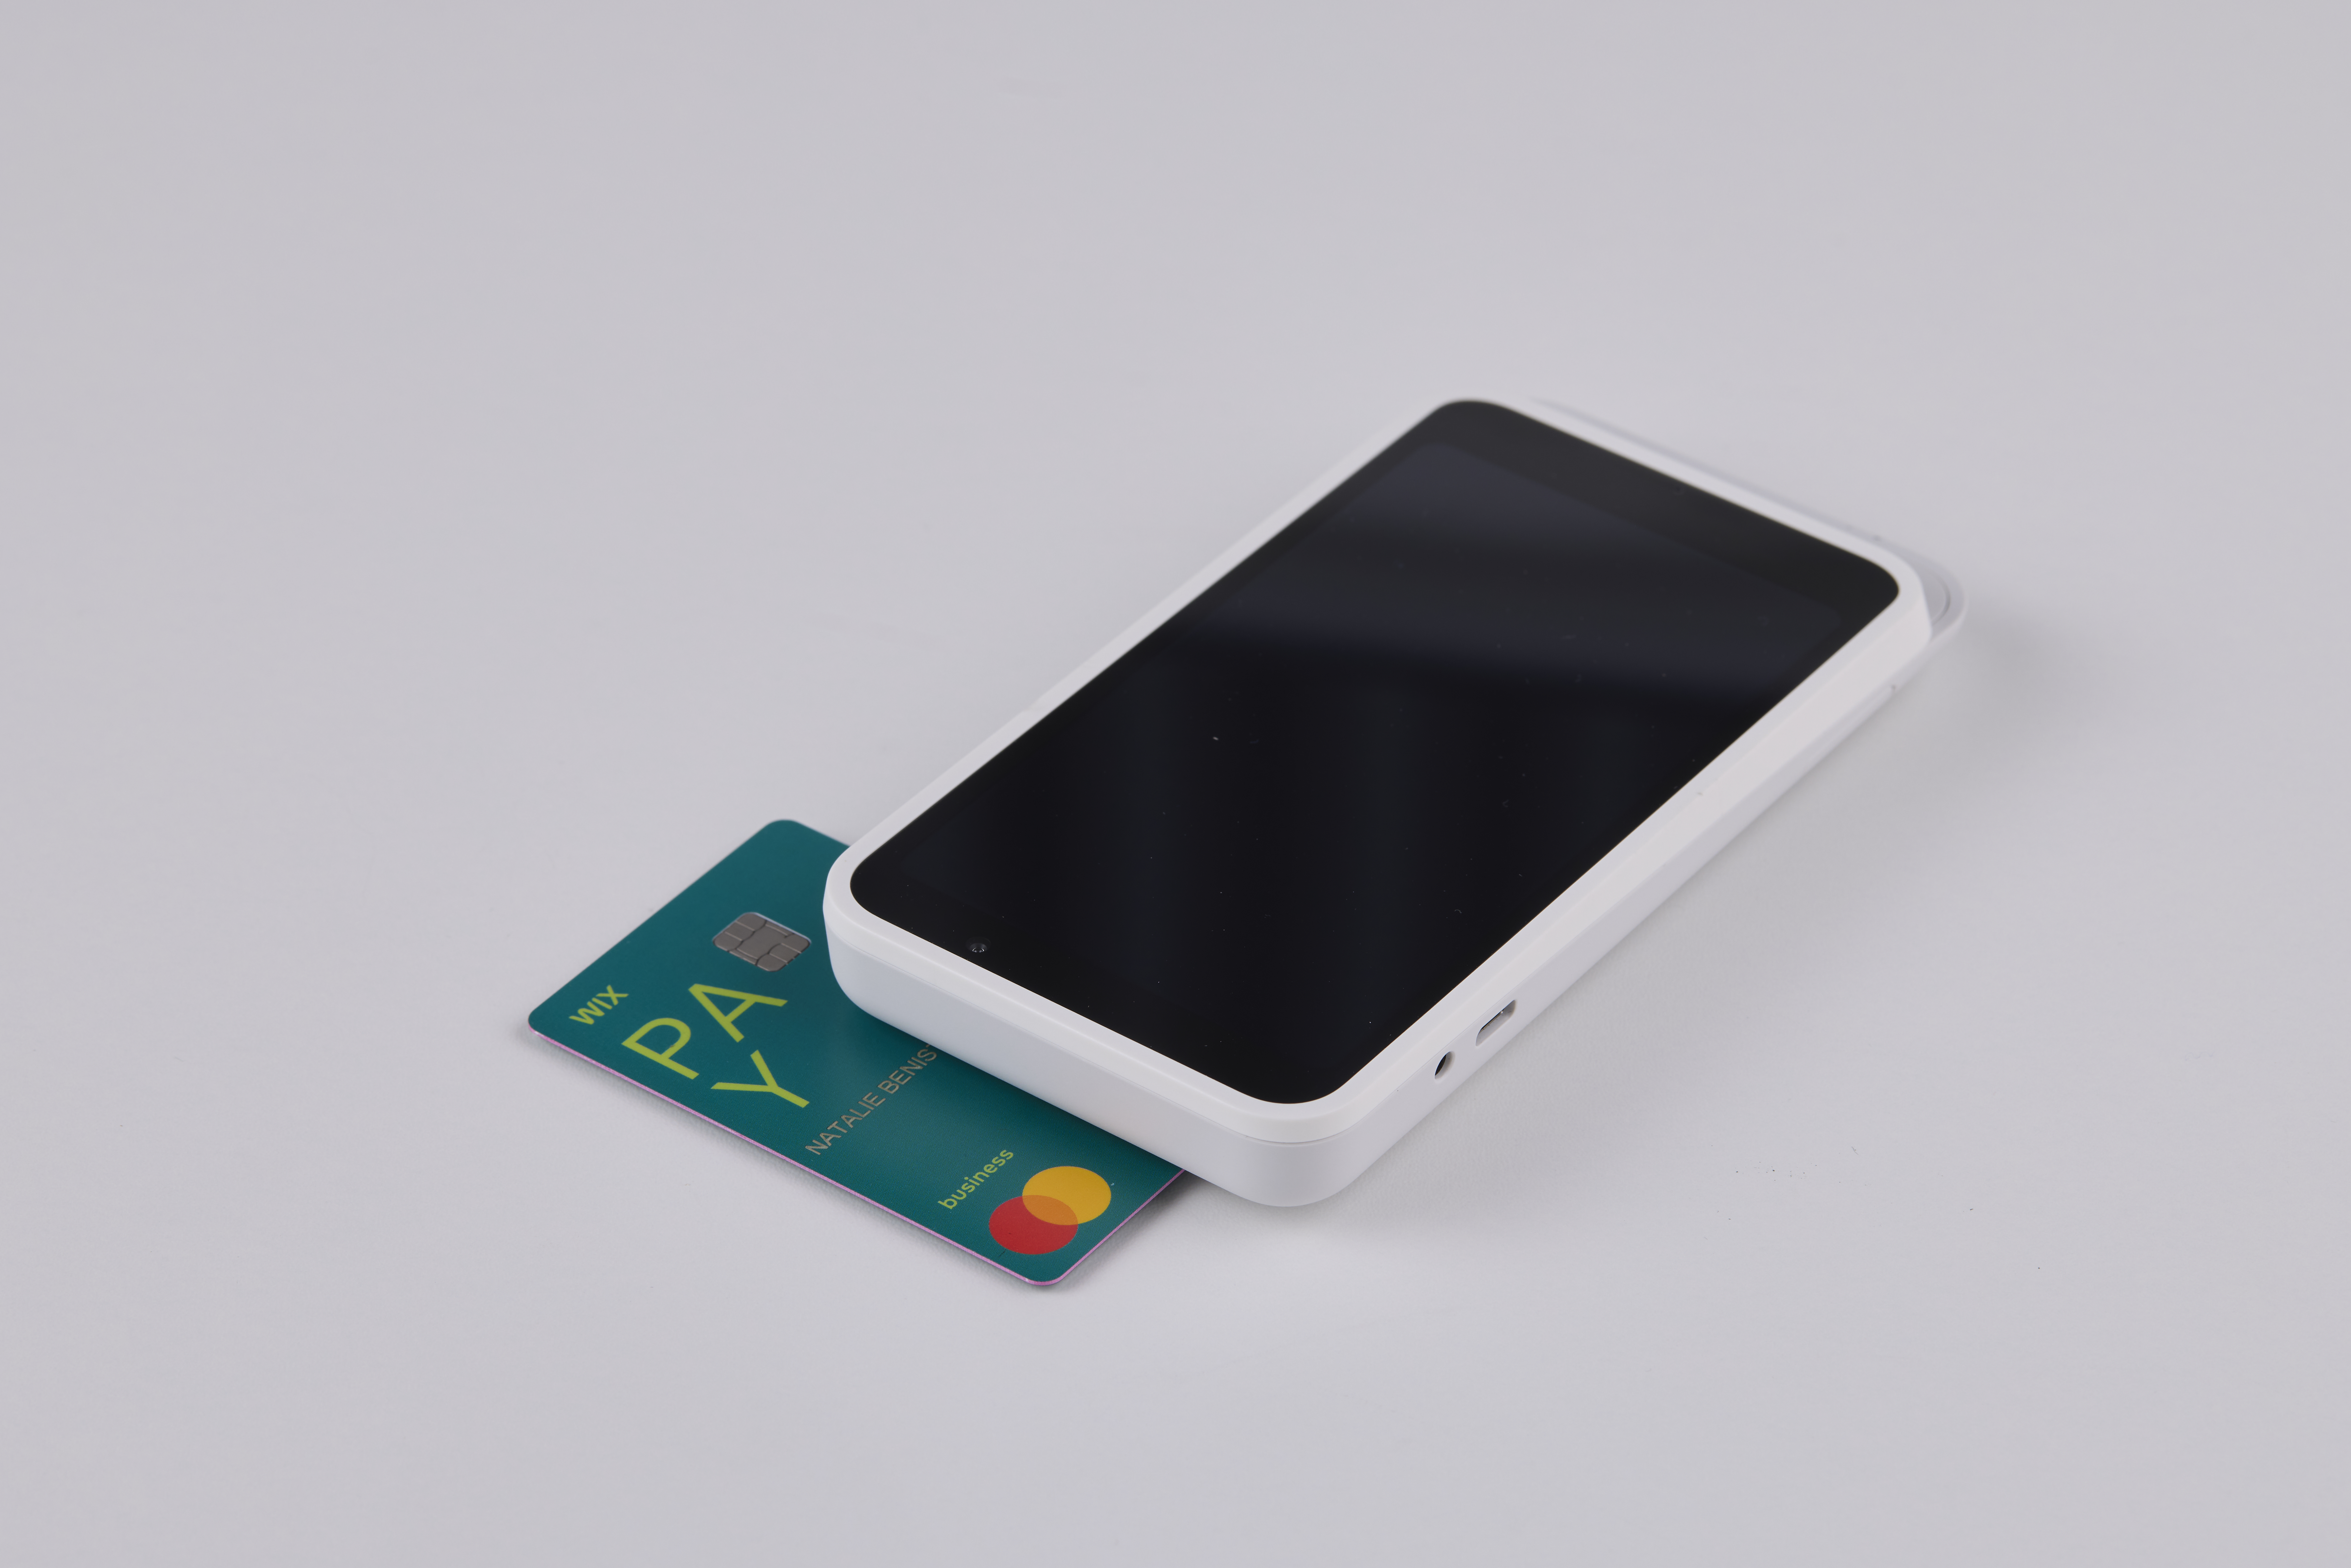
You can charge customers who visit you in person by using one of our WiFi card readers: the Wix POS Go, or the Desktop Card Reader. To use this payment method, you must purchase a device, connect Wix Payments, activate Wix POS as a payment method and pair your card reader.
To collect a payment from the Orders tab using a card reader, click Collect Payment, select Charge with card reader and let your customer tap, swipe, or insert their credit or debit card.
To charge with a card reader:
- Select the order you want to collect payment for.
- Click Collect Payment.
- Select Charge with card reader.
- (If Wix Tips is enabled during checkout) Select a tip amount and select Add Tip and Continue, or Continue Without Tip.
Tip: Learn more about adding and setting up Wix Tips. - Prompt the customer to tap or insert their card on the card reader.
Charging by manually entering a credit card
Important:
Manual card entry is available only if you use a payment provider that supports this payment method.
You can accept payment for an unpaid order by entering your customer's card details yourself. You have the option of accepting complete or partial payment.
To charge by manually entering a credit card:
- Select the order you want to collect payment for.
- Click Collect Payment.
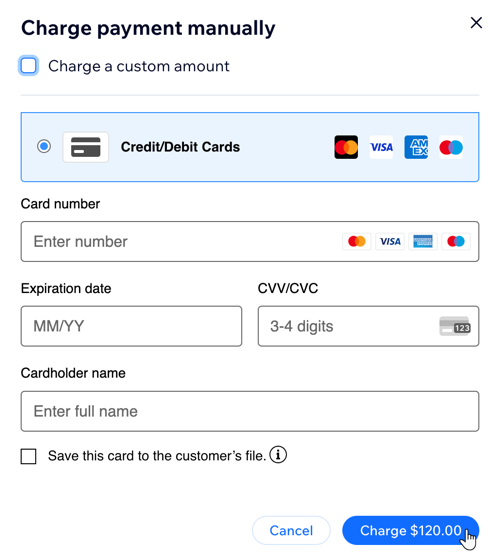
- Select Charge card manually.
- (If Wix Tips is enabled during checkout) Select a tip amount and select Add Tip and Continue, or Continue Without Tip.
Tip: Learn more about adding and setting up Wix Tips. - (Optional) Select the Charge a custom amount checkbox and enter an amount to accept partial payment.
- Enter your client's card details.
- Click Charge.
Note:
You can save a customer's card on file, with their consent, while you manually enter credit card details and then use it to charge future order. Learn more about saving and charging customer cards.
Charging with an invoice
Some customers, especially organizations, require an invoice before they can send you payment. You can create an invoice requesting payment for any unpaid order.
Tip:
Before you send your first invoice, set up invoicing by adding your company logo and business details.
To charge with an invoice:
- Select the order you want to collect payment for.
- Click Collect Payment.
- Select Charge with invoice.
- (If Wix Tips is enabled during checkout) Select a tip amount and select Add Tip and Continue, or Continue Without Tip.
Tip: Learn more about adding and setting up Wix Tips. - Click Create Invoice.
After you create an invoice, you can share it by clicking Send via Email, or you can click More Actions to print your invoice or share it via link.
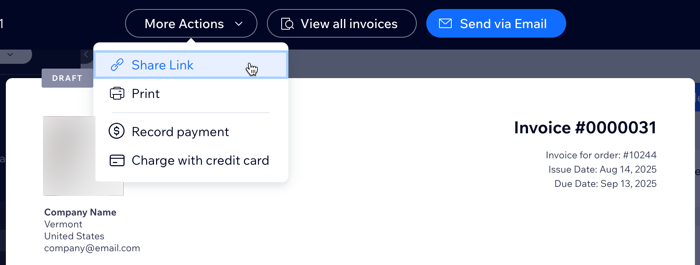
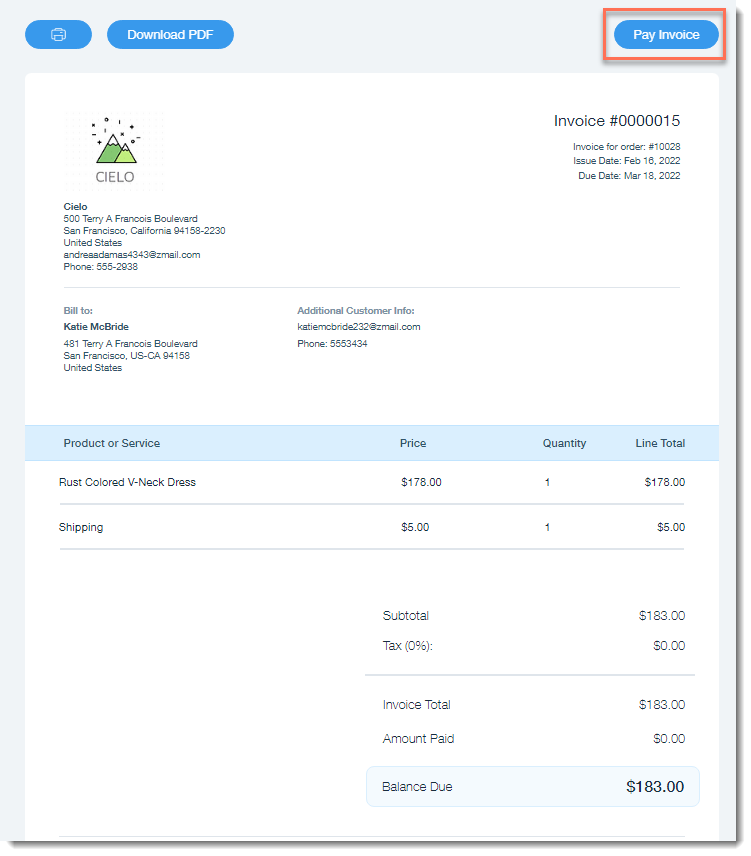
When your customer clicks an invoice link, they'll see a Pay Invoice button, which allows them to pay for an order online using any of your payment methods.
Manually authorizing a payment for later
Important:
- This feature is available for merchants who connected Wix Payments as a payment provider.
- This article is relevant for Wix Stores, Wix Bookings, Wix Restaurants Orders orders, Wix Donations, and is in the process of becoming available for Pricing Plans.
Authorize payment for any unpaid or partially paid order to make sure your customer has the means to cover the cost. When you do, the payment is approved by the customer’s payment method and the sum is held in their account, in readiness to pay, if needed.
Then, before the 7-day hold on the payment comes to an end, you can capture or void the payment.
To manually authorize a payment:
- Select the order you want to collect payment for.
- Click Collect Payment.
- Select Authorize a payment.
- Enter the amount you want to authorize.
Note: It can be less than the order total. - Select or deselect the Capture automatically before the authorization period ends checkbox:
- Selected: The payment is automatically sent to you at the end of the 7-day period, if you haven't taken any action before then.
- Deselected: The payment is automatically voided at the end of the 7-day period. This means that the hold on the payment is released from your customer's account, if you haven't taken any action.
- Enter the customer's card details.
- (Optional) With the customer's knowledge and approval, select the Save this card to the customer's file checkbox. Learn more about saving and charging customers' credit cards.
- Click Authorize.
Learn more about manually authorizing a payment and capturing funds later.
