Wix Stores POS: Selling Products at a Mobile Point of Sale
9 min read
Important:
- This article is about Wix Mobile POS for mobile phones.
- For info on Wix Retail POS for brick and mortar stores, click here.
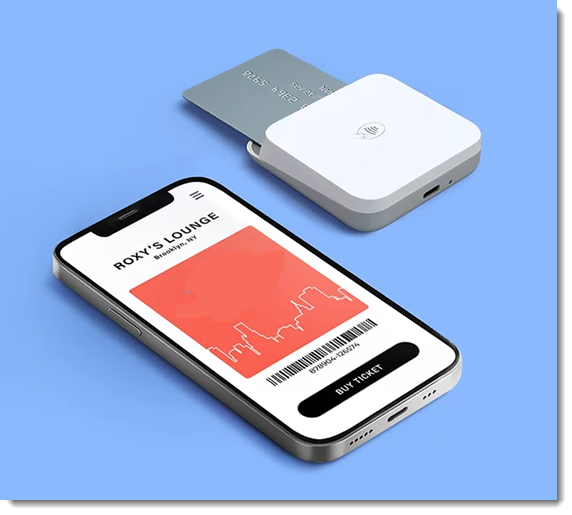
Make your phone a point of sale so customers can buy your store products no matter where you are. Your Wix Stores inventory gets updated automatically. If you also use Wix Bookings, you can book appointments and add them to the sale.
What can't be sold at a mobile POS:
- Digital products, dropshipping products, or product subscriptions
- Products set to be fulfilled by a custom fulfillment service
Step 1 | Set up POS on the Wix Owner app
To use your mobile device as a POS, you must first download the Wix Owner app. After the download, you can start accepting cash payments right away.
To accept credit card payments, you need to do one or both of the following:
Tip:
Make sure you understand how tax collection works at a point of sale.
Step 2 | Add items to the cart
Start by adding the relevant store products to the cart. You can also add a charge of a specific amount of money in addition to (or instead of) your store products. If you also use Wix Bookings on your site, you can book appointments in addition to other items.
To add products, services, or a custom amount:
- Go to your site in the Wix Owner app.
- Tap Manage
 at the bottom.
 - Scroll down to the Get Paid section and tap Point of Sale.
- Select what you want to add to the cart:
Add store products

Add a custom charge
Add Wix Bookings services

Step 3 | (Optional) Add a discount or redeem a coupon
You can offer customers a price reduction in 2 ways. If you created coupons, you can allow customers to redeem a coupon at checkout. Alternatively, you can manually enter any discount percentage you choose.
Note:
You cannot add a discount and apply a coupon to the same sale.
To add a discount or coupon:
- Select a price reduction option:
- Let a customer redeem a coupon:
- Tap Redeem a Coupon.
- Enter the code or tap Choose from the coupon list, select it, and tap Done.
- Tap Apply.
- Add a Discount:
- Select a discount option:
- Percentage discount:
- Tap %.
- Enter the percentage (e.g. 10% discount).
- Tap Apply.
- Price discount:
- Tap $.
- Enter the amount you want to take off the total price. (e.g. $10 discount).
- Tap Apply.
- Percentage discount:
- Select a discount option:
- Let a customer redeem a coupon:
Step 4 | (Optional) Add a customer
You can assign an existing customer to the sale or add a new one.
Note:
If you add a Wix Bookings service to the order, you must add a customer to the sale.
To add a customer:
- Tap the More Actions icon
 in the top right corner.
 - Select Add Customer.
- Add a customer:
- Select an existing customer.
- Tap +Add New Contact to enter the new customer's details, then tap Save.
Step 5 | Process payment
Now you can proceed to checkout and select how you want to be paid.
To process payment for the order:
- Tap Charge.
- Select cash or the credit card payment option you set up:
Cash payment
Card
Manually enter credit card details
(US Only) Accept Tap to Pay
Split payment
Gift card payment
Step 6 | (Optional) Send a receipt
You can optionally send your customer a receipt by email or text message. Note that the receipt text and design cannot be customized.
Sending an invoice after the sale:
To send a new customer an invoice after the sale, you must first send an email receipt.
To send a receipt:
- Tap Send Receipt.
- Select an option:
- Email a receipt:
- Tap Email receipt.
- Enter the customer's email address.
Note: Email addresses are needed if you want to generate an invoice later. - Enter the customer's name.
- Tap Send Receipt.
- Send a text receipt (US & Canada only):
- Tap Text receipt.
- Enter the phone number.
- Tap Text Receipt.
- Email a receipt:
Tip:
You can send (or resend) a receipt later from the Orders tab by selecting the order, tapping the More Actions icon  at the top right, and selecting Send email receipt.
at the top right, and selecting Send email receipt.FAQs
How can I remove an item or all items from the cart?
 and then Clear Cart.
 Is there a way to sell only certain products at my point of sale?
How can I send (or resend) my client a receipt at a later date?
 at the bottom.
I'm using Square as my payment provider. How can I charge for a order?
I'm using SumUp as my payment provider. How can I charge for a order?
Troubleshooting
If new products you added on desktop are not appearing right away on mobile or if some of the product information isn't loading properly, try the steps below.
Step 1 | Refresh the screen
 indicates that the screen is refreshing.
Step 2 | Reload the screen
 at the top right.
 Still need help?
If the problem persists, contact us and we'll be happy to assist you.
Did this help?
|