Wix Stores: A Guide to Setting Up Shipping, Delivery, and Pickup
13 min
In this article
- Step 1 | Set up your regions
- Step 2 | (Optional) Set up a single shipping option
- Step 3 | (Optional) Offer customers more than one shipping option
- Step 4 | (Optional) Offer a Local Delivery Option
- Step 5 | (Optional) Offer Local Pickup
- Step 6 | (Optional) Create Additional Shipping Options via Third-Party Apps
- FAQs
Important:
We're in the process of rolling out new shipping settings. If you have a Create Region button instead of Add Region, then you have the new version. Learn how to set up shipping using the new settings.
Setting up shipping, delivery, and pickup can be a complicated aspect of creating an online store. This article will walk you through the setup process from selecting shipping regions to choosing shipping, delivery, and pickup rules that suit the types of products you sell, and more.
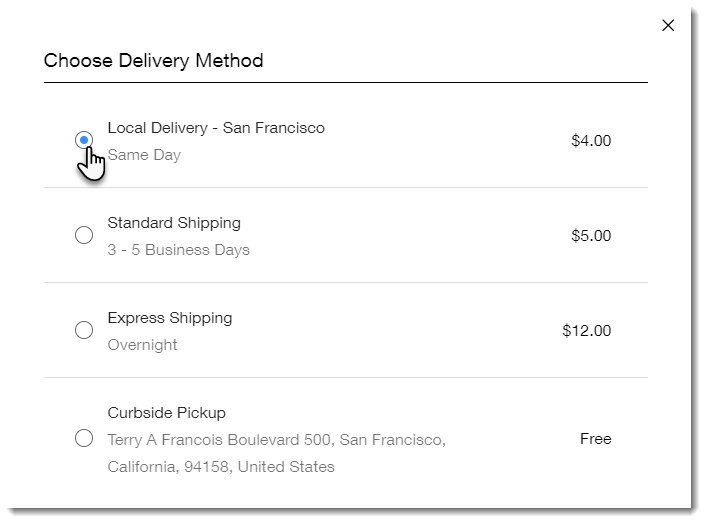
After your rules are in place, your customers will be able to select how they want to receive their order.
Before you begin:
- If you're new to eCommerce, make sure to check how much it actually costs to ship your products to different regions.
- If you set up shipping and tax options in a merchant account in the past (for example in PayPal), remove these settings before setting up shipping in Wix.
Step 1 | Set up your regions
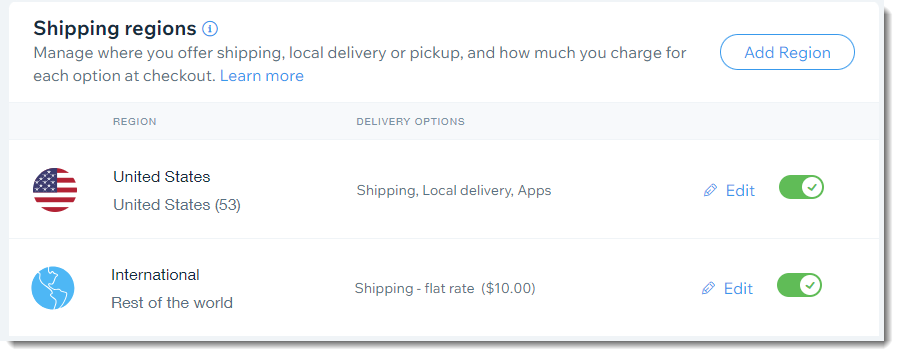
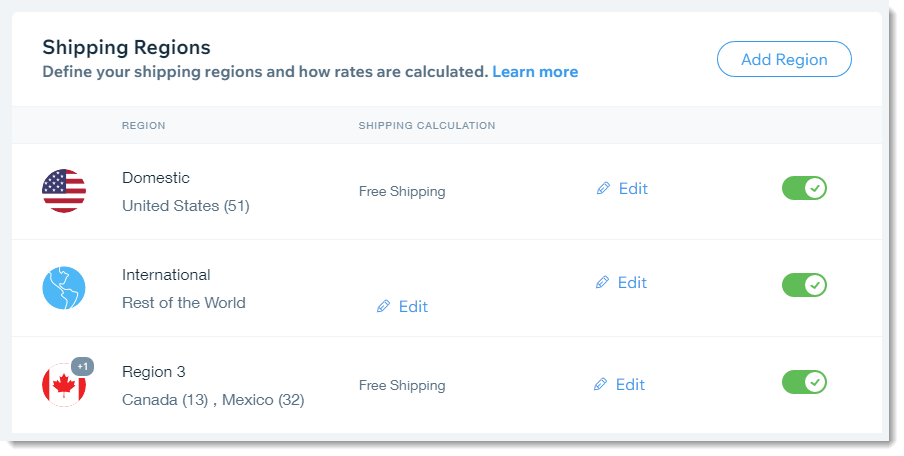
Wix Stores comes with two regions already added: One for your own country (the "Domestic" region), and one for the rest of the world (the "International" region). Both offer free shipping by default.
From this starting point, you can decide which countries (or regions within countries) you want to ship to.
To set up your regions:
- Go to the Shipping & fulfillment settings in your site's dashboard.
- Choose which regions you want to ship to, following the instructions below:
Ship / deliver / offer pickup only to your own country
Ship / deliver / offer pickup only to one or more states or provinces
Ship to a few countries with the same rate for all
Ship to a few countries with different rates
Ship worldwide
Note:
Can't find the shipping region that you need? Please contact us and let us know which region is missing.
Important:
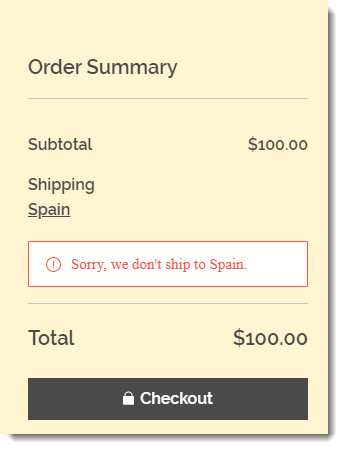
To sell in a region, there must be a shipping rule that applies. For example, if you don't have a shipping rule that covers Spain, Spanish customers are not able to check out.

Step 2 | (Optional) Set up a single shipping option
Now you should have one or more regions set up. By default, regions offer free shipping. From here you can set the shipping rates you want to charge.
To start, select one region and choose the shipping rule that work best for that region, taking into consideration the type of products you sell.
Tips:
- For each region you must select one type of shipping. (e.g. flat rate)
- Different regions can have different types of shipping (e.g. free shipping in your own country and a rate by price rule for another country).
- In a region, you can offer customers more than one option using the same type of shipping (e.g. Standard shipping at $5 and Express shipping at $8.). More on that in step 3 below.
To set up a single shipping option:
- Go to the Shipping & fulfillment settings in your site's dashboard
- Click Edit.

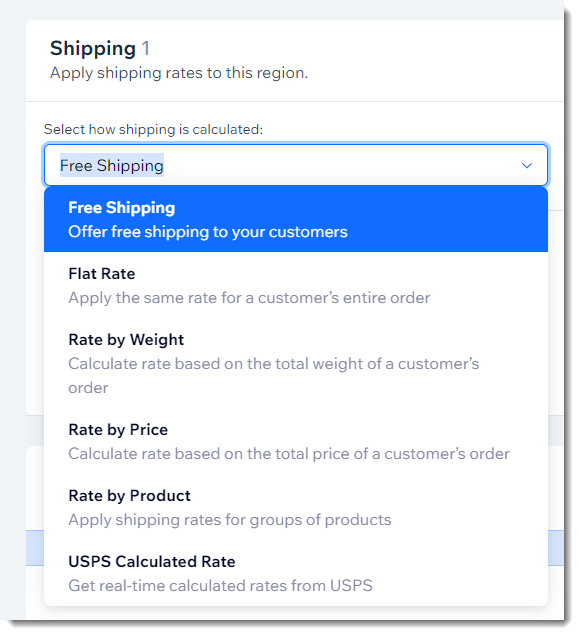
- Select a rule from the drop-down:
Free shipping
Flat Rate
Rate by Weight
Rate by Price
Rate by Product
USPS Calculated Rate
Notes:
- You can set up local delivery and pickup as well as additional shipping options (e.g. Priority Shipping) later.
- For specific information on how to set up a type of rule (e.g. Rate by Weight), click the "Learn more" link above next to the rule you want to set up.
Additional options:
After creating a shipping rule, you can select either of these options.
Step 3 | (Optional) Offer customers more than one shipping option
You can give customers the option of faster shipping for a higher shipping rate. Customers select the shipping option they prefer in the Cart (if you enabled the cart shipping display) or on the Checkout Page.
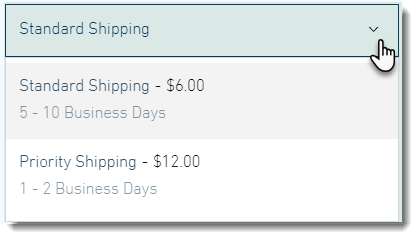
To offer additional shipping options:
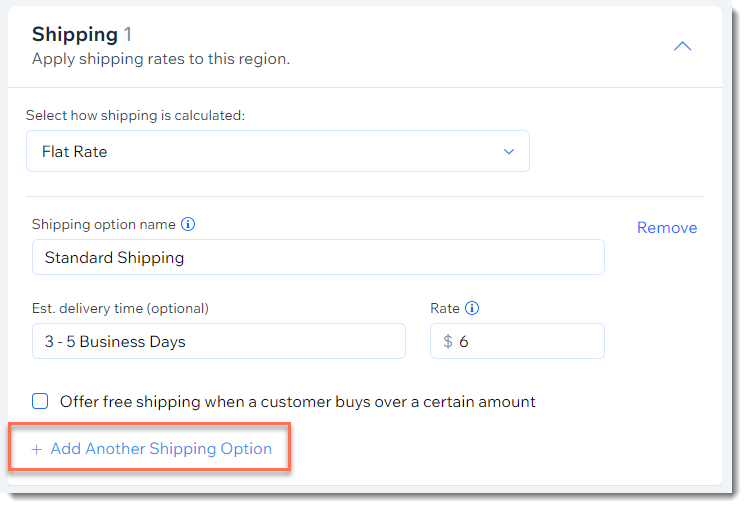
You can creating an additional options by clicking +Add Another Shipping Option.
- Go to the Shipping & fulfillment settings in your site's dashboard
- Click Edit.

- Select a rule from the drop-down.
- Set up the rule you selected (e.g. $6 Standard Shipping).
- Click Add Another Shipping Option.
Step 4 | (Optional) Offer a Local Delivery Option
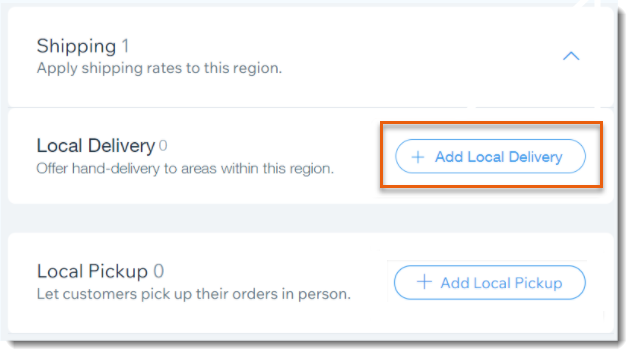
Use the local delivery option to offer hand-delivery in your region. To set it up, select a region, click +Add Local Delivery, and define the delivery area.
Choose whether you want to delivery within a specific time frame (e.g. 1-2 business days) or let customers select which day they prefer to receive the order.
Step 5 | (Optional) Offer Local Pickup
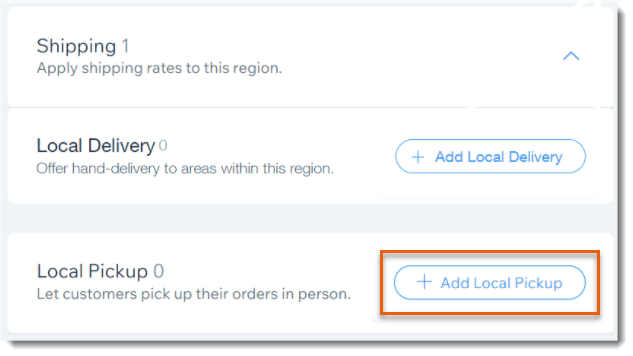
Let local customers pick up orders in person from one or more of your physical locations (e.g. your store, warehouse, etc.). To set it up, click Local Pickup.
Step 6 | (Optional) Create Additional Shipping Options via Third-Party Apps
In addition to the variety of shipping, delivery, and pickup options you can create through Wix, you can add third-party shipping apps to your site and use them to expand your shipping options.
FAQs
How do I change the location of an existing shipping region?
Can I combine a few countries into one region?
Can I set up shipping to US military addresses?
Do I need to set up shipping if I only sell digital products?
What happens if a customer tries to buy from me but I don't ship to their region?
Can I display an estimate of delivery options and costs in the Cart Page?
How can I collect tax on shipping costs?
Can I set up delivery to pickup points near my customers?
How can I test the shipping rules I set up?
Want to learn more?
Check out the full Wix Learn course on getting started with Wix eCommerce. Skip to the fourth video to learn more about setting up shipping.


 on the left side of the Editor.

