Wix Editor: Adding and Setting Up Columns on Your Strip
4 min
In this article
- Splitting a strip into columns
- Adding more columns to a strip
- Changing the column background
- Adding elements to columns
- Customizing your columns
Columns are a great way to section and organize strips on your site. Customize each column individually to suit your site's look and layout, and create eye-catching pages for your visitors.
Splitting a strip into columns
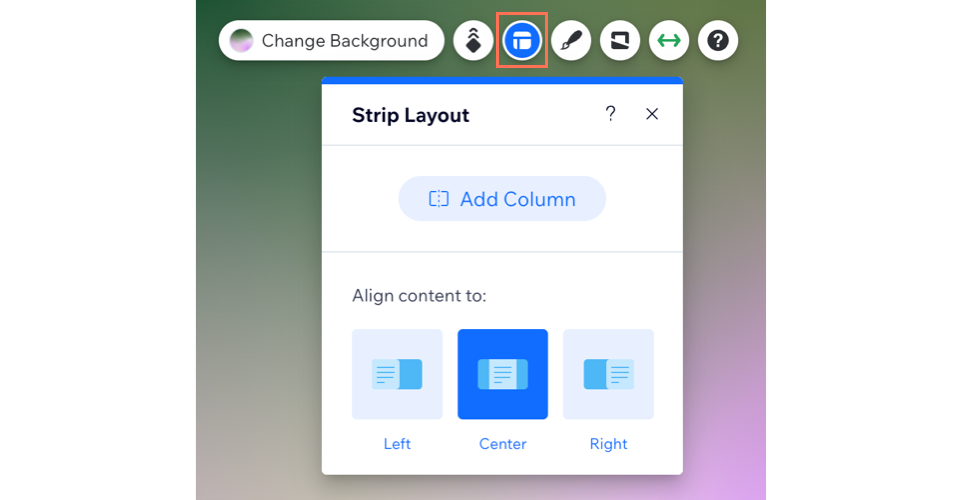
Add a column to a strip quickly and easily from the strip's layout settings to begin constructing and arranging your site's content.
To split a strip into columns:
- Go to your editor.
- Click the strip element on your page.
- Click the Layout icon
 .
. - Click Add Column.

Adding more columns to a strip
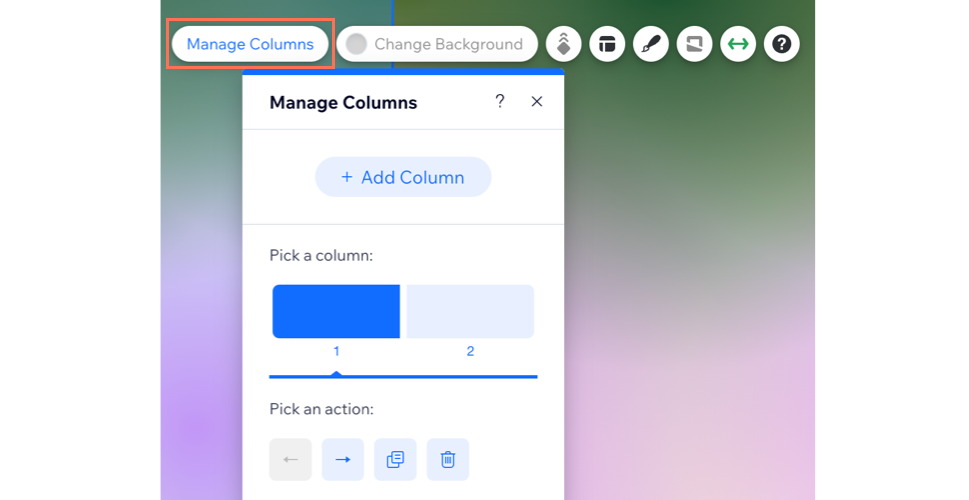
Once you've added your first columns, you can add more to continue organizing and building your strip. You can add up to five columns.
To add more columns to a strip:
- Go to your editor.
- Click the strip element (with at least two columns) on your page.
- Click Manage Columns.
- Click Add Column.

Changing the column background
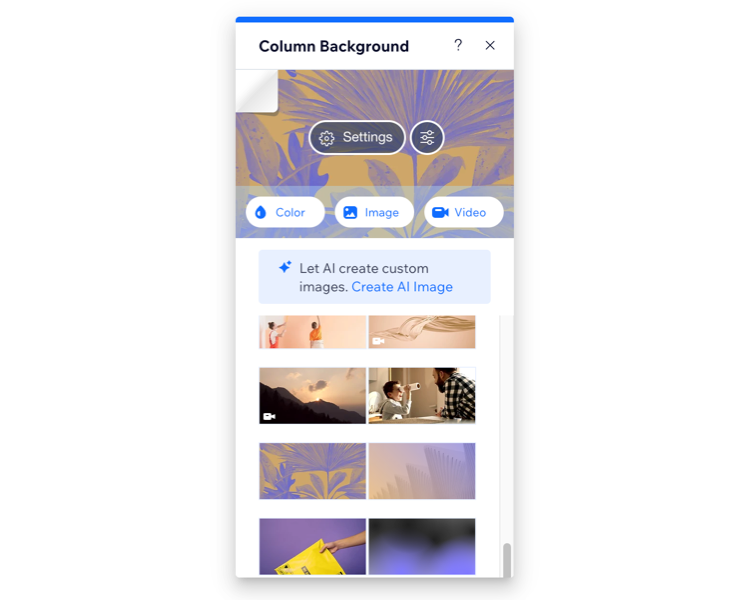
Select an individual background for each of your columns to create an interesting and engaging design. You can choose a color, an image or a video for the column background.
To change the column background:
- Go to your editor.
- Click the column on the strip on your page.
- Click Change Background and choose from one of the following options:
- Color: Choose from a range of colors to either match your site's palette, or create something bold.
- Image: Select from a variety of striking free images, or upload your own.
- Video: Choose a free eye-catching video from Wix, or upload your own through the Media Manager.
- Create an AI Image: Generate a custom image with the AI Image Creator.

Adding elements to columns
Build your page's content by adding elements to columns on your strip. Popular elements to add to columns include text, buttons, and vector art.
To add elements to columns:
- Go to your editor.
- Drag the element to your chosen position on the column.
- Drop the element when you see Attach to Column.
Tip:
For larger elements, make sure the element is smaller than the column. If necessary, resize the element to fit it in the column.

Customizing your columns
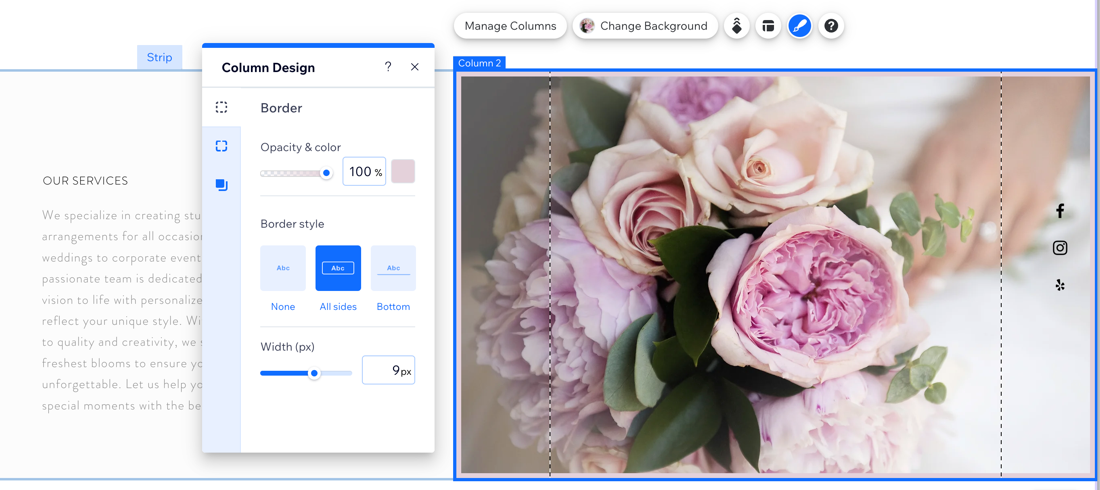
You can customize the columns to look exactly how you want. Adjust settings such as the border, corners, and shadow so that it nicely matches your site.
To customize your columns:
- Go to your editor.
- Click a column on your page.
- Click the Design icon
 .
. - Choose what you want to customize:
Border
Corner
Shadow

What's next?
- Adjust the spacing and sizing of your columns.
- Learn about managing your columns on your mobile site.


 to keep all corners and proportions the same.