Wix Harmony Editor: Adding and Customizing Sections
9 min
In this article
- Adding a new section to your page
- Changing your section layout
- Editing your section name and link
- Customize your section design
Sections help you organize and present content across your site. Each section stretches to the full width of the page, letting you arrange and customize elements with ease, while automatically adapting to any screen size. You can add as many sections as you like, then easily edit or move them around the page.
Adding a new section to your page
Add sections to organize your pages' content. You can get started with our variety of designed sections to simplify the process, or start from scratch with a blank section. You can also generate new sections with AI, describing your exact needs.
To add a new section to your site:
- Go to your editor.
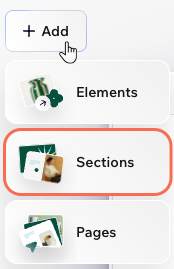
- Hover over + Add at the top left and select Sections.
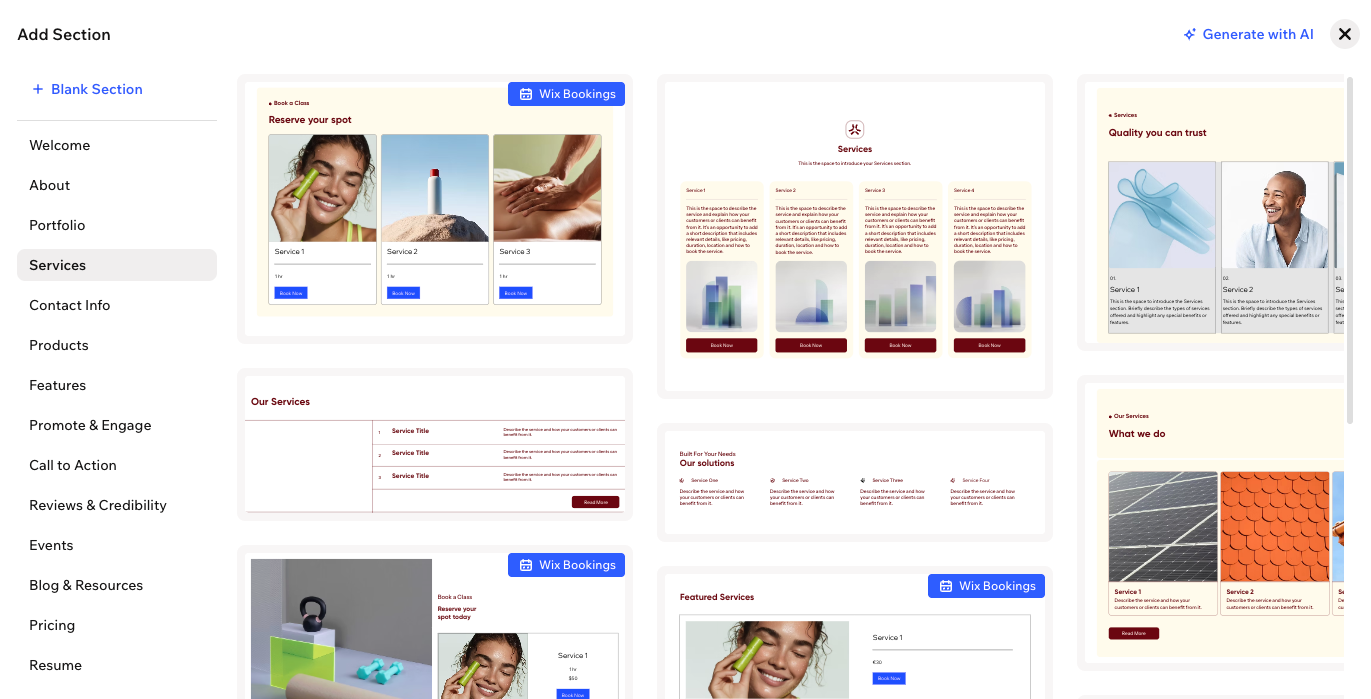
- Choose how you want to start your new section:
- Generate with AI: Get a section created for you, based on your needs, using AI.
- Designed Section: Select from a variety of ready-made section designs. Use the menu on the left to navigate between categories (e.g. Welcome, About, Products)
- Blank Section: Start with an empty section and customize it from scratch.
Tips:
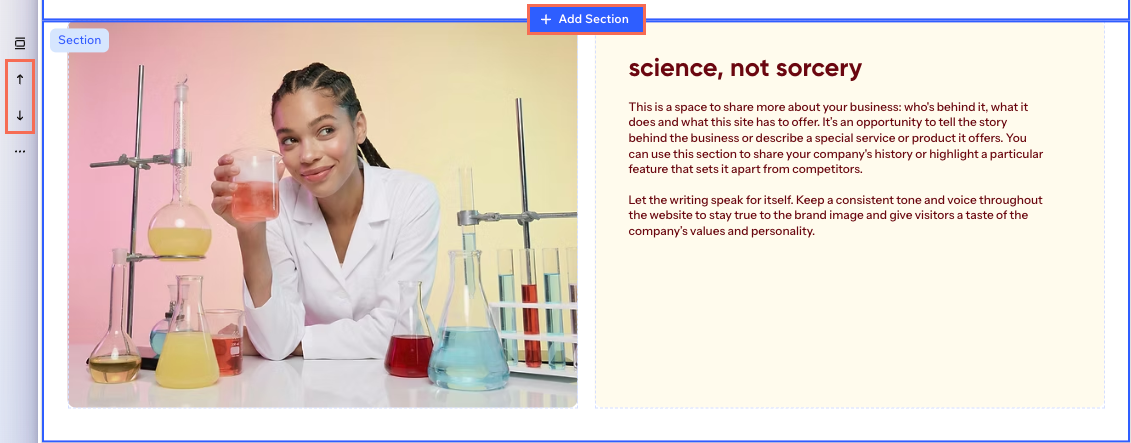
- You can also add a new section directly on the page. Hover over the top or bottom of a section and click + Add Section.
- Reorder sections on your page by selecting a section and clicking one of the arrows on the left to move it up
or down
.
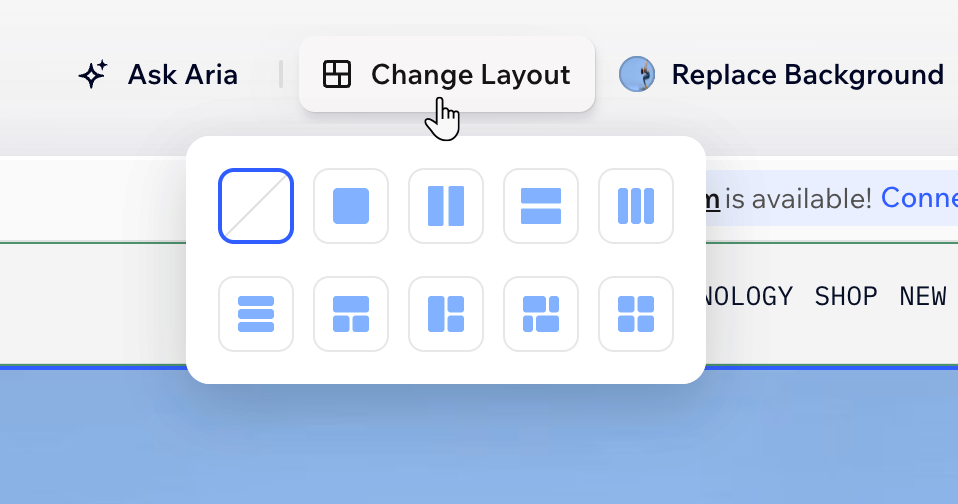
Changing your section layout
Sections have a built-in grid that starts with a single cell holding your entire section. Split the grid into more cells to organize your content. Choose from different layouts, or adjust the grid yourself by splitting or merging cells, adding new ones, and dragging grid lines to resize them. You can also add gaps between cells for extra spacing and a more balanced look.
To change a section’s layout:
- Go to your editor.
- Click the relevant section.
- Click Change Layout on the action bar.
- Choose the grid layout you want from the available options.
- Customize the grid as you wish:
Resize a row / column
Resize the gap between cells
 to customize the gap.
Add more rows and columns
 on the gridline where you want to add a row or column.
Swap cells, rows and columns
 on the gridline to switch between the rows or the columns.
 Design a cell
 on the action bar.
 : Define the cell borders so it stands out, choosing a color, width and style. Click the Edit individual corners icon
  to design each side separately.
 : Make the corners of your cell more square or round by dragging the slider under Radius. Click the Edit individual corners icon
  : Apply inner or outer shadow to give the cell an interesting 3D effect, setting the position, blurriness, color and more.
 on the action bar to get started.
Merge cells
Delete cells
Editing your section name and link
Custom section links are helpful for sharing in emails, on social media, or linking to different parts of your site. Edit your section name and link to clearly label each part of your page and make sharing even easier. When you rename a section, the link updates automatically to match the new name. You can also choose to only customize the link, without changing the section name.
Good to know:
You’re only changing the end of the link that comes after your site’s main address.
To edit your section name and link:
- Go to your editor.
- Select the relevant section.
- Hover on the section's blue label.
- Click the Edit section name icon
 .
. - Choose what you want to do next:
- Edit section name: Enter a new name in the field.
- Edit section link: Click Section link and type your preferred ending for the section's URL (up to 60 characters). Click Copy Link for sharing, or click Open Link to preview it.

Customize your section design
Make your site stand out by customizing each section’s design. You can add dividers for separation, borders for emphasis, animation effects to capture attention, and unique backgrounds that match your brand.
To customize your section design:
- Go to your editor.
- Select the relevant section.
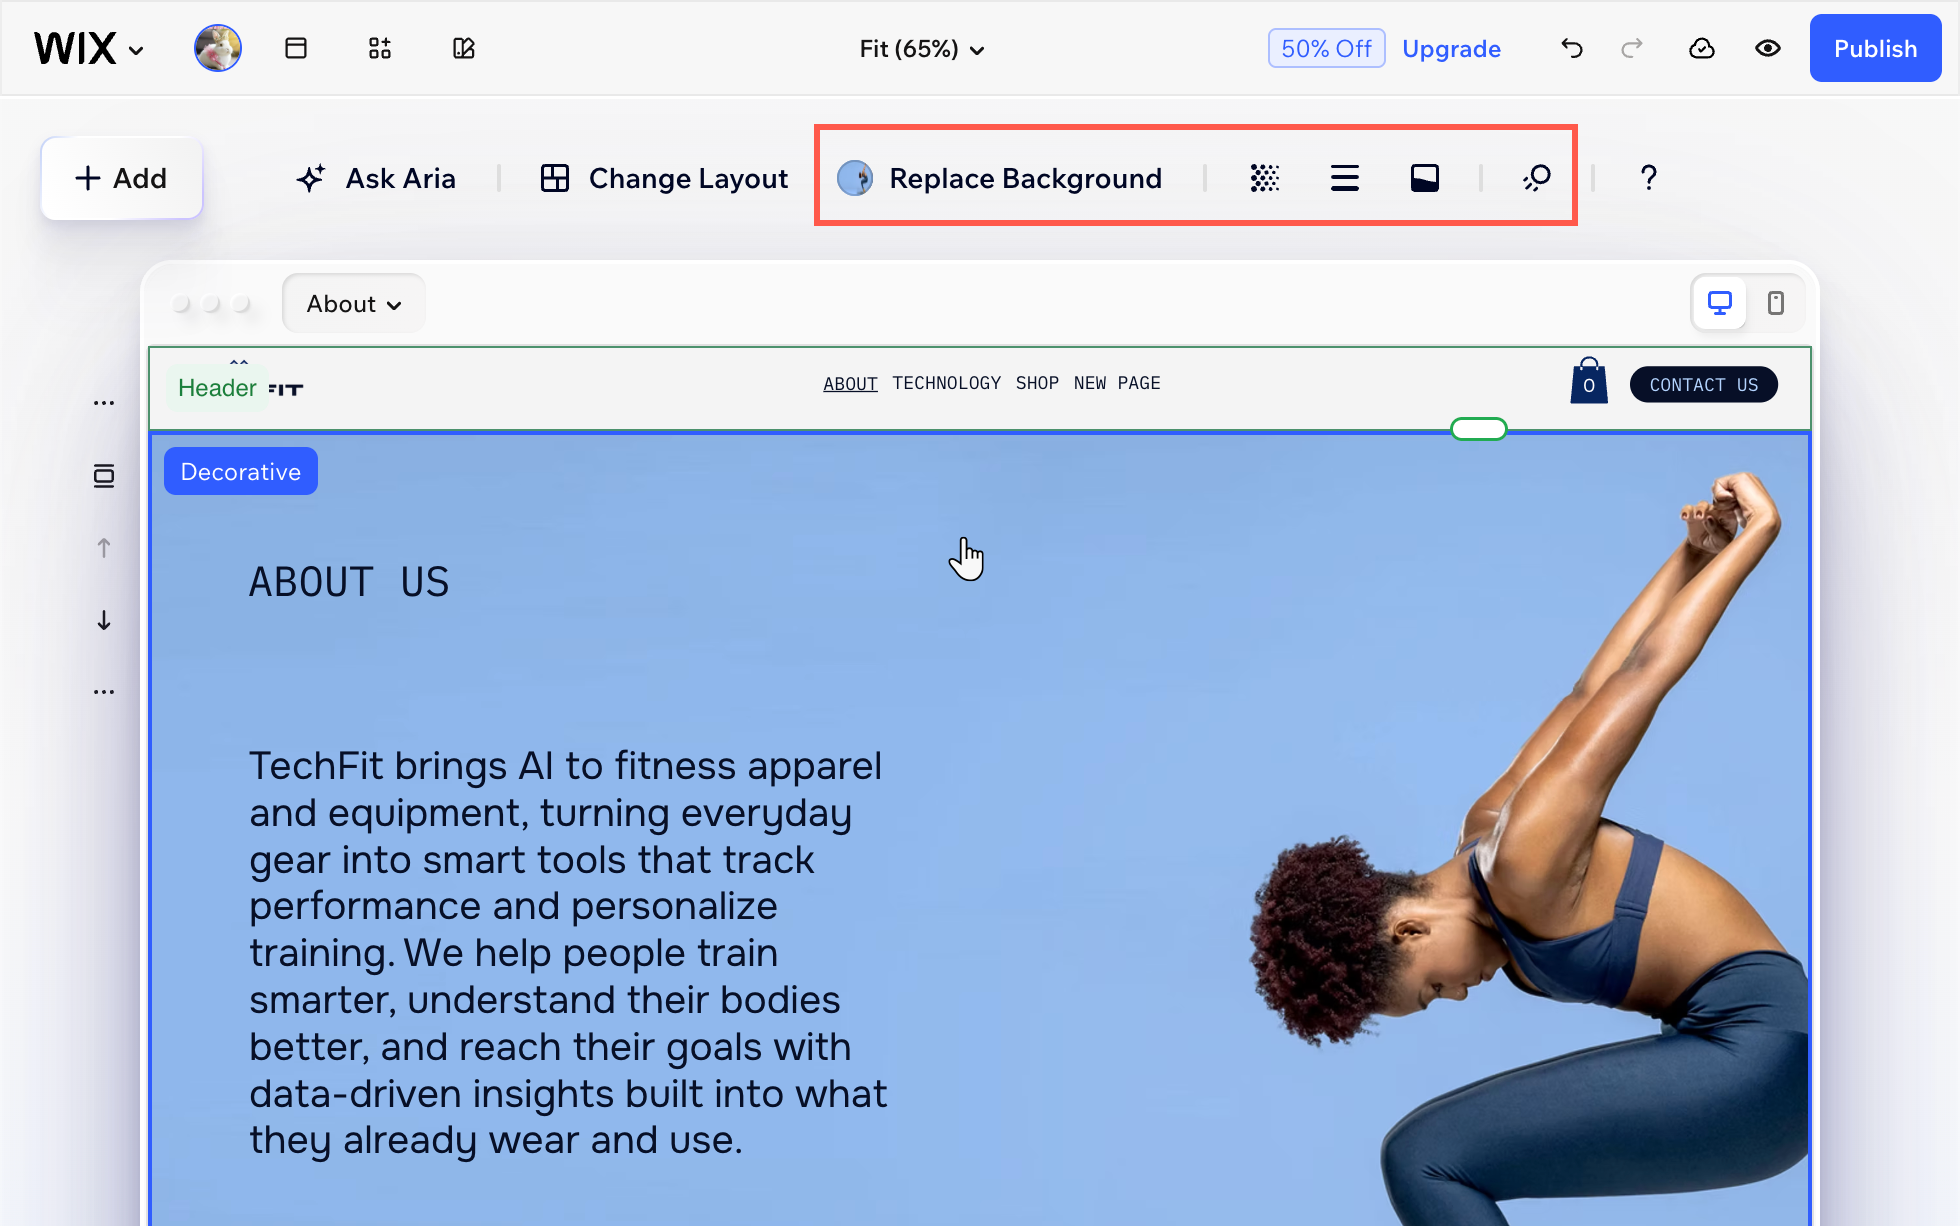
- Choose what you want to customize from the action bar:
- Replace background: Click Replace Background to change your section background by selecting a color, an image, or a video.
- Opacity: Click the Opacity icon
 to adjust the opacity of the section background, image and colors, depending on what your section contains.
 - Borders: Click the Borders icon
 to add or adjust borders around your section. Change the border’s color, width, and style.
 - Section divider: Click the Section divider icon
 to add or edit a line to visually separate your section from the rest of the page.
 - Animations: Click the Animation icon
 and select a background scroll animation so your section looks more dynamic and attention-grabbing.
Note: The available animations vary based on the section background (i.e. color, image or video).