Wix Forms: Adding and Setting Up a Multi-Step Form
5 min
In this article
- Step 1 | Add a form to your site
- Step 2 | Customize the steps of your form
- Step 3 | (Optional) Update your form settings
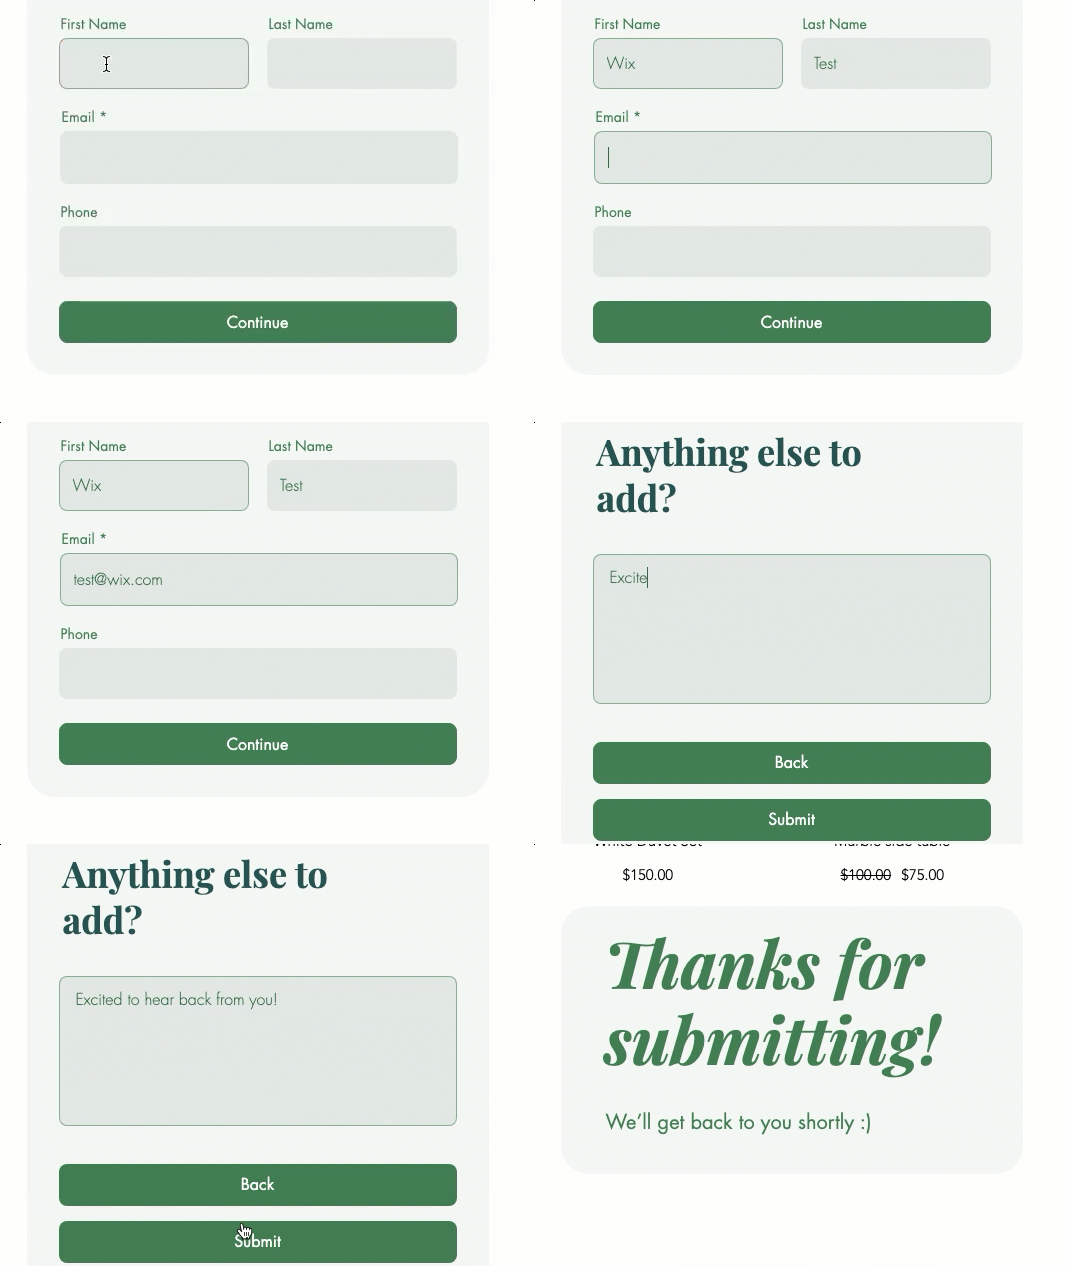
Multi-step forms allow you to organize all the information or questions in a site form into manageable steps that site visitors fill out. These forms are useful for job applications, registration for events, and for collecting information from leads.

Step 1 | Add a form to your site
To get started, add a form to the relevant page.
New Forms
Old Forms
- Click Add Elements
 on the left side of the editor.
 - Click Contact & Forms.
- Click Create New Form and drag the form element onto the page.
Tip: You can also select a form from the pre-installed templates including Contact, Subscribe and Order forms. - Click the form in the editor and click Edit Form to open the form builder.

Step 2 | Customize the steps of your form
Customize each step of your form with the fields you require.
New Forms
Old Forms
- Click the form in your editor.
- Click Edit Form.
- Click Pages
 on the left.
 - Click Add Page.
- Select the new page.
- Click Add
 on the left.
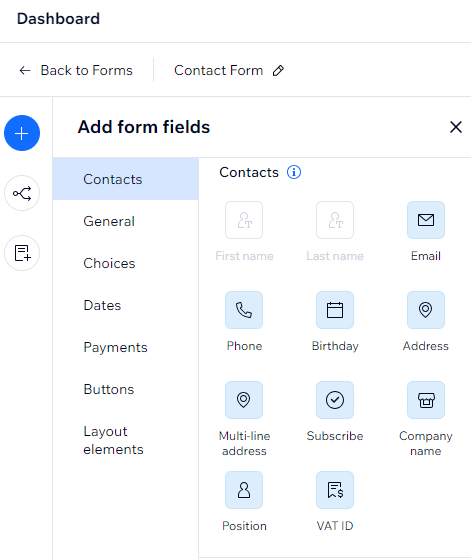
 - Drag the relevant fields onto your new page. The types of fields include:
- Contact fields: Add fields that collect and store personal data in your Contact List.
- General fields: Add elements like multi choice, checkboxes, drop-downs, and answer boxes.
- Date fields: Add time and date fields for appointment scheduling or time sensitive enquiries.
- Layout elements: Add a header or text element to organize the form or further explain a field.
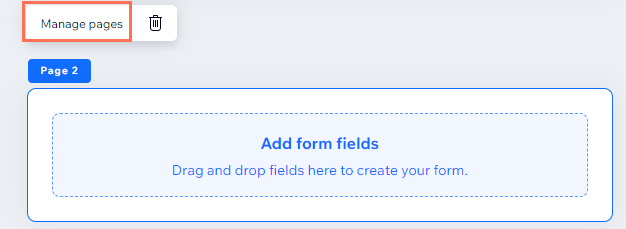
Tip:
To rename, reorder, delete or add additional pages to your form, select the relevant page and click Manage pages.


Note:
To add more steps to your form, upgrade your site.
Step 3 | (Optional) Update your form settings
Update the settings of your multi-step form so it looks and behaves just as you want.
New Forms
Old Forms
- Click the form in your editor.
- Click Settings.
- Update your form settings using the following options:
- Forms: Select an existing form to edit or craft a new one.
- Layout: Adjust the forms padding and spacing.
- Design: Customize the forms background, fields, header and paragraphs and buttons.
- Manage: View and manage all your forms in one place. From here, you can also choose who gets notified when visitors submit the form.
Can't see the setting you're looking for?
For additional settings, select the relevant form and click Edit Form. Each form field you select has its own unique setting options.


