

Wix Events: Optimizing SEO Settings
5 min
In this article
- Optimizing SEO for the Event Details & Registration page
- Optimizing SEO for social sharing
- FAQs
Optimize the SEO settings for all your events to boost their visibility on search engines and social media.
Optimizing SEO for the Event Details & Registration page
By default, the SEO title tag and URL for your Event Details & Registration page are generated from your event name and site name. The page description is automatically pulled from your event content. You can customize the title tag, meta description, and URL to better reflect your event.
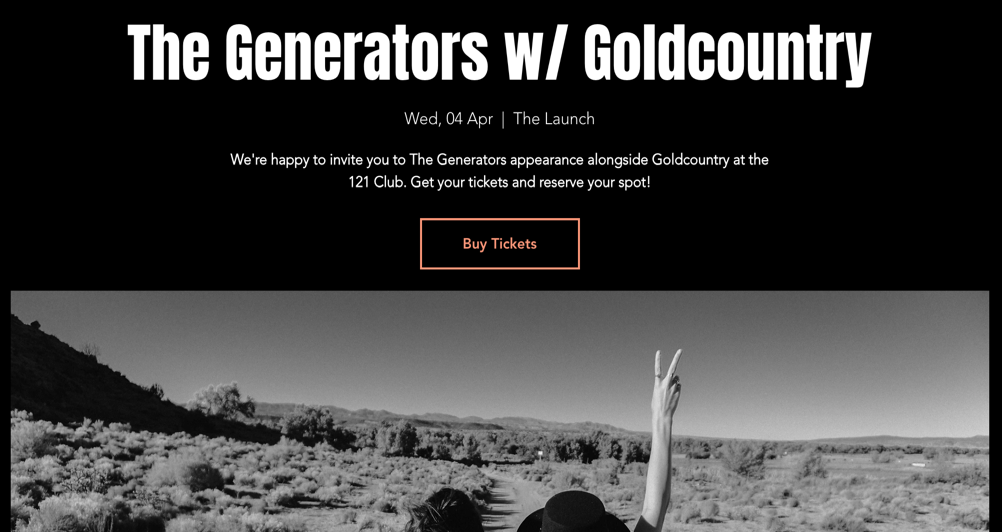
So by default, this page...
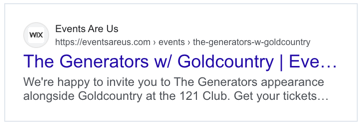
...would look like this in Google search results:
To optimize the SEO for Event Details & Registration page:
- Go to the Published Events tab in your site's dashboard.
- Click the More Actions icon
 next to the relevant event.
 - Select Edit SEO Settings.
- Customize the following SEO settings as needed:
- Title tag: Add a concise title tag that summarizes the page's topic. This is how the title will appear in search engines results.
- Meta description: Write a brief meta description summarizing the event. This helps potential attendees decide if it's relevant for them.
Note: Search engines may show a different description. - URL slug: This is the last part of your page's URL. Only change the URL slug if necessary to reflect the content better. Keep it short, descriptive, and easy to read.
Note: If you update the event's URL slug, traffic from the old URL will automatically redirect to the new one. - Index status: Click the toggle to choose whether search engines can crawl and index your page:
- Enabled: The page will be indexed and discoverable in search results.
- Disabled: The page won't be indexed preventing it from appearing in search results.
- Click Save.
Tip:
You can apply changes to multiple event pages at once using your site's SEO Settings. For more detailed editing, go to the Edit by Page tab to manage URL slugs and meta tags for individual pages.
Optimizing SEO for social sharing
You can customize your Social Share Settings to optimize how your event appears when shared on social media, including the image, title, and description. You can also customize your X (Twitter) settings to display different images and text when shared.
Tip:
Check out the recommended social share image sizes.
To edit the default social share settings:
- Go to the Published Events tab in your site's dashboard.
- Click the More Actions icon next to the relevant event.
- Select Edit SEO Settings.
- Click the Social share tab.
- Hover over the event image and select an option:
- Edit the existing image:
- Click the Adjust icon
 to open the Photo Studio.
 - Edit the image and click Save.
- Click the Adjust icon
- Replace the image:
- Click the Change icon
 .
. - Select an image and click Add to Page.
- Click the Change icon
- Edit the existing image:
- Enter your title in the og:title field.
- Enter your description in the og:description field.
- Click X Settings to set a different image and text for X shares:
- Click the Change icon to select a different image.
- Choose a card size under Select card size.
- Add a page title under x:title.
- Add a page description under x:description.
- Click the Change icon
- Click Save.
Important:
For other social networks, use the following tools:
If you've recently updated your social share image, we recommend entering your site URL into the Facebook debugger to ensure the most up-to-date information is displayed for your site.
For other social networks, use the following tools:
FAQs
Click on a question below to learn more about editing SEO settings for events.
How long does it take for changes to appear in search engine results?
What is the ideal length for an SEO title tag and meta description?
Can I optimize SEO settings for multiple events at once?
What is Open Graph (OG) data and why is it important for SEO?
What is the Advanced tab in the SEO settings of an event?
