

Wix Harmony Editor: Adding, Creating, and Uploading Images
4 min
In this article
- Adding an image to a page
- Uploading your own images
- Create an image using AI
- FAQs
Images make your site more engaging and help you share your message visually. You can add, create, or upload images in just a few steps, using your own photos, free options provided by Wix, or professional stock images that match your style.

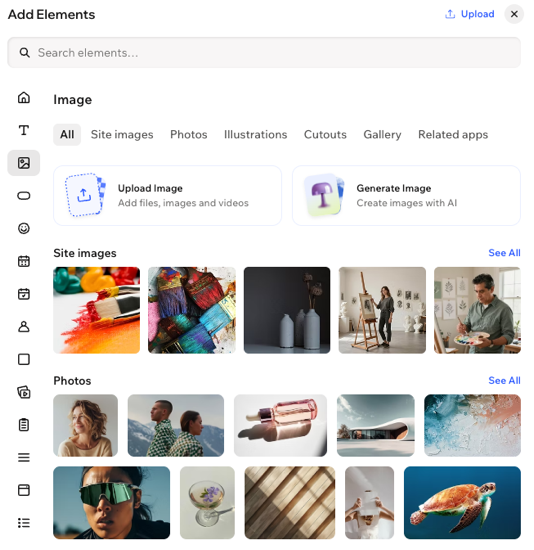
Adding an image to a page
Add images to any part of your page to highlight your content or create visual interest. You can select from your own uploads or explore the wide range of free images and professional options available through Wix.
To add an image to a page:
- Go to your editor.
- Click + Add at the top left of the editor.
- Select Elements.
- Click the Image icon
 on the left.
 - Click or drag an image onto the page.
Uploading your own images
Upload images to your site from your computer, another Wix site, or external sources like social networks and links. Once uploaded, your images are stored in the site's Media Manager, so you can use them anywhere on your site whenever you need.
To upload an image:
- Go to your editor.
- Click + Add at the top left of the editor.
- Select Elements.
- Click the Image icon on the left.
- Click Upload Image.
- Choose where you want to upload images from:
Other Wix sites
Social networks
A link (URL)
 on the left.
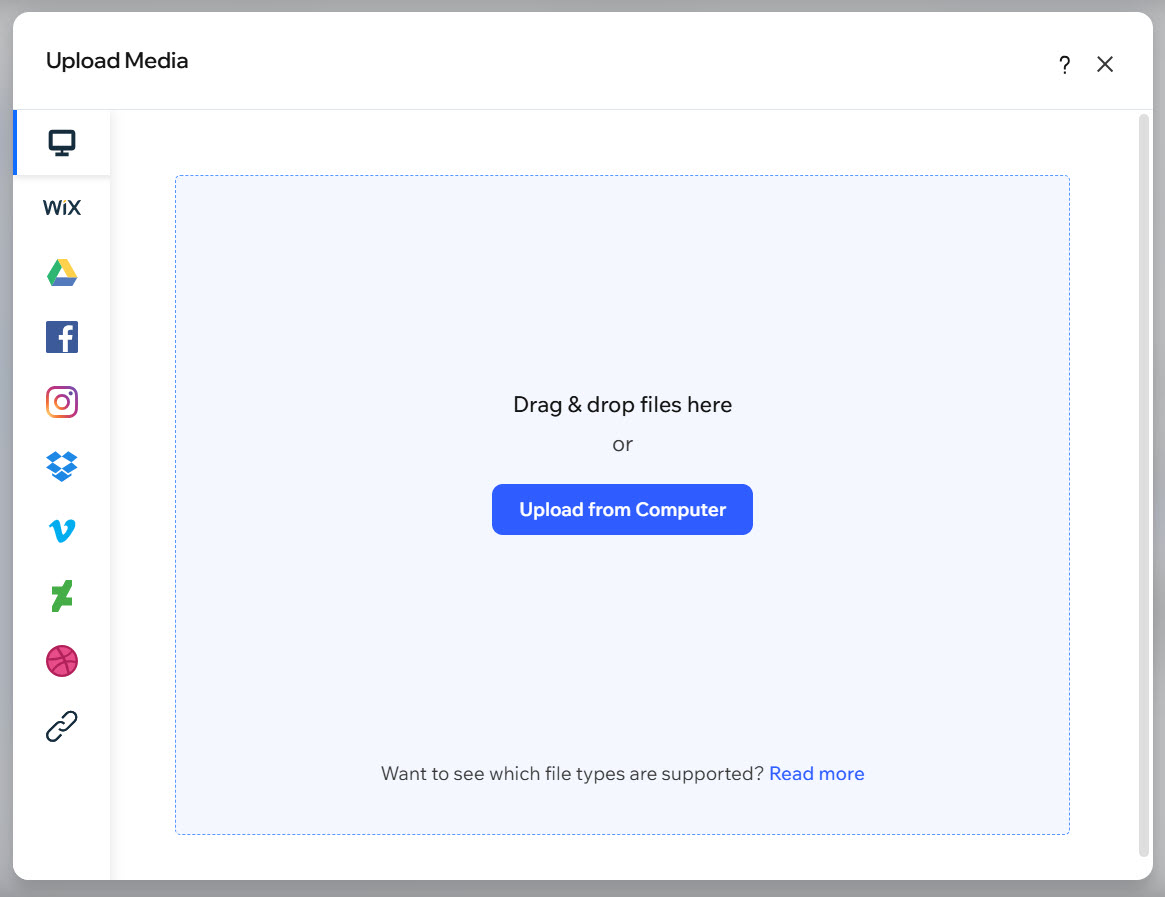
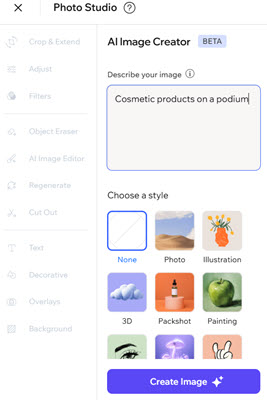
Create an image using AI
Use the Wix AI Image Creator to generate high-quality, custom images for your site. By describing what you want and picking an image style, you can easily create brand-new visuals to match your vision - no design skills required.
To use the AI Image Creator:
- Go to your editor.
- Click the Wix dropdown at the top left of the editor.
- Select Media Manager.
- Click AI Image Creator on the left.
- Enter your prompt under Describe your image.
- Select a style.
- Click Create Image.
- (If necessary) Click Create Again to generate another image.
- Click Use Image.
- (Optional) Edit the image further if needed.
- Click Save to add the image to the site's Media Manager.
What's next?
After adding an image, you can resize and customize your image to fit perfectly with your site’s layout and style.
FAQs
Click a question below to learn more about adding images.
Why can't I change an image on my site to an SVG file?
I'm uploading an SVG file. Can I change its colors in the editor?
Can I drag and drop external images into the editor?
