

Wix Harmony Editor: Adding and Customizing Boxes
4 min
In this article
- Adding a box
- Customizing a box
- Attaching elements to a box
- FAQs
Boxes are versatile building blocks, perfect for creating structured layouts and adding style to your site. Use boxes to group related content, such as images, text, or buttons, to keep your pages organized and visually appealing.
Whether you choose a ready-made design or customize a box from scratch, you have the flexibility to make the element match your vision.
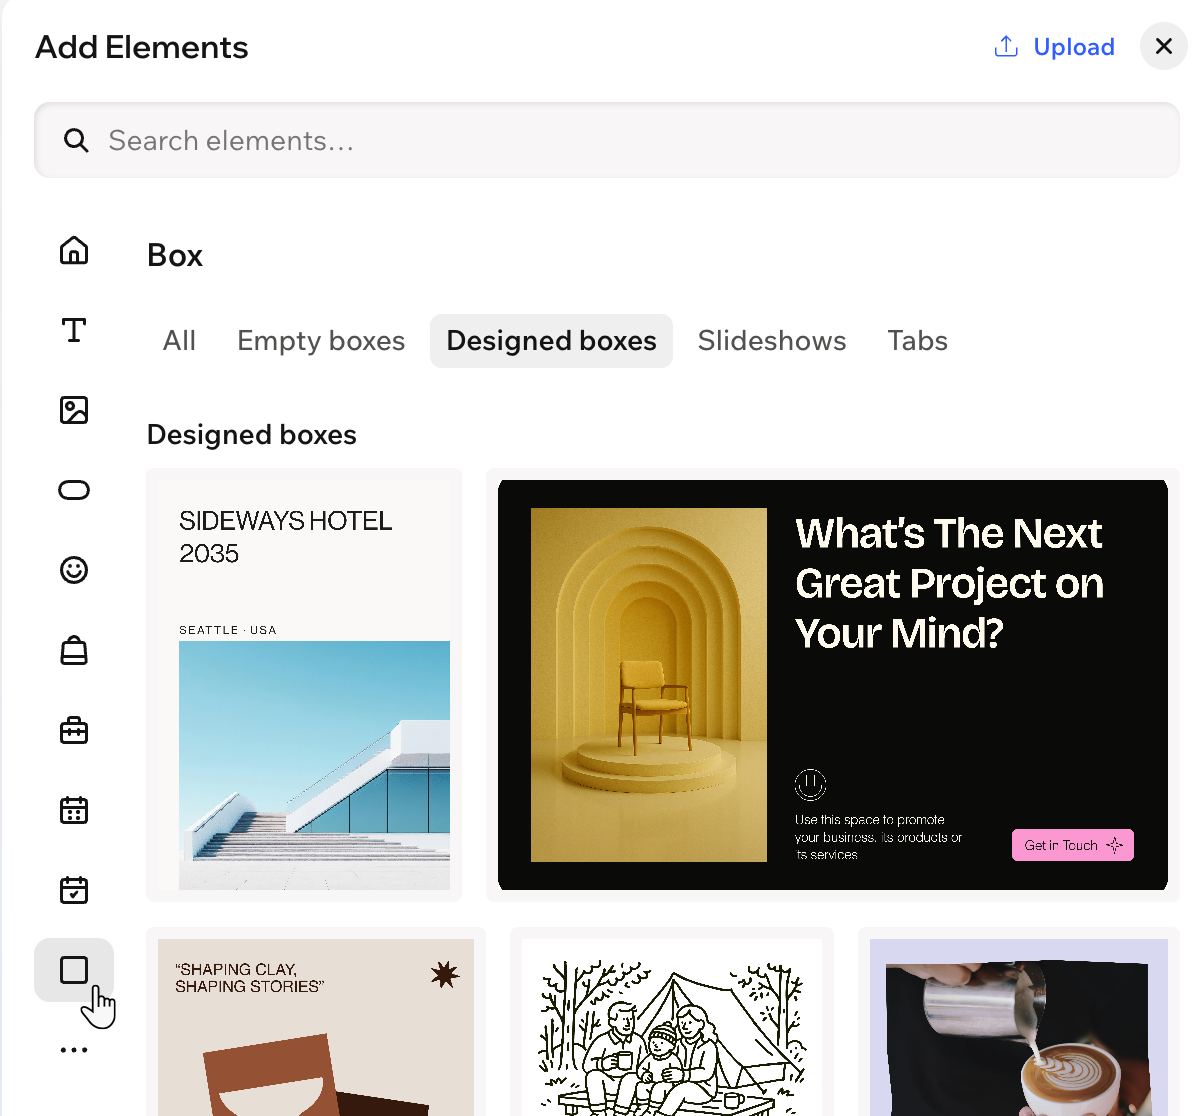
Adding a box
Choose a box that works for your content and style goals. You can start with a blank box for a minimal look or use one of the many pre-designed options.
To add a box:
- Go to your editor.
- Click + Add at the top left of the editor.
- Select Elements.
- Click the Box icon
 on the left.
 - Drag a box onto your page.
Customizing a box
Once you add a box, you can transform its design to fit right in with your site. Adjust backgrounds, borders, corners, and shadows or fine-tune the spacing and layout to help your content stand out.
To customize a box:
- Go to your editor.
- Click the relevant box in the editor.
- Choose what you want to customize:
Change the box background
 and use the options to further adjust the background:
Customize the box design
 on the action bar.
 : Define the borders of your box so it stands out, choosing a color, width and style. Click the Edit individual borders icon
  to design each side of the border separately.
 : Make the corners of your box more square or round by dragging the slider under Radius. Click the Edit individual corners icon
  : Apply inner and outer shadow to give the box an interesting 3D effect, setting the position, blurriness, color and more.
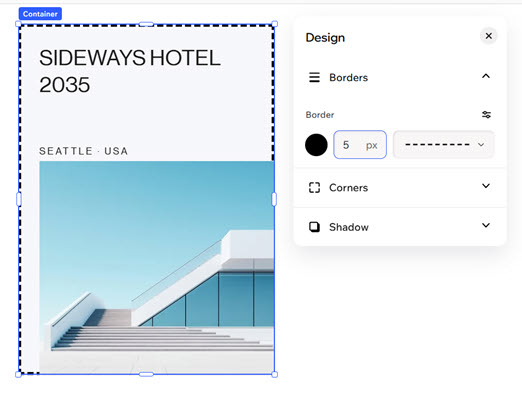
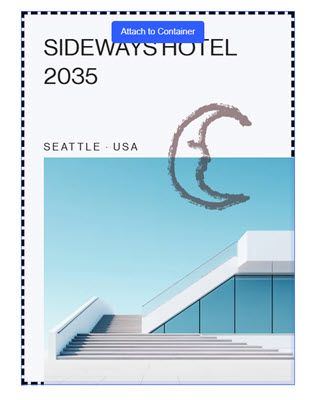
Attaching elements to a box
Boxes help keep your site neat and organized by letting you group elements together. When you drag elements (e.g. text, images, buttons) into a box, everything moves together. This keeps your pages tidy and ensures everything stays right where you want it as you move and rearrange your page.
Note:
An element must be smaller than the box in order to be attached to it.
To attach an element to a box:
- Go to your editor.
- Click the relevant element in the editor.
- Drag it to its desired position in the container and drop it when you see Attach to Container.
FAQs
Click a question below to learn more about boxes.
I attached an element to the box but can't see the element. What happened?
Can I detach an element that is currently attached to the box?
