

Wix Harmony Editor: Working with the Layers Panel
7 min
In this article
- Reordering sections and elements
- Renaming a layer
- Working with layers
- Hiding the header or footer
- Hiding elements on mobile
- FAQs
This article refers to the new Wix Harmony Editor, released in January 2026. If you're unsure whether you’re using the Wix Harmony Editor or the Wix Editor, view more information here.
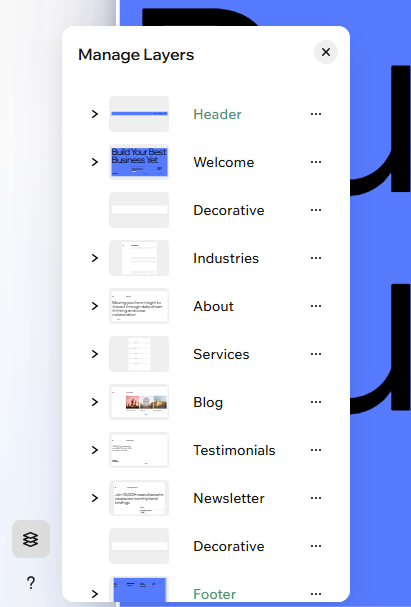
The Layers panel lets you see every section and element on your page in one place. Easily select, reorder, or adjust layers for full control over your layout and structure — so you can build each page exactly how you want.
Reordering sections and elements
Change the order of content on your page anytime. Using drag and drop, you can easily reorder your sections and elements.
To reorder layers:
- Go to your editor.
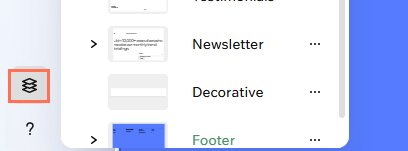
- Click Layers
 at the bottom left of the editor.
 - (In the Layers panel) Find the section or element you want to move.
- Drag the layer up or down to change its position on the page.
Note: You can move elements within their current section. To move an element between sections, drag it on the page or cut and paste it elsewhere.
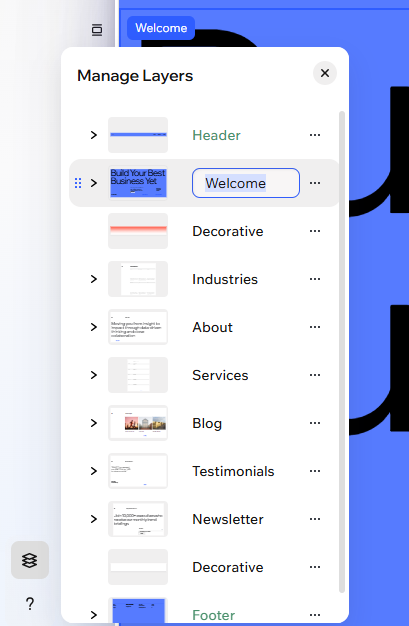
Renaming a layer
Give your layers clear, custom names so you never lose track – even on sites with dozens of sections. These names are only visible within the editor, not to site visitors.
To rename a layer:
- Go to your editor.
- Click Layers at the bottom left of the editor.
- (In the Layers panel) Double-click the relevant element or section.
- Enter a new name and press Enter.
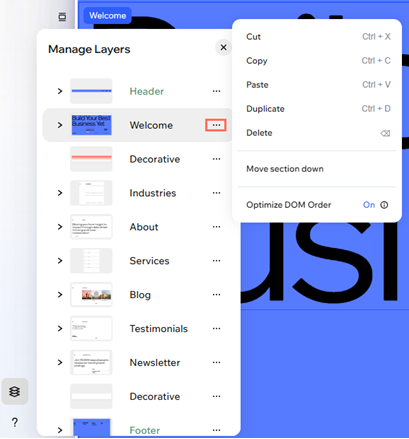
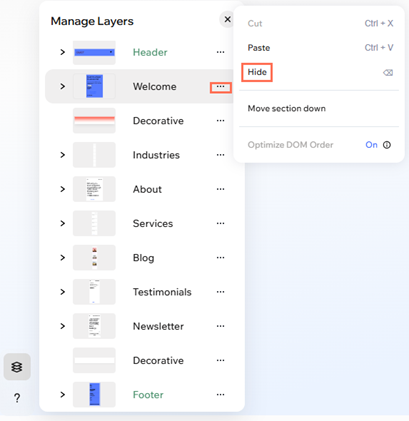
Working with layers
In the Layers panel, you can quickly manage the elements and sections on your page. Cut, copy, paste, duplicate, or delete layers to work faster, pin key elements so they stay visible as visitors scroll, and arrange overlapping items. This keeps your design organized and make precise edits easier.
To select and work with a specific layer:
- Go to your editor.
- Click Layers at the bottom left of the editor.
- (In the Layers panel) Click the More Actions icon
 next to an element or section.
 - Choose what to do next:
- Cut: Remove the layer while copying it to your computer's clipboard, so you can paste it elsewhere on your site.
- Copy: Copy the layer to your computer's clipboard, so you can paste it elsewhere on your site.
- Paste: Paste a layer copied from another part of your site. If it's an element, it's added to the section you're currently working with. If it's a section, it's pasted at the bottom of the page.
- Duplicate: Create an exact copy of the layer for quick editing.
- Delete: Remove the layer completely from your site.
- Pin to screen: Pin an element to keep it visible as visitors scroll, great for social icons, menus or ways to contact you.
Tip: This action is only available for elements, not sections. - Arrange: When dealing with overlapping elements, change the placement of your chosen element:
- Bring forward: Move the element 1 layer above the one in front of it.
- Move backward: Move the element 1 layer below the one behind it.
- Bring to front: Bring the element to the very top layer above all others.
- Send to back: Send the element to the very bottom layer behind all others.
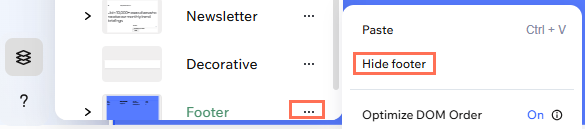
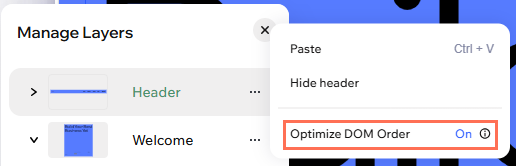
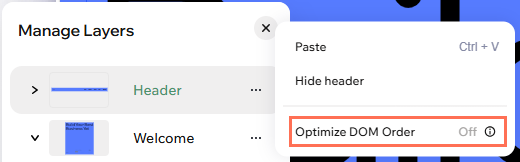
Hiding the header or footer
Want the page's content to take the spotlight? Instantly hide the header or footer for a bold, focused page. This setting applies to the specific page you're working on, and you can flip it on or off at any time.
To hide the header or footer:
- Go to your editor.
- Click Layers at the bottom left of the editor.
- (In the Layers panel) Click the More Actions icon next to Header / Footer.
- Select Hide header / Hide footer.
Tip:
To show the header or footer again, repeat these steps and select Show.
Hiding elements on mobile
Design a mobile experience that’s just right for your visitors. With the Layers panel, you can control exactly what’s displayed on smaller screens, making it simple to keep things focused, organized, and on-brand. You can bring hidden elements back to mobile at any point.
To manage layers on mobile:
- Go to your editor.
- Click the Mobile icon
 at the top right of the page.
 - Click Layers at the bottom left of the editor.
- (In the Layers panel) Click the More Actions icon
 next to the element or section.
 - Select Hide.
Tip: The element disappears from your mobile site but stays visible on desktop.
Tip:
Want to show an element previously hidden on mobile? Switch to mobile view and click the Hidden from mobile tab at the top of the Layers panel. Then, click the Show on mobile icon  .
.
.FAQs
Click a question below to learn more.
How do I control the DOM order of my sections to help with accessibility?
How can I select overlapping elements on my page?
Is there a limit to how many layers or sections I can have?
