

Wix Editor: Changing Your Og:Image
2 min
In this article
- Changing the og:image for a page
- Changing the og:image for a site
- FAQs
Choose which thumbnail image to display when sharing your site on Facebook, X or other social networks. You can set a different og:image for each page of your site, or one image for the whole site.
Changing the og:image for a page
Set a unique og:image for each page or an individual page on your site. Make each page stand out from the rest and create a tailored social sharing experience.
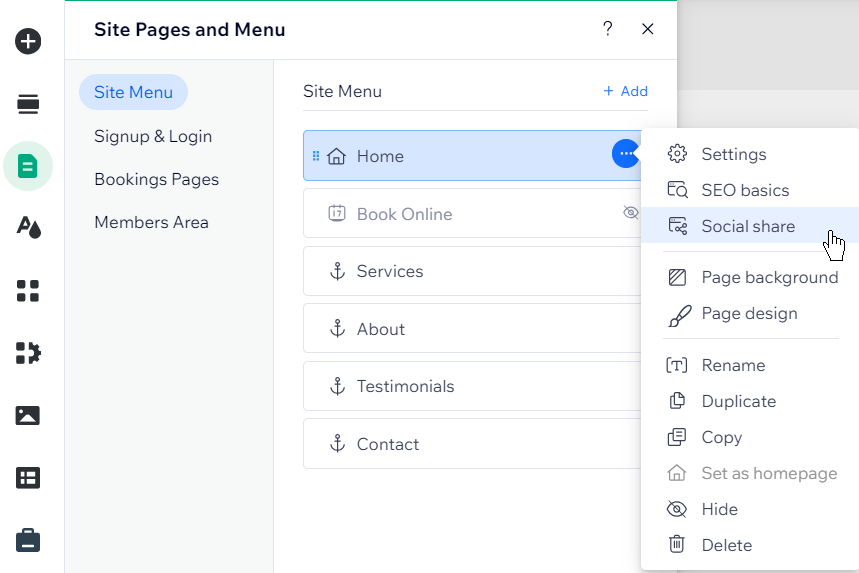
To change the og:image for an individual page:
- Click Pages & Menu
 on the left side of the editor.
 - Hover over the relevant page and click the More Actions icon
 .
. - Select Social share.
- Click Upload Image.
- (In the Media Manager) Select an image or click + Upload Media to upload a new one.
- Click Add to Page.
- Publish your site.
Did you know?
You can also set the page's og:title and og:description from the social share settings.
Changing the og:image for a site
You can also set one og:image for every page on your site to reinforce your brand, and provide a consistent sharing experience.
To change the og:image for your whole site:
- Open your site's settings.
- Scroll down to Site and Domain and click Website settings.
- Scroll down to General social image and click Upload Image.
- (In the Media Manager) Select an image or click + Upload Media to upload a new one.
- Click Add Icon.
- Click Save at the top right.
- Go to your editor and publish your site.

FAQs
Select a question to learn more about og:images.
Do my images need to be a specific size?
What happens if I don’t add an og:image for a page?
What image is shown when I share a blog post on Facebook?
