

Wix Bookings: Translating Your Site
7 min
In this article
- Step 1 | Manage translations in your site's dashboard
- Step 2 | Translate booking pages in your editor
- Step 3 | Translate booking elements in your editor
- Step 4 | Publish and test your site
- FAQs
Expand your reach and attract a global audience by translating your site with Wix Multilingual. Offering your services in multiple languages creates a welcoming experience for visitors worldwide, helping you build trust and increase bookings. With translated booking forms, service descriptions, and more, you ensure every customer can easily connect with your business in their preferred language.
Before you begin:
- Add and set up Wix Multilingual and (optionally) auto-translate your site.
- Currently, Wix Multilingual is not available in the Wix Harmony Editor.
Step 1 | Manage translations in your site's dashboard
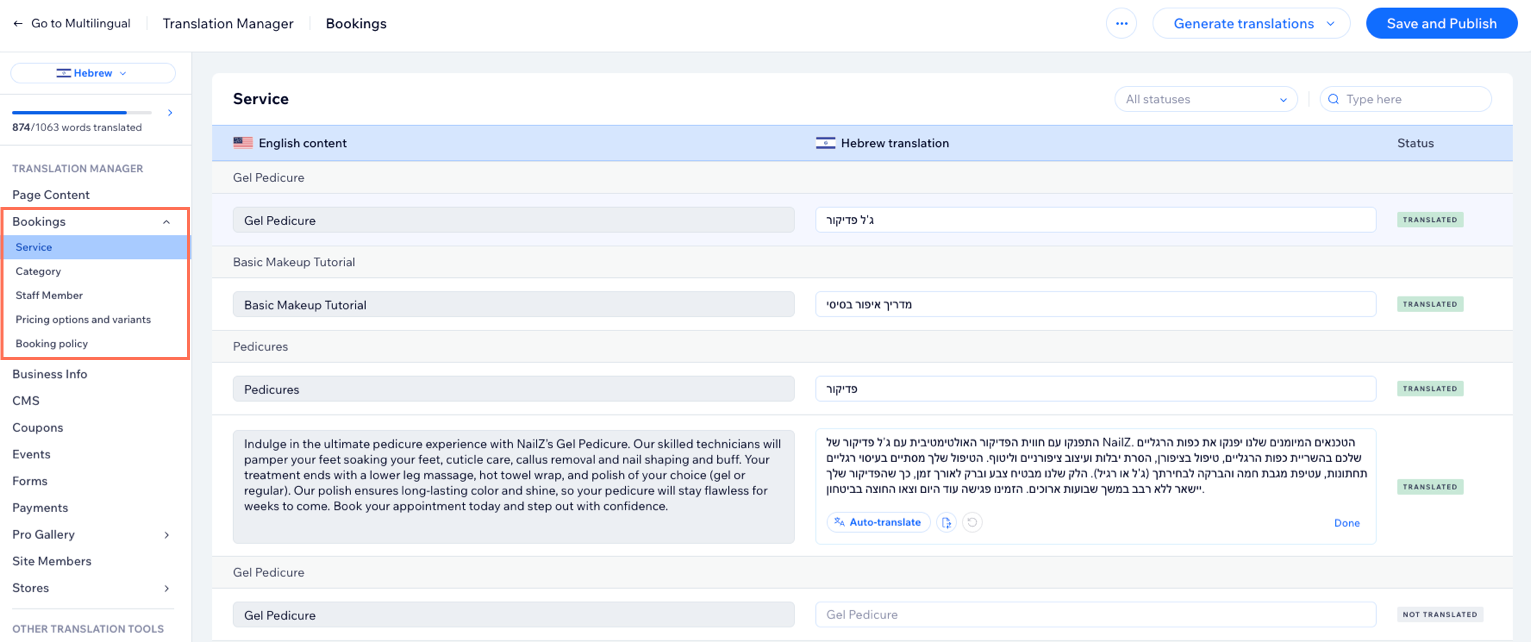
Translate or review the translations for your pricing options and variants, categories, services, and booking policies in the Translation Manager.
To manage your translations:
- Go to the Translation Manager in your site's dashboard.
- Click Bookings on the left.
- Choose the relevant option:
- If you auto-translated your site: Review each of the automated translations and edit if necessary.
- If you didn't use auto-translation: Translate each of the content types on the left and manually translate the content strings one by one.
Step 2 | Translate booking pages in your editor
Next, go to your editor and translate all Wix Bookings pages including the Service page, Booking Calendar page, Cart page and more. Some text may already be translated automatically, but you can edit it if necessary.
Note:
When you add Wix Bookings, the pages include default text that translates automatically. If you change this text, you'll need to translate it manually.
Wix Editor
Studio Editor
- Go to your editor.
- Click the Switch languages drop-down menu at the top of the editor.
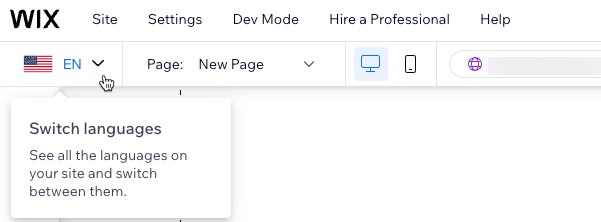
- Select the language you want to edit.
- Go to your Bookings pages:
- Click Pages & Menu
 on the left side of the editor.
 - Click Bookings Pages.
- Click the page you want to edit. For example, the Service page.
- Click Pages & Menu
- Click the booking element on the page (e.g. the service page element).
- Click Settings.
- Click the Text tab.
- Update the relevant text as needed.
Step 3 | Translate booking elements in your editor
You can translate any of your booking elements, such as the featured service and next availability elements. Note that some elements are optional additions that you may not have added to your site.
Wix Editor
Studio Editor
- Go to your editor.
- Click the Switch languages drop-down menu at the top of the editor.
- Select the language you want to edit.
- Go to the relevant page in your editor:
- Click Pages & Menu on the left side of the editor.
- Click the page you want to edit.
- Click Pages & Menu
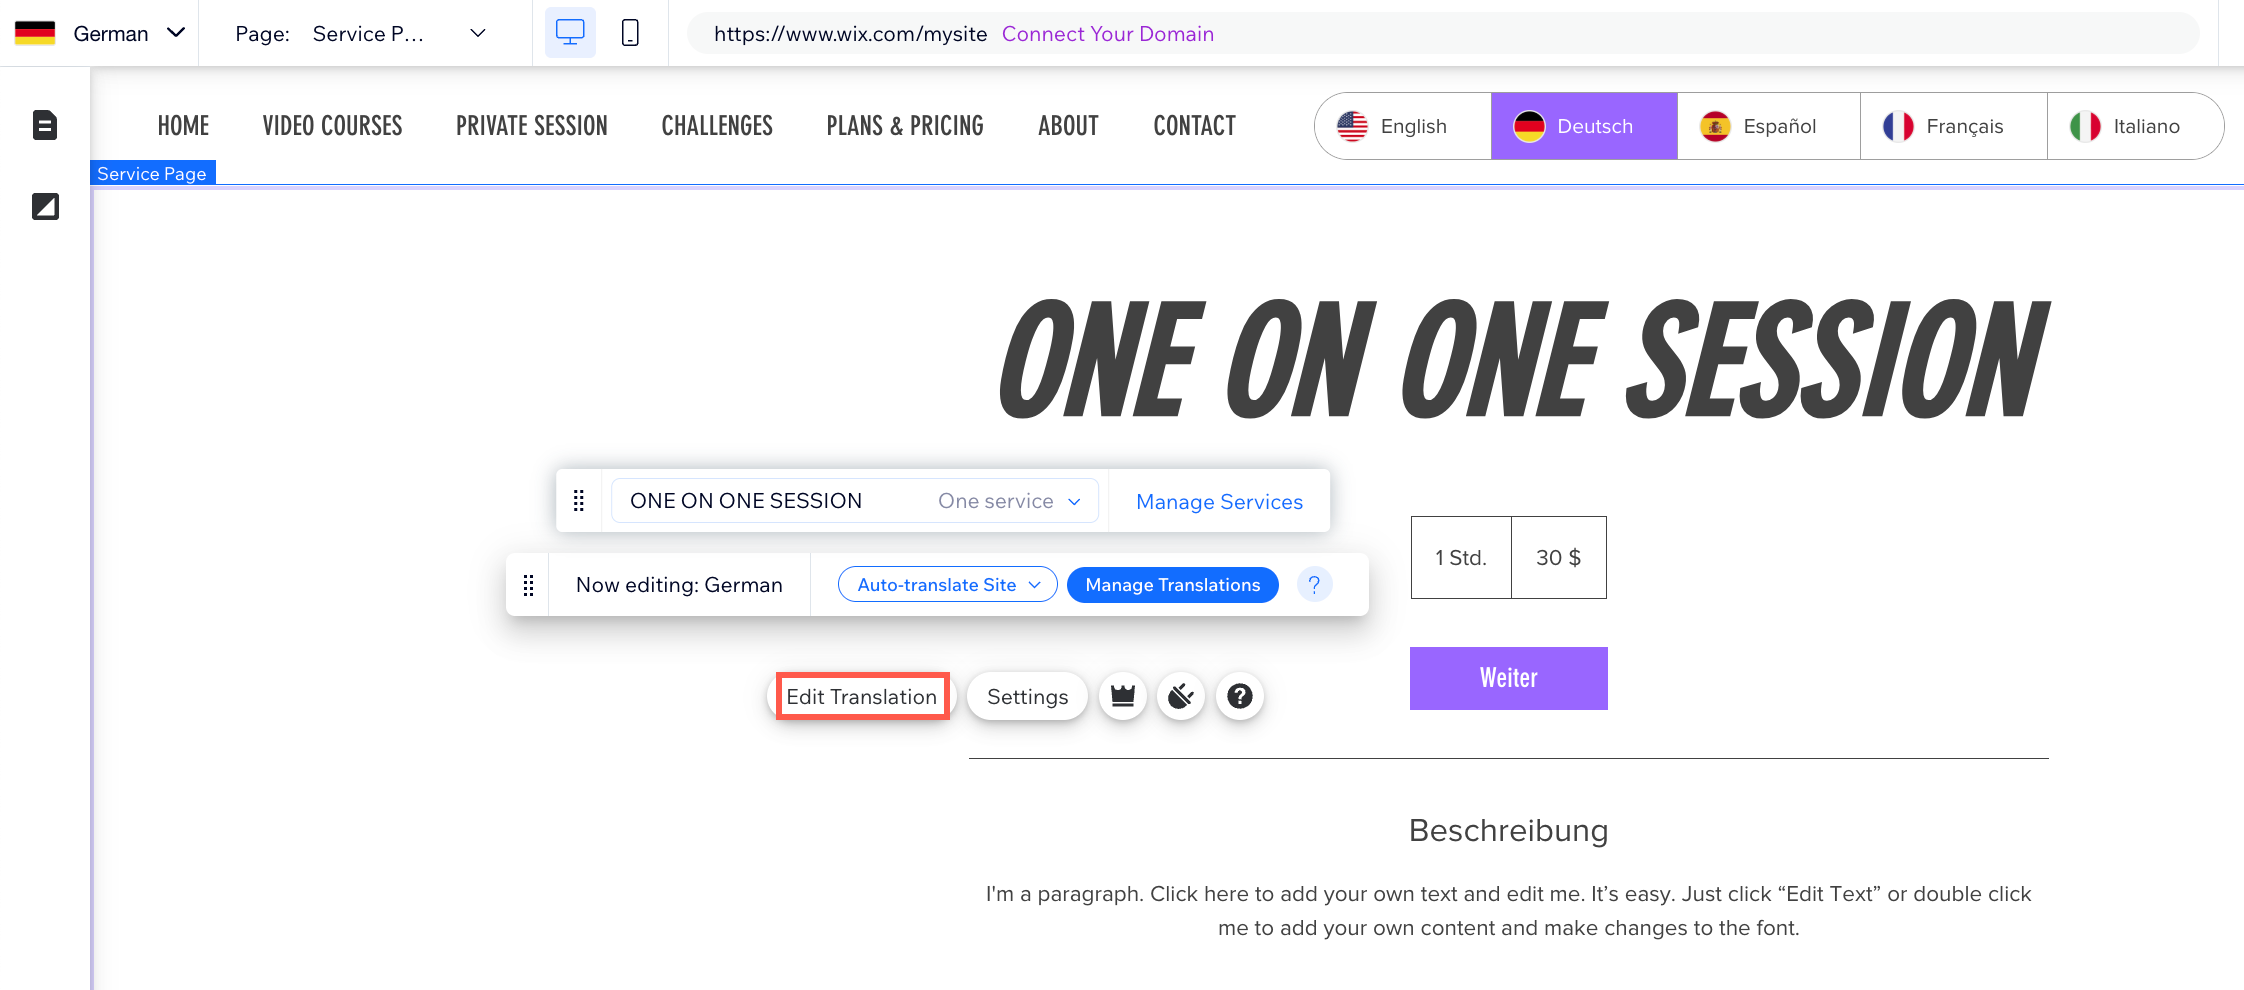
- Select the element you want to translate (e.g., featured service, service list, calendar).
- Click Edit Translations to translate the text that were not automatically translated.
- Enter your translations.
- Click Save and Publish.
Step 4 | Publish and test your site
Once you've finished translating your site, make the language visible to visitors. We recommend previewing the checkout process in each language, before you launch your multilingual bookings site. This lets you view what customers in each language will see when they make a purchase. Then publish your site as usual.
What's next?

Continue translating the other pages in your site. We also recommend translating your automated emails into your site's languages. This allows you to speak to your audience in their language, offering a more local experience.
FAQs
Click a question below to learn more about translating Wix Bookings with Wix Multilingual:
Is all text in Wix Bookings translatable?
Can I translate different pricing options for my services?

Can I translate my booking form automatically?
What if I run out of auto-translating word credits?
What happens if I update my booking policies after translating them?
Can I exclude specific content from auto-translation?
Why do I see untranslated text on my booking pages?
