

Wix Blog: Adding Profile Pages for Your Blog Writers
4 min
In this article
- Adding profile pages for your blog writers
- FAQs
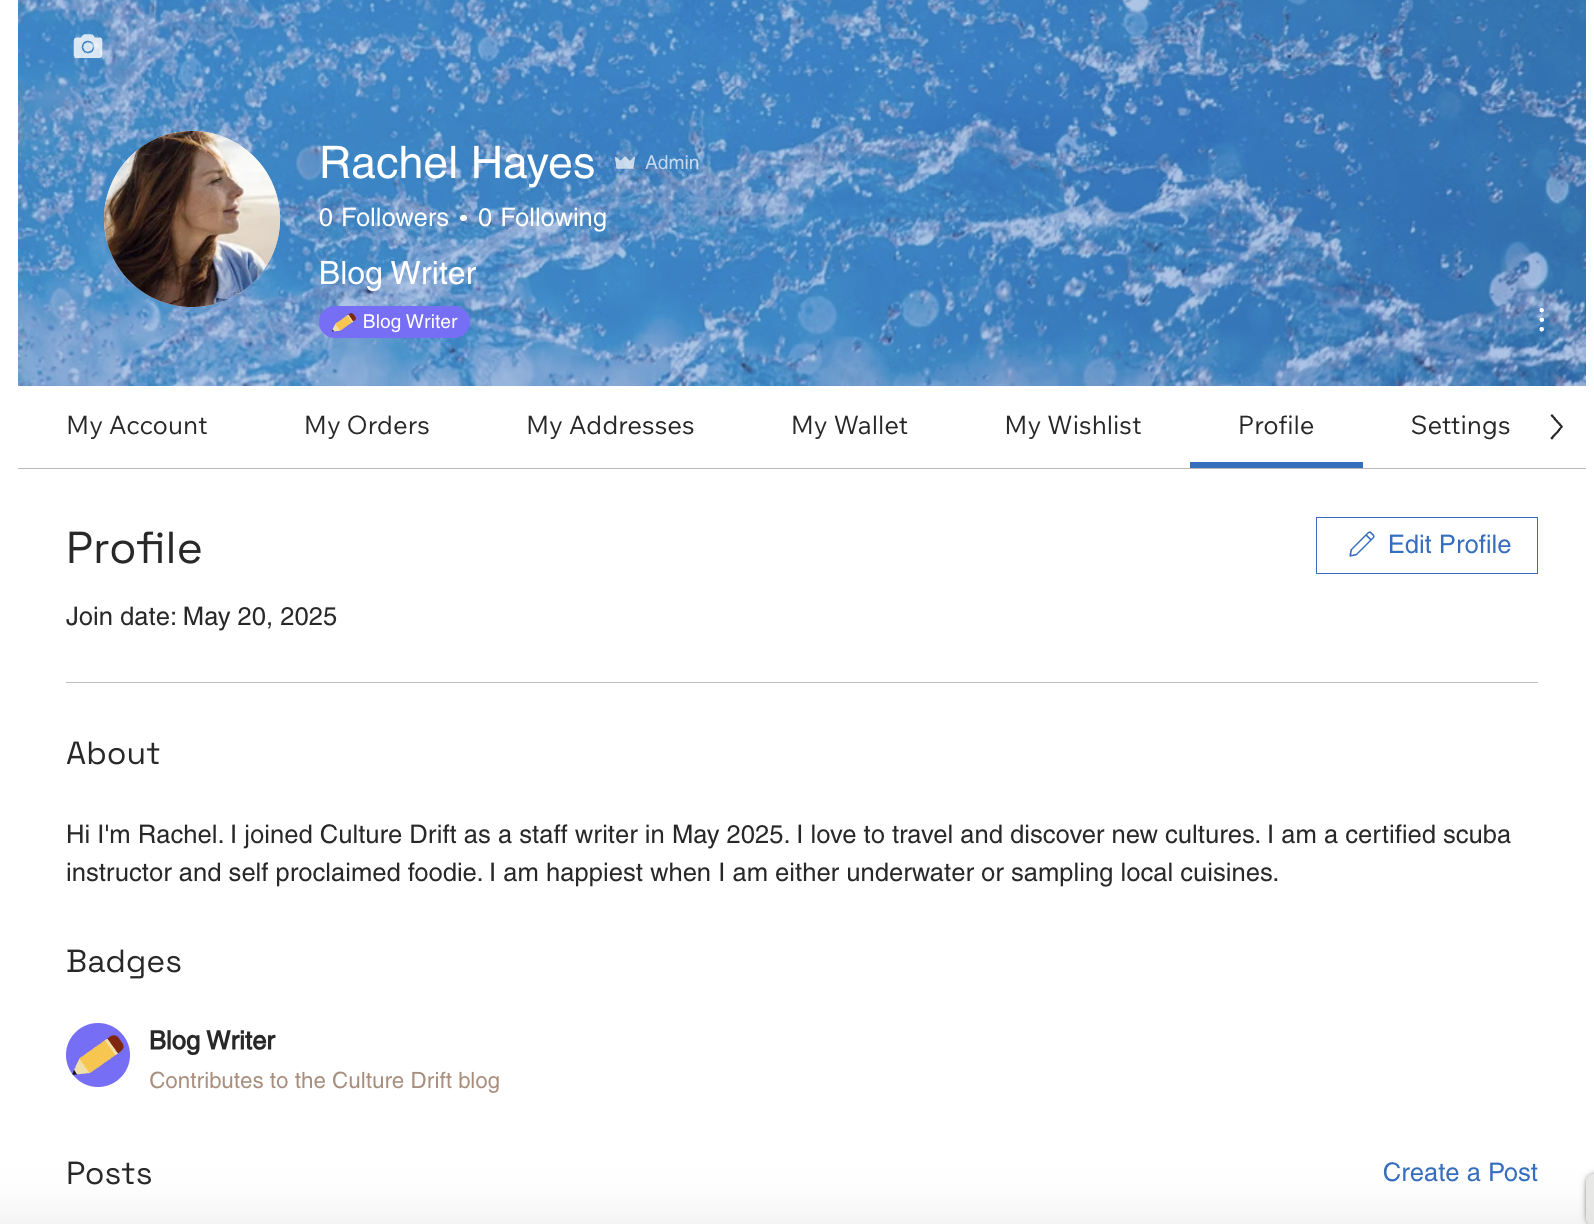
Using the Wix members area you can create dedicated profile pages for your blog writers. Profiles display key details like the writer’s photo, bio, and links to their recent posts. You can choose what information to show or hide on each profile. This customization helps build trust and creates a meaningful connection with your audience.
Before you begin, you need to:
- Add Wix Blog to your site.
- Add a members area if your site doesn't have one.
Adding profile pages for your blog writers
Add a profile page for each of your blog writers, so your site visitors can get to know who your writers are. This helps make your blog more familiar and allows you to build a better connection with your site visitors. Profiles are listed under the Writers tab in your dashboard.
To add a profile page:
- Go to Blog in your site's dashboard.
- Click Writers on the left.
- Choose to add a new writer or edit existing writer info:
- Add a new writer:
- Click Add Writer at the top right.
- Choose how to add the writer:
- Invite a new writer:
- Click Invite a new writer and click Continue.
- Enter the relevant email address in the Email field.
- Select a blog role: Blog Writer, Blog Editor or Guest Writer.
- Click Send Invite.
Note: The invitee needs to accept the invitation before you can set up a profile.
- Create a writer profile:
- Click Create a writer profile.
- Click Continue.
- Invite a new writer:
- Edit existing writer info:
- Click Edit next to the relevant writer.
- Add a new writer:
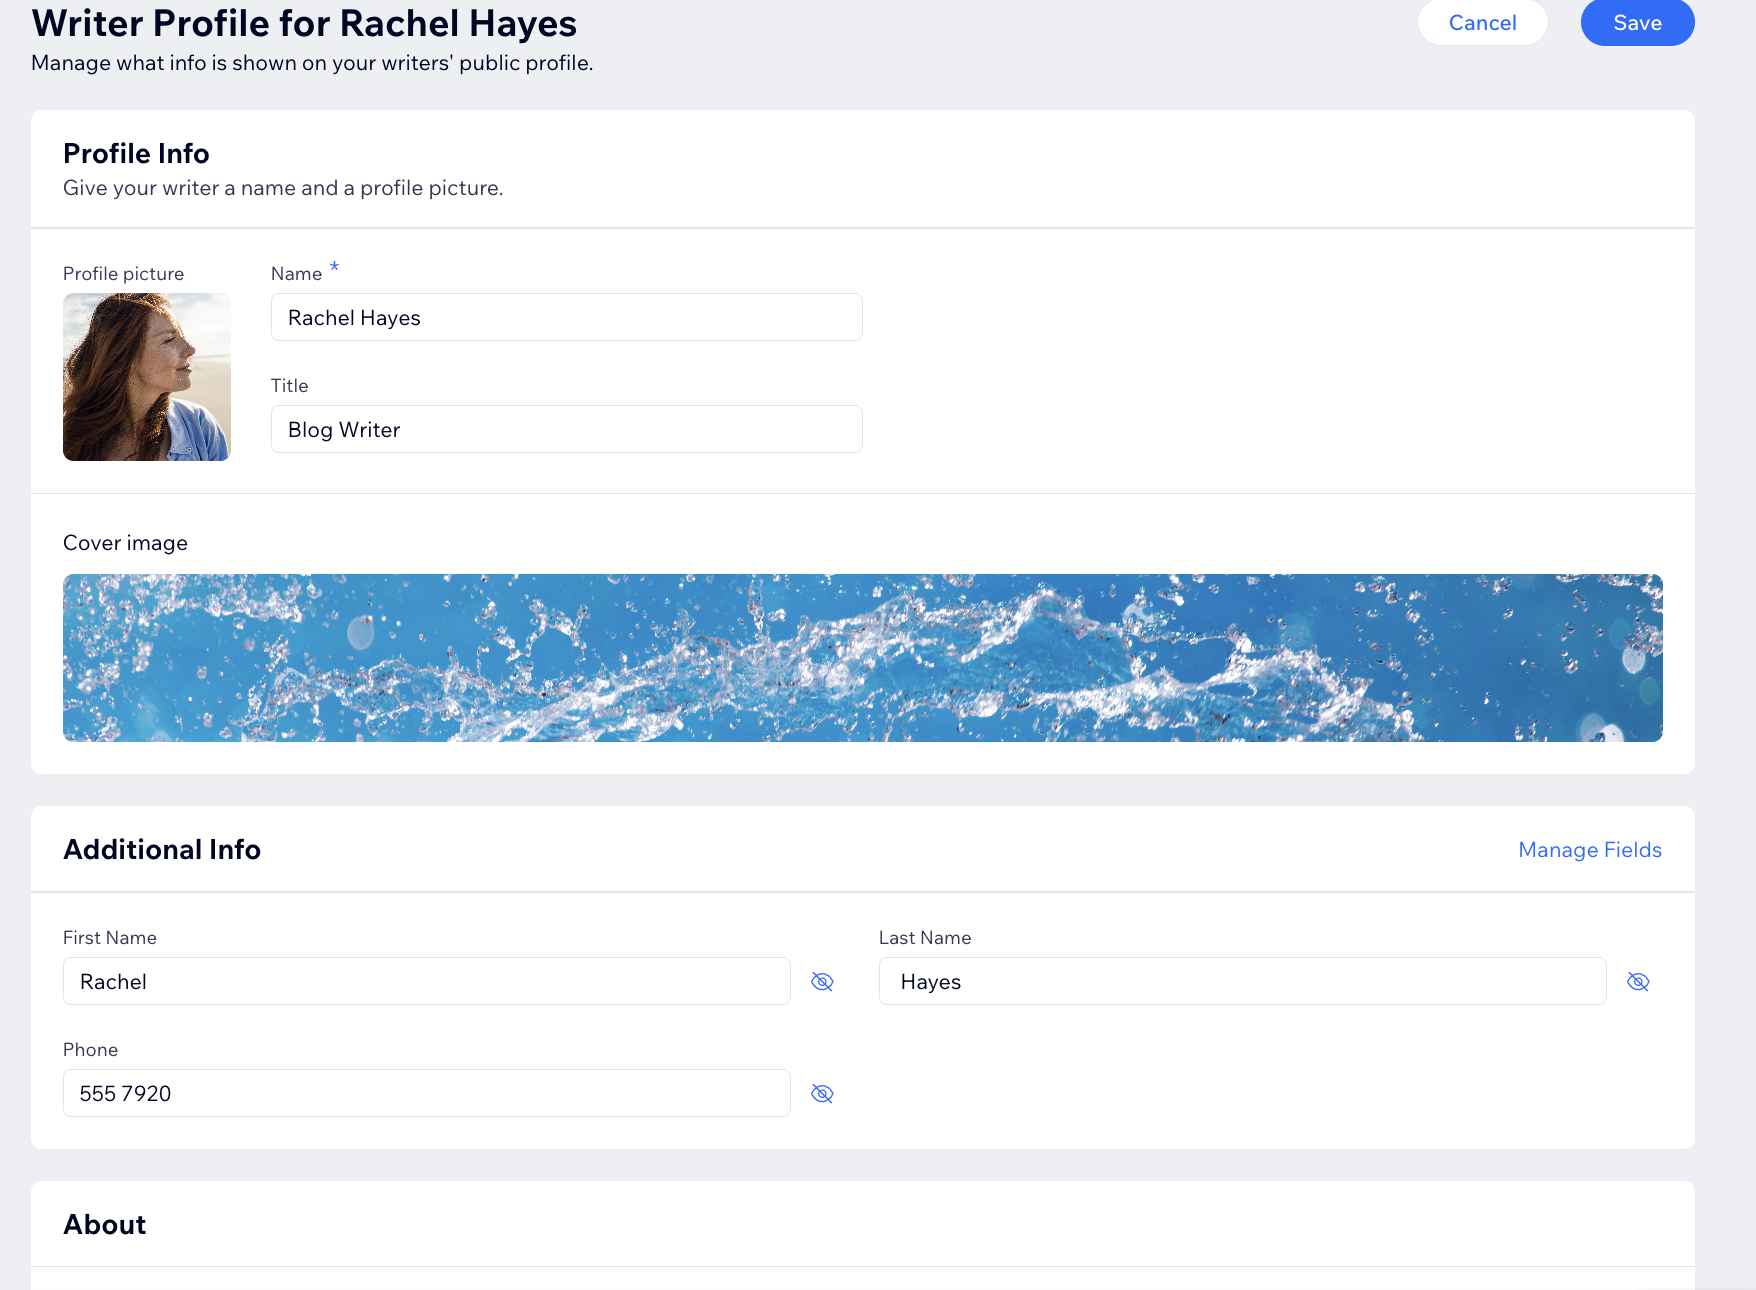
- Customize the Profile Info:
- Profile picture: Add, replace or delete the profile image.
- Name: Enter the writer's name in the field provided.
- Title: Enter the writer's title in the field provided.
- Cover image: Click + Add Cover Image to add a background image that displays at the top of the writer's profile.
- Add more info about the writer in the Additional Info section. Click Manage fields to add more details, remove default fields or create custom ones.
Note: By default, these fields are not visible on the profile page. To display a field, click the Visibility icon next to it.
 - Enter information about the writer in the About text box. Here you can add an image, video, GIF and more to your profile.
- Customize the URL of the writer's profile under Profile Link.
- Click Save.
FAQs
Click a question below to learn more about adding profile pages for your blog writers.
Who can add blog writers to my blog?
What type of writer roles can I give my writers?
Are writer profile pages public?
How can site visitors view blog profiles?

Can I change the layout of the profile pages?
Can I change the writer of a blog post?
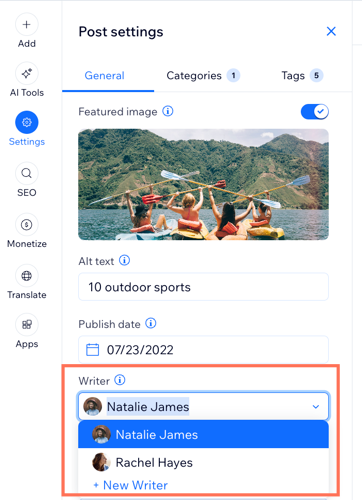
Can I edit the writer details displayed on a post?
 next to the relevant writer.
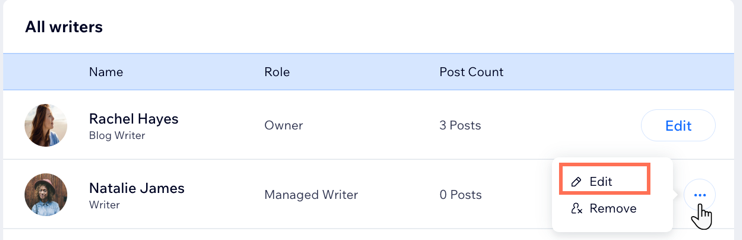
Hire a Professional WriterGet the content you need for your website. Hire a writer from the Wix Marketplace to create text that fits your message and brand.
