Wix Blog: Adding Profile Pages for Your Blog Writers
5 min read
In this article
- Step 1 | Select who has profile pages
- Step 2 | Customize your Blog Writers' profiles
When you add Wix Blog to your site, you can choose to also add a Member's Area if you don't already have one. A Member's Area lets your site members access features including the ability to login, create a public profile, and comment on blog posts. Learn more about the Member's Area
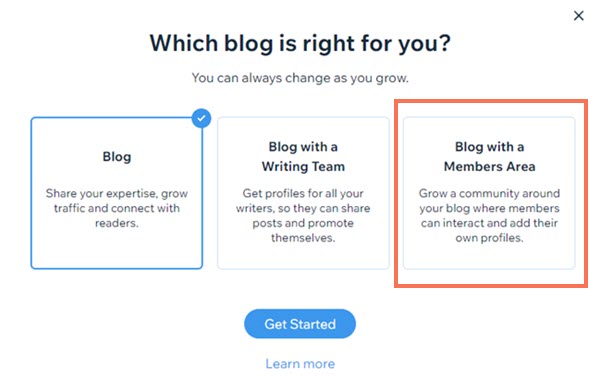
You can also use a Member's Area to create dedicated profile pages for your Blog Writers to help your readers get to know them. You can customize the information that's displayed on the profile pages such as name, bio, image, and recent posts that they've written.
Before you start, you need to:
- Add Wix Blog to your site
- Add a Member's Area if your site doesn't have one
Step 1 | Select who has profile pages
Give members with specific roles a profile page on your site. For example, if you run a blog and you have writers that contribute content on a regular basis, it can be good to give them their own profile page. You can manage these settings in your member page settings on your site's editor.
To select who has profile pages:
Wix Editor
Studio Editor
- Go to your editor.
- Click Pages & Menu
 on the left side of the editor.
 - Click Members Area.
- Click the More Actions icon
 next to Profile.
 - Click Settings.
- Click Permissions.
- Select Site members.
- Choose which members have access:
- All members: All members, customers, and site collaborators have access to profile pages.
- Specific members: Only chosen members have access.
- Enable the toggles to give specific members permissions:
- Members with roles: Gives access to members with specific roles. Learn more about member roles.
- Members with plan subscriptions: Gives access to members that subscribe to a Pricing plan. Learn more about Pricing plans.
- Members with badges: Gives access to members with badges. Learn more about member badges.
- Site collaborators: Site owners and collaborates always have access. Learn more about site collaborators.
- Enable the toggles to give specific members permissions:
- Click Publish.
Step 2 | Customize your Blog Writers' profiles
Each profile page for your Blog Writers can include information such as their display name, title, an About section, and any recent posts that they have written. You can customize your own profile on your live site or your dashboard, and customize the profiles of your writers in your dashboard.
To customize your blog writers' profiles:
Dashboard
Live site
- Go to Blog in your site's dashboard.
- Click Writers.
- Click the More Actions icon
 next to the relevant writer.
 - Click Edit.

- Customize the Profile info:
- Profile picture: Add, replace or delete the profile image.
- Name: Enter the writer name in the field provided.
- Title: Enter the writer title in the field provided.
- Cover image: Click Add Cover Image to add a background image that's displayed at the top of the writer's profile.
- Customize the Additional Info about the writer in the fields provided.
- (Optional) Click Manage fields to add more writer details to the page.
Note: By default, these are not displayed on the profile page. Click the Visibility icon beside any field to make the field visible on the profile.
 - Enter information about the writer in the text box.
- Customize the URL of the writer's profile.
- Click Save.
Want to change how your profile looks?
- Go to your site's editor to customize the layout of your profile pages.
- If you need to add extra information that's not covered by the existing fields, you can add your own custom fields.
Hire a Professional WriterGet the content you need for your website. Hire a writer from the Wix Marketplace to create text that fits your message and brand.
