

Site Members: Creating Member Roles
2 min
In this article
- Step 1 | Add the new role
- Step 2 | Set permissions for your new role
- Step 3 | Assign your role to members
Want to create exclusive experiences for your members? Add site member roles like "Teacher" and "Student" to control who sees what. This opens doors to hidden pages on your site, allowing you to offer exclusive resources for teachers and specialized lessons just for students. Empower your community with custom access to your site's pages.
Before you begin:
Step 1 | Add the new role
First, you need to create the new role that you want to use. This new role will be available in any part of your site that you can restrict by role, such as your site's pages and your pricing plans.
To create a new role:
- Go to Site Member Access in your site's dashboard.
- Click + New Role next to Member roles.
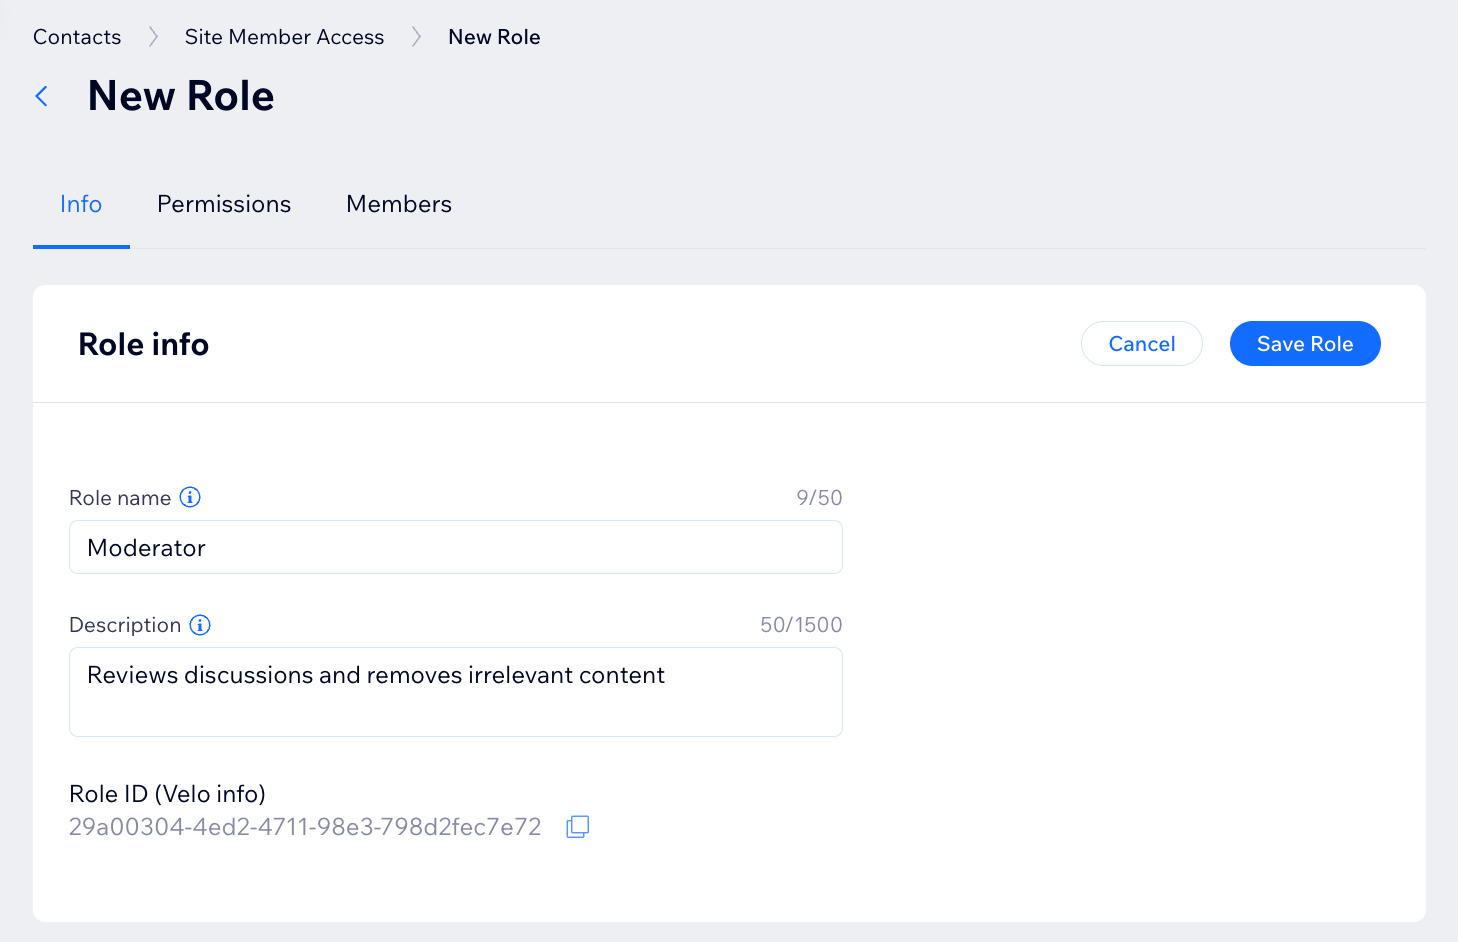
- Enter a name to identify the role under Role Name.
- Enter a short description of the role under Description.
Note: This description is not visible to site members. - Click Save Role.
Step 2 | Set permissions for your new role
Next, you can set the access permissions that you want your new role to have. These permissions determine the level of access to your site that members with this role have.
To set your role's access permissions:
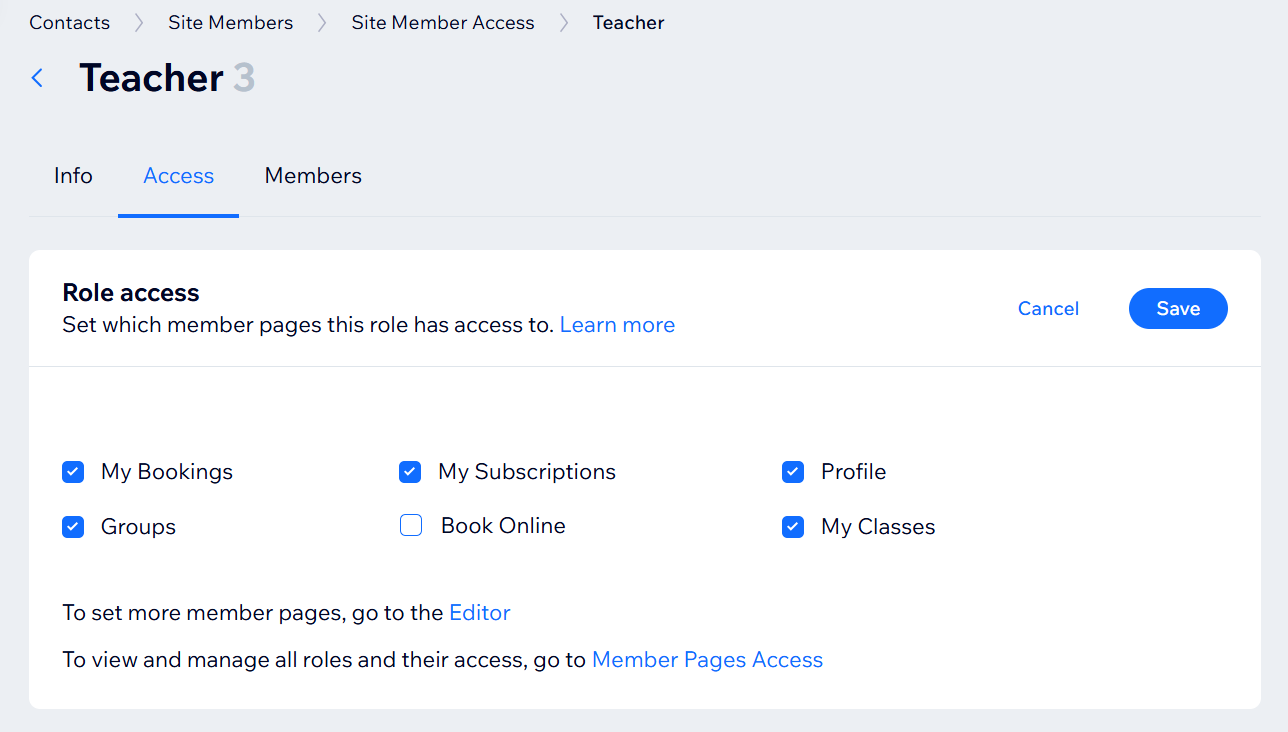
- In the Access tab, select the checkboxes next to the pages that you want members with this role to be able to access.
Note: Only regular pages on your site that you set as 'Members only' appear in this list. You can set access for your members area pages and dynamic pages in your editor. - Click Save.
Step 3 | Assign your role to members
After you've created your new role and set its access permissions, you can assign it to members of your site.
To assign your role to members:
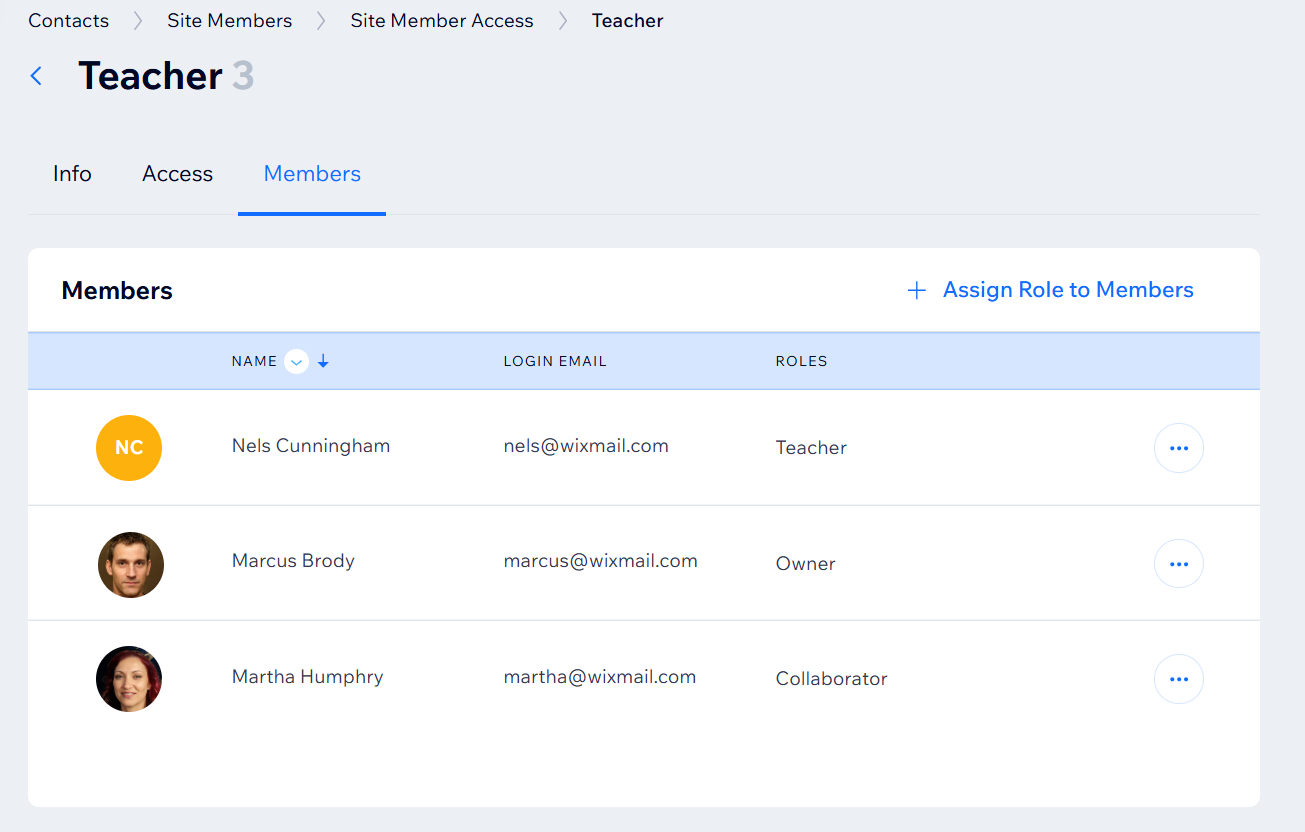
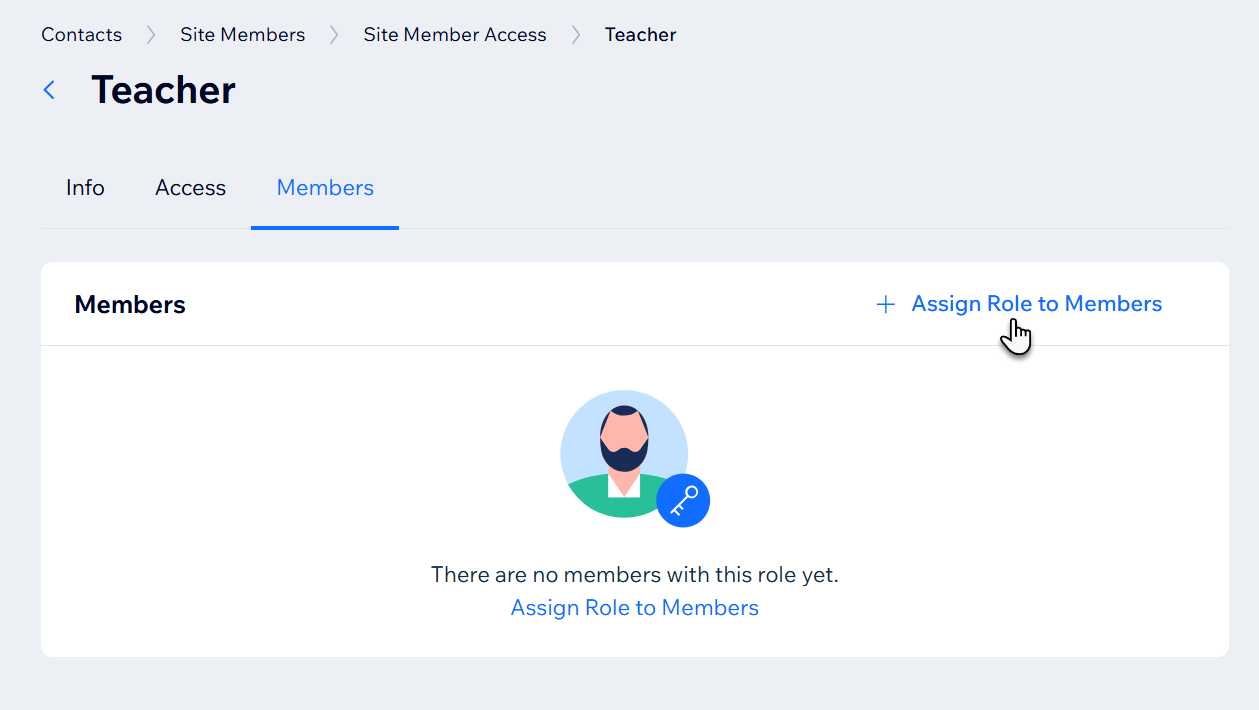
- Click the Members tab on your new role.
- Click + Assign Role to Members.
- Select the checkbox next to any member that you want to add.
- Click Assign to Role.
