

Wix Automations: Setting Up and Using Local Variables
4 min
In this article
- Adding a local variable to your automation
- FAQs
Before you begin:
This article is intended for advanced users. Creating advanced automations using the local variable step requires familiarity with customizing your data with a formula field.
Local variables let you create a placeholder for information you use repeatedly in your automation. This gives you the flexibility to manipulate your data and reuse it in conditions or actions.
Instead of adding or calculating the same details over and over, you set up a local variable once and reuse it as many times as necessary. If you ever want to update the variable, you only need to do so in one place and it updates throughout your automation.
View an example of how one site owner sets up an automation with a local variable

Adding a local variable to your automation
Add a local variable to your automation by adding a new step. To work with variables effectively, make sure to add them before the point in the flow where you plan on using them.
For example, you can add a local variable right after selecting a trigger so it's available to use in all of the steps that follow (e.g. condition, action).
To add a local variable to an automation:
- Go to Automations in your site's dashboard.
- Create a new automation or edit an existing automation.
- Click + to add a step.
- Click Custom value.
- Click Local variable.
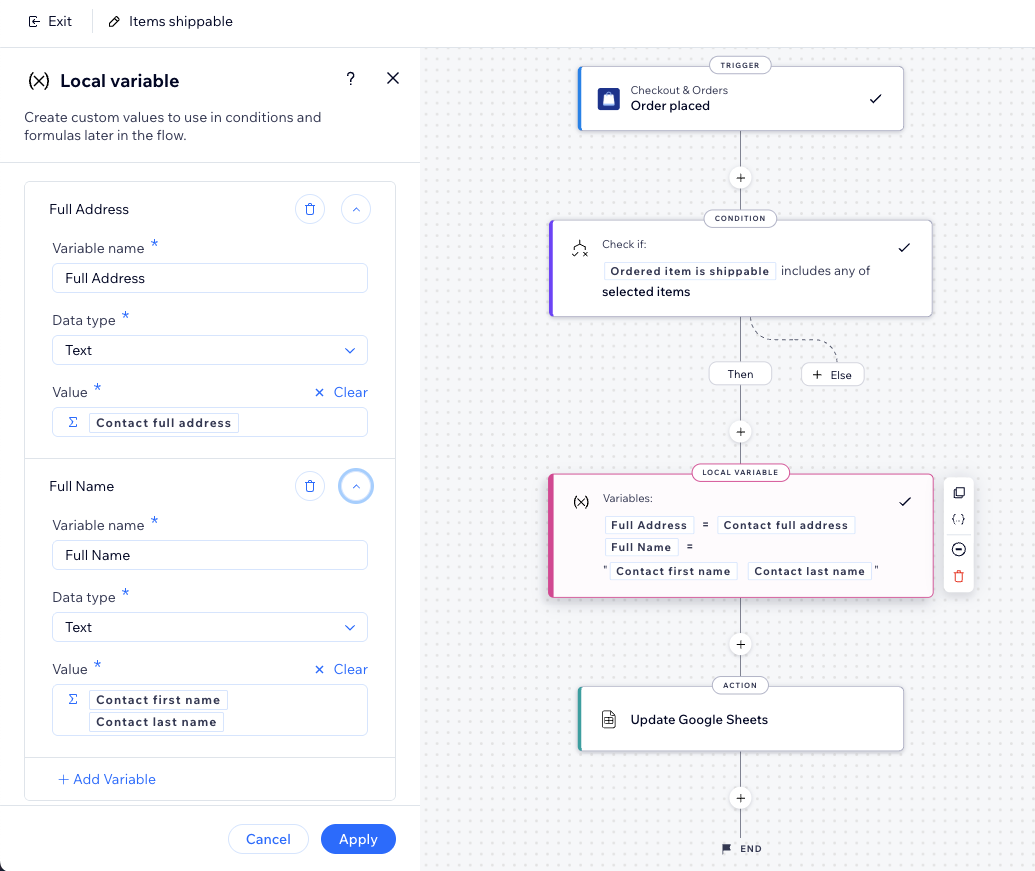
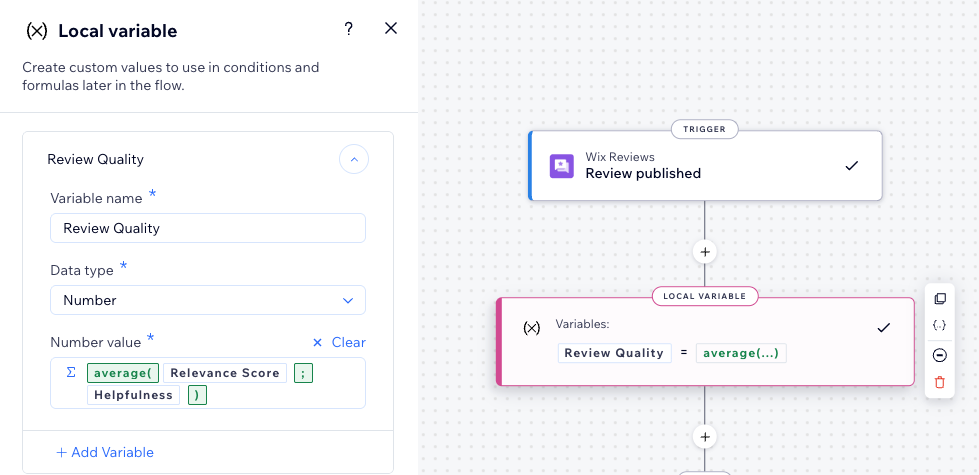
- Add your variable info:
- Variable name: Add an easily identifiable name.
- Data type: Select the appropriate data type (e.g. number, text, boolean).
- Value: Set the variable's value. You can also click Customize to create a complex calculation made up of properties, functions and values.
- (Optional) Click + Add Variable to add another variable.
- Click Apply.
- Continue building your automation as needed.
FAQs
Click a question below to learn more about using local variables.
What are the benefits of using local variables?
How can I update local variables?
Does the location of my local variable matter?
Can I use my local variable in other automations?
How can I access all my local variables?

What happens if I delete a local variable?

What are some tips for using local variables effectively?
