

AI Tools: Using AI to Create Blog Posts
9 min
In this article
- Brainstorming topics
- Generating an outline
- Generating a blog post
- Generating custom images
- Editing existing content
- FAQs
Use the AI tools in Wix Blog to elevate your blog posts, saving you time while enhancing content quality and sparking your creativity. Whether you’re a seasoned blogger or just starting out, AI simplifies the writing process, ensuring your posts are engaging, well-structured, and SEO-friendly.
The available AI tools can support you throughout the entire creative journey. Use AI to brainstorm topics and generate outlines. Then, generate a whole post and add custom AI-generated images. Lastly, refine and review your content, making sure it's ready to publish.

Brainstorming topics
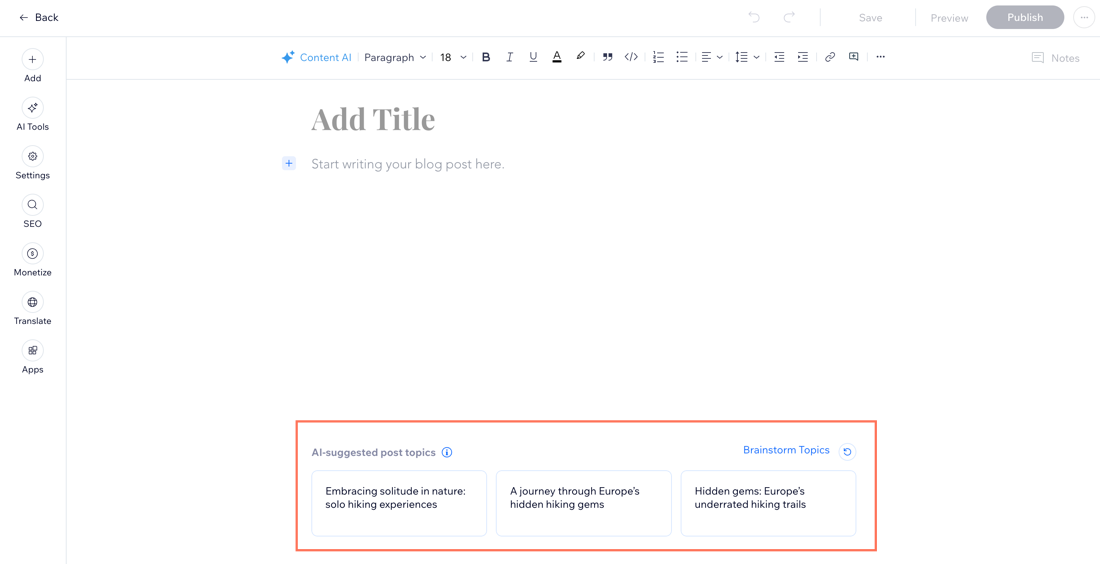
Struggling to come up with ideas for your next blog post? Brainstorming topics with AI provides you with ideas based on your site information and some context that you provide the AI Assistant.
To brainstorm topics:
Dashboard
Wix app
Wix Studio app
- Go to Blog in your site's dashboard.
- Click Create New Post.
- Select a post topic at the bottom or click Brainstorm Topics to get more suggestions.
- Review the suggested topics and choose one that fits your needs.
Note: Selecting an idea lets you begin generating the post with AI.
Tip:
Click the Try again icon  to generate new ideas.
to generate new ideas.Generating an outline
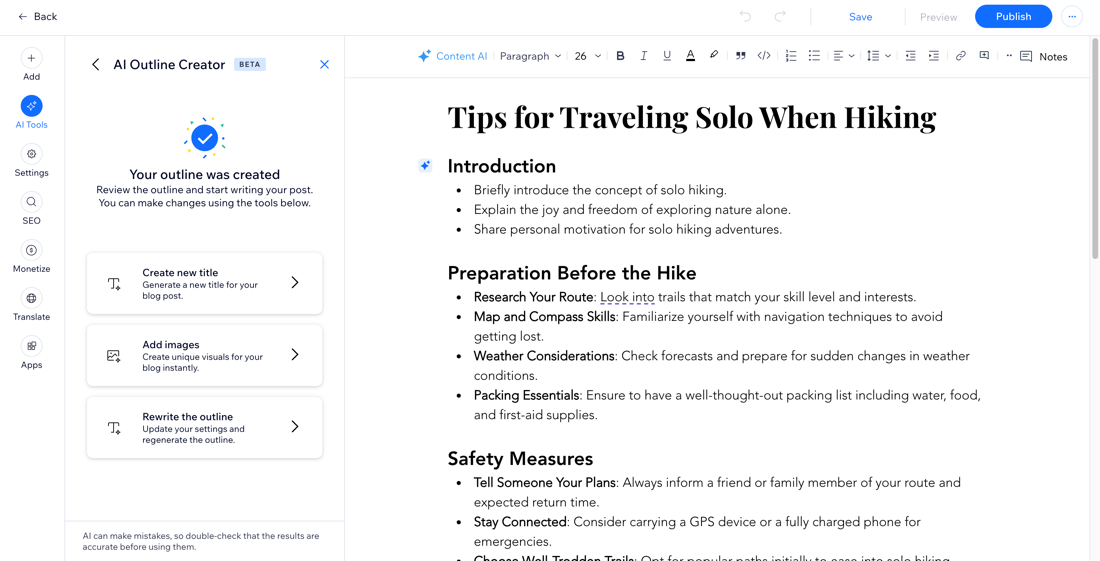
Generating an outline with AI helps you structure your blog post before drafting it. Choose your topic, describe it, and set your preferences for the post. Then, use the generated outline as guidelines for writing your post.
To generate an outline:
- Go to Blog in your site's dashboard.
- Click Create New Post.
- Click AI Tools on the left and select Outline.
- Choose what the post is about (topic, product, or service) and add details.
Note: Make sure you add the relevant product or service to your site so you can select it from the drop-down. - Click Next.
- Choose your preferences for the outline (e.g. select a word count, tone of voice, and post type).
- Click Create an Outline.
Tip:
Make changes to the outline using the offered tools: create a new title, add images, or rewrite the outline.
Generating a blog post
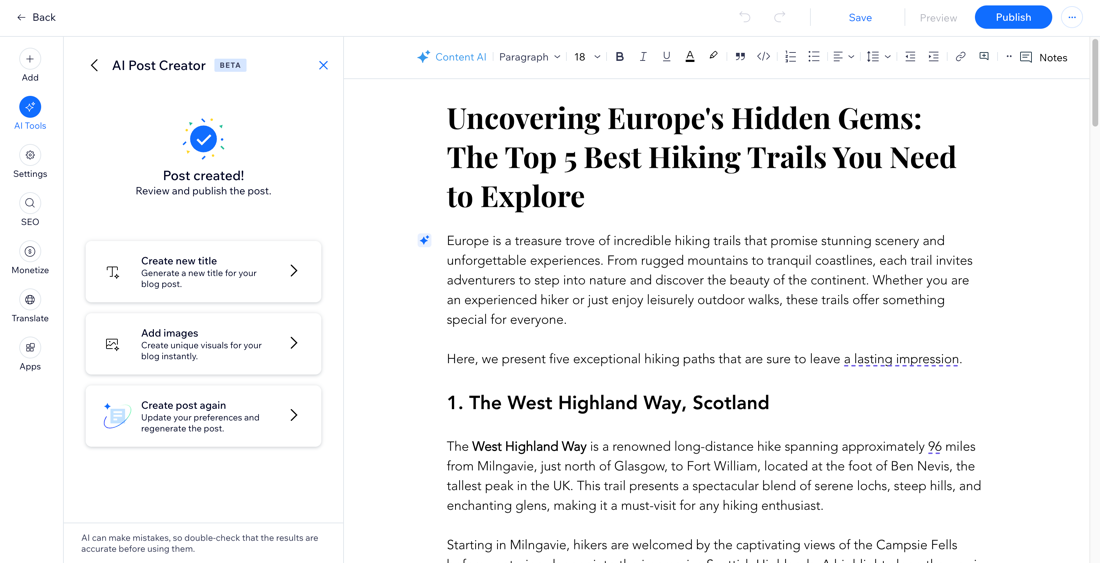
Create an engaging and well-structured blog post tailored to your specific needs. In the process, you define the topic, add relevant information, and choose your preferences for the post's writing style.
To generate a post:
- Go to Blog in your site's dashboard.
- Click Create New Post.
- Click AI Tools on the left and select Blog post.
- Choose what the post is about (topic, product, or service) and add some details.
Note: Make sure you add the relevant product or service to your site so you can select it from the drop-down. - Click Next.
- Choose your preferences for the blog post (e.g. select a word count and tone of voice). Click the More preferences drop-down to further customize the post (e.g. select the post type and point of view).
- Click Next.
- Select a title from the suggestions or write your own title.
- Click Create Post.
Generating custom images
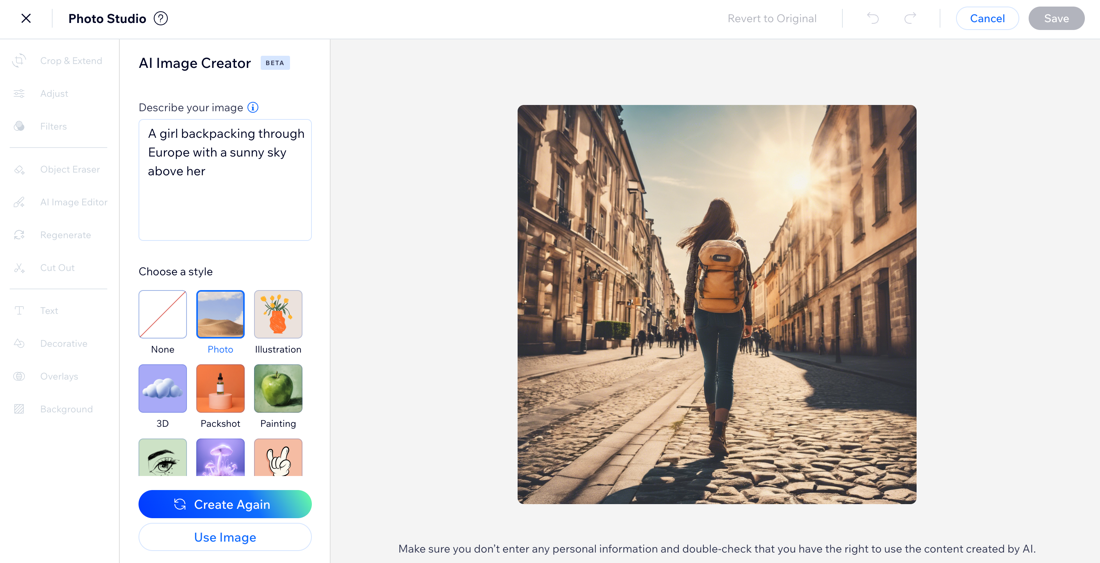
Make your blog post visually appealing by adding AI-generated images. Use the AI Image Creator to get unique visuals that match your content's vibe.
To generate a custom image:
Dashboard
Wix app
Wix Studio app
- Go to Posts in your site's dashboard.
- Click the relevant blog post, or click + Create New Post to write a new one.
- Click Add
 on the left side.
 - Click Image.
- Click AI Image Creator on the left.
- Generate an image.
- When you're happy with the image, click Add to Page.
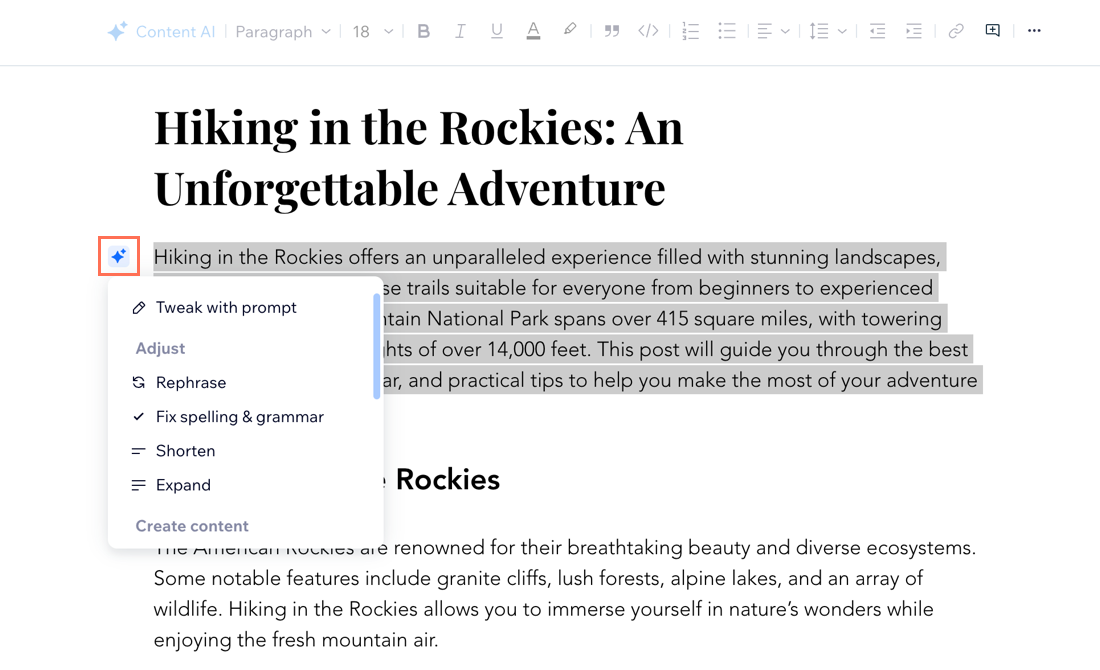
Editing existing content
Once you have a draft, you can use AI to improve your writing. You can tweak the writing with prompts, fix spelling and grammar, adjust the tone, and even expand or shorten the content. Continue refining your blog post until it looks polished and professional.
To edit your content:
- Go to Posts in your site's dashboard.
- Click the relevant blog post, or click + Create New Post to write a new one.
- Highlight the text you want to modify in a post.
- Click the AI icon
 or click Content AI at the top.
 - Choose what you want to do:
- Tweak with prompt: Give more context to improve the text. For example, explain who the target audience is or ask to expand on a certain part of the text.
- Adjust: Rephrase the text, fix spelling & grammar, shorten or expand the text.
- Create content: Summarize the text or create a heading.
- Change tone: Choose a professional, casual, funny, confident, or enthusiastic tone.
- (Optional) Review the entire post's grammar, style, and readability.
- Click AI Tools on the left.
- Click Grammar and style.
- Review the AI Assistant's suggestions and make the relevant changes to the blog post.
Tips:
- See more editing options by typing "/".
- Generate new options for titles by clicking Title in the AI Tools panel on the left.
FAQs
Click a question to learn more about AI tools in Wix Blog.
Can I create categories and tags with AI?

 on the left.
Can I improve my post's SEO with AI?

Can AI generate structured data markup for my blog posts?
