Site Members: Add and Manage Your Member Pages
4 min
In this article
- Adding a member page
- Removing a member page
- Hiding a member page
This article refers to the previous version of the Members Area app. If you're using the new version, read the information here. Click here to check which version you're using.
When a member logs in to your site, they access their Members Area which includes various types of pages:
- Pages that are automatically added with certain Wix apps (e.g., My Orders for Wix Stores).
- Custom members-only pages that you create from scratch (private or public).
You can always add new pages, change the order of your pages and delete those you don't need.
Adding a member page
Add as many pages as you need to your Members Area. Re-add member pages that you've previously deleted (e.g., My Orders, My Bookings) or create new member-only pages from scratch.
You can create custom pages that are private, storing each member's personal details, or public pages where members can interact and see information about each other.
To add a member page:
- Access the Pages panel in your Editor:
- Wix Editor:
- Click Pages
 on the left side of the Editor.
 - Click Member Pages.
- Click Pages
- Wix Studio:
- Click Pages
 .
. - Hover over Member Pages and click the More Actions icon
 .
.
- Click Pages
- Wix Editor:
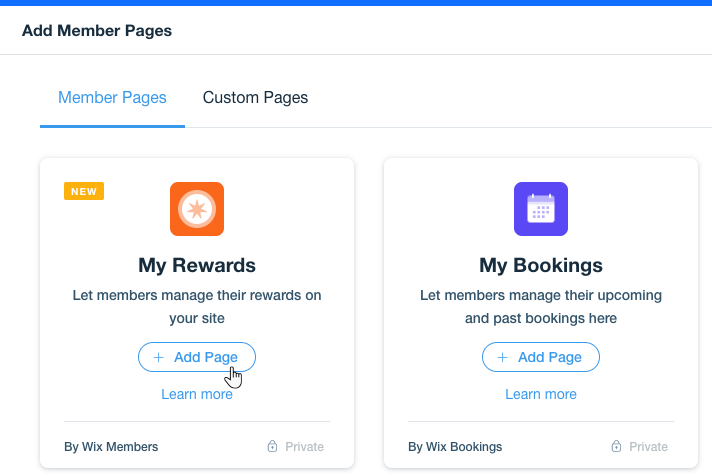
- Click Add a Member Page.
- Choose the relevant tab:
- Member Pages: These pages were automatically added to your site when you've installed a Wix app, like Wix Stores or Wix Blog. You can re-add any member page you've previously deleted.
- Custom Pages: Create members-only pages from scratch, either private or public.
- Click + Add Page under the page you want to add.

Removing a member page
You can always remove pages that you don't need in your Members Area. If needed, you can add them back at any point.
To delete a member page:
- Go to Member Pages in your Editor:
- Wix Editor:
- Click Pages
 on the left side of the Editor.
 - Click Member Pages.
- Click Pages
- Wix Studio:
- Click Pages
 .
. - Scroll down to Member Pages.
- Click Pages
- Wix Editor:
- Click the More Actions icon
 next to the page you want to delete.
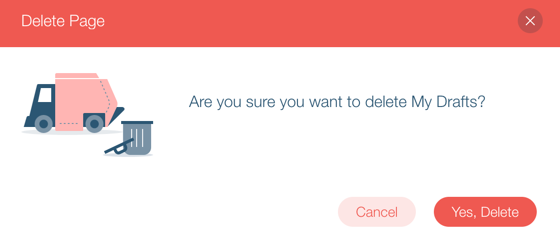
 - Click Delete.
- Click Yes, Delete to confirm.
Note:
It is not possible to delete the following default pages: My Account, Notifications and Settings. As an alternative, you can hide these pages from your menus.

Hiding a member page
You can hide any member page from the menu, whether it's the Members Menu or the Login Bar which also displays a menu.
Tip:
You can choose different pages to appear on the Login Bar menu and the Members Menu. For example, you may want to only show a few pages on the Login Bar, and display all member pages on the Members Menu.
To hide a page:
- Go to any Members Area page in your Editor.
- Click the Members Menu or the Login Bar element.
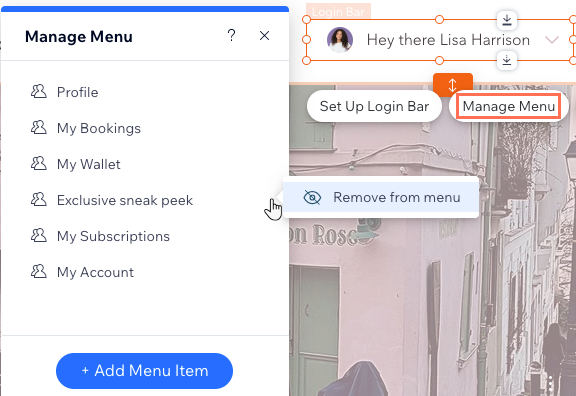
- Click Manage Menu.
- Hover over the relevant item and click the More Actions icon
 .
. - Click Remove from menu.


