

Email Marketing: Sending Your Email Campaign
10 min
In this article
- Sending a test email before sending your campaign
- Scheduling an email marketing campaign
- Sending your campaign as soon as possible
- Sending your campaign again
- FAQs
After creating your email campaign, spread the word by sending it to your subscribers. You can schedule your campaign to be sent later, send it right away, or send a test email.
Important:
Make sure to read the Wix Email Marketing Terms of Use before sending any campaigns.
Sending a test email before sending your campaign
You can send a test email to see how your campaign will look and function in a real inbox. This does not affect your monthly email limit.
To send a test email:
- Create an email campaign or edit an existing one.
- Customize the elements in your campaign to your liking, then click Preview & Test.
- Click Send Test Email.
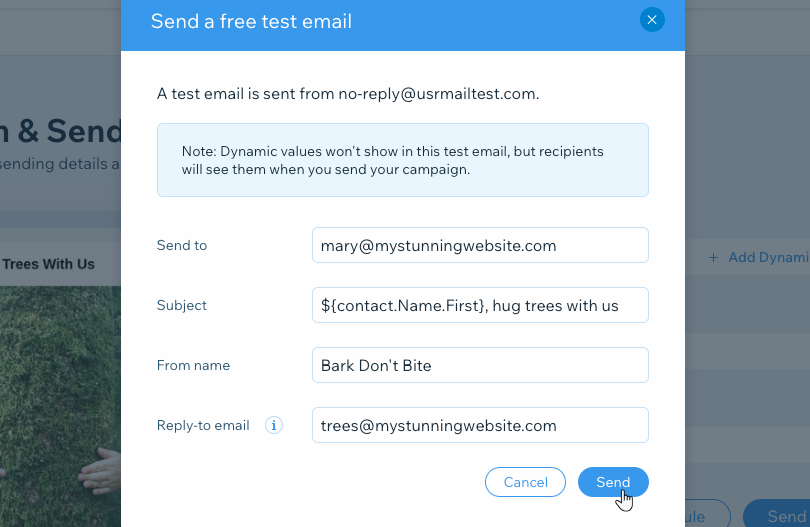
- Enter details in the following fields:
- Send to: Enter the email address you want to send the test email to. You can only send test emails to one recipient at a time.
- Subject: Enter the subject line of the test email.
- Sender's name: Enter the name the test email will show as sent from. This may be your business or personal name.
- Reply-to email: Enter the email address that will appear when you reply to the test email.
- Click Send.
Notes:
- Dynamic values and the Unsubscribe link do not show in test emails, but will appear in the final campaigns you send.
- Test emails are sent from no-reply@usrmailtest.com.
- Elements in your email automatically adjust to look their best on any screen or email inbox.
Scheduling an email marketing campaign
You can schedule your campaign to be sent at a later date and time. Make sure to upgrade your plan if you would like to use this feature. Once scheduled, the emails in your campaign count towards your monthly sending limit. You cannot restore this limit by deleting the scheduled campaign.
Tip:
You can edit or reschedule your campaign before it is sent.
To schedule sending a campaign:
- Create an email campaign or edit an existing one. Then click Next.
- Customize the elements in your campaign to your liking, then click Next.
Tip: Preview and test your email campaign to make sure it is perfect before you add recipients and send. - Add recipients to your campaign and click Next.
- Edit the final sending details:
- Subject line: Enter the subject line of the emails. You can add dynamic text that automatically adjusts to your contacts' details or your site's URL by clicking + Add Dynamic Value and choosing an option.
- Sender details: Enter the Sender's name and Reply-to email. This is the name and email address that recipients will see and can reply to once they receive the email.
Note: You sender name can be your business or personal name. - Email recipients: See an overview of how many people the email will be sent to.
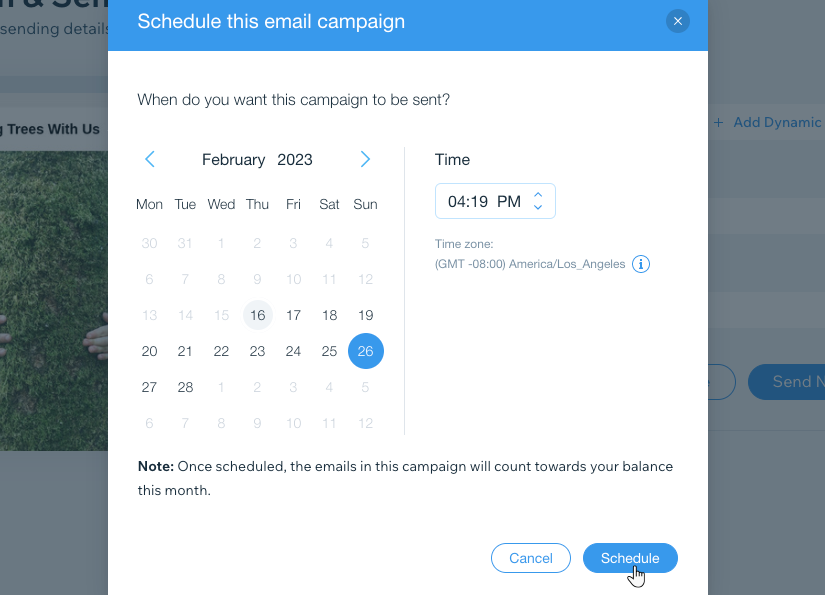
- Click Schedule.
- Select the date and time in which you want the campaign to be sent.
Tip: Check the time zone to make sure your campaign is sent at the right time. If the time zone is incorrect, change it in your browser's settings. - Click Schedule.
Note:
If you have multiple senders set up, your campaign is sent from whichever email address is set as the sender on the date the campaign is scheduled to go out. It’s not possible to schedule a different sender in advance.
Sending your campaign as soon as possible
Once you're ready to get the news out about your campaign, send it. Your campaign goes into a queue where it's reviewed before it gets sent. You can then share your campaign wherever else you'd like.
To send your email campaign:
- Create an email campaign or edit an existing one.
- Customize the elements in your campaign to your liking, then click Next.
Tip: Preview and test your email campaign to make sure it is perfect before you add recipients and send. - Add recipients to your campaign and click Next.
- Review the final details before sending the campaign:
- Subject line: Enter the email's subject line. You can add dynamic text that automatically adjusts to your contacts' details / your site's URL by clicking + Add Dynamic Value.
- Sender details: View the name and reply-to email address that will appear on your email campaign as the sender. If needed, you click Manage to edit the details.
- Email recipients: See an overview of how many people the email will be sent to. If needed, you can click Edit to change the recipients.
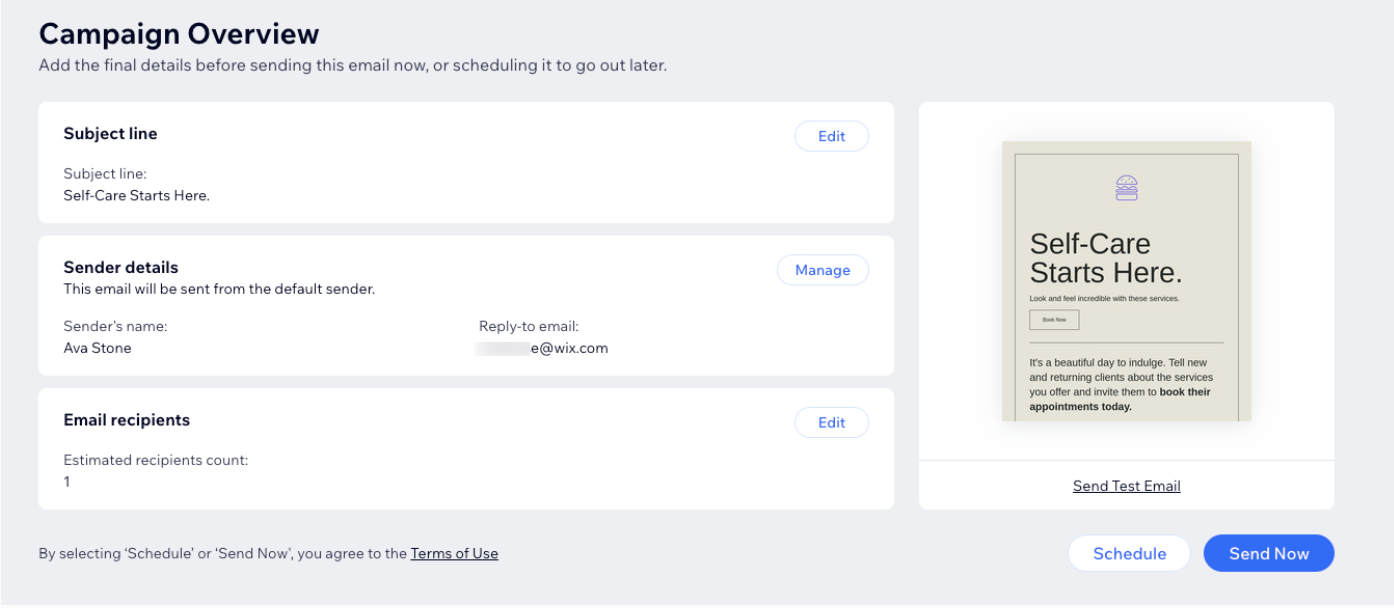
- Click Send Now.
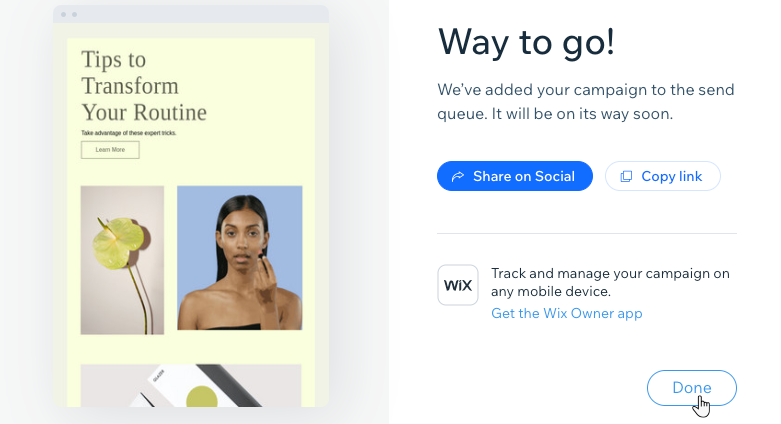
- (Optional) Choose an option to share your campaign: Share on Social or Copy link.
Tip: Learn more about the URL of your published campaigns. - Click Done.
What's next?
Your campaign gets added to the send queue, where it will be reviewed and sent soon.
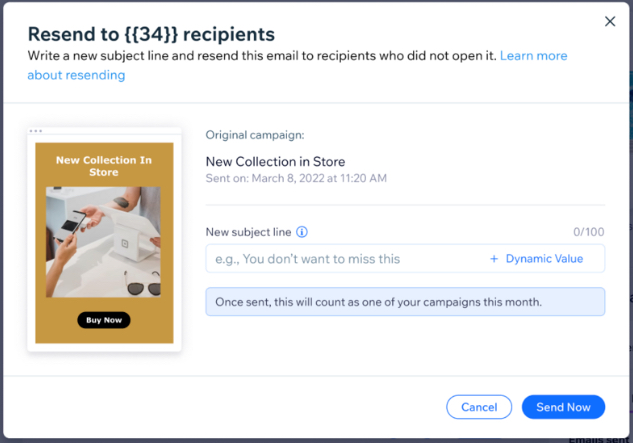
Sending your campaign again
You can resend an email campaign to any recipients who have not yet opened your email. 24 hours after you send a campaign, a Resend icon  appears next to your campaign stats.
appears next to your campaign stats.Resending a campaign also provides an opportunity to re-engage recipients. Before resending, you can update the subject line to see if more people will interact with the email the second time.

Important:
- If your email open rate was 100% you will not see this option, as everyone saw your email.
- Resending a campaign counts towards your monthly balance.
- If your campaign was created over a year ago, the links in your campaign will no longer work and you will need to regenerate them.
To resend your email campaign:
- Go to Email Marketing in your site's dashboard.
- Click View all Campaigns.
- Click the Published tab.
- Hover over the campaign you want and click the Resend icon .
Note: This icon only appears 24 hours after the first campaign was sent to give your recipients time to open when it's convenient for them. - Add a subject line for the campaign.
- Click Send Now.
Tips:
- Before sending you can see how many recipients will receive the new campaign.
- Once you resend a campaign, it appears as a new campaign with the label 're-sent email' in your Email Marketing dashboard.
FAQs
Click a question below to learn more about sending your email campaign.
Why do my email campaigns with a large number of recipients take longer to send?
What is the Reply-to-Email?
Do my campaigns get sent from my reply-to email address?
What is email sampling?
What is email throttling?
Why did some recipients get removed from my campaign?
Why is my campaign in "In Review" status?
Why am I not receiving my test emails?
Why aren't my images displayed in my email campaign?
Why is my campaign marked as Published but it wasn't sent to anyone?
Why does my test email show the subject line or pre-header from a previous campaign?
Why is the wrong image shown when I share my email campaign on Facebook?
Why do recipients see the warning “Be careful with this message” in their inbox?
Why are my emails going to the Promotions tab instead of the Primary inbox?
Why didn't my scheduled email campaign send at the right time?
