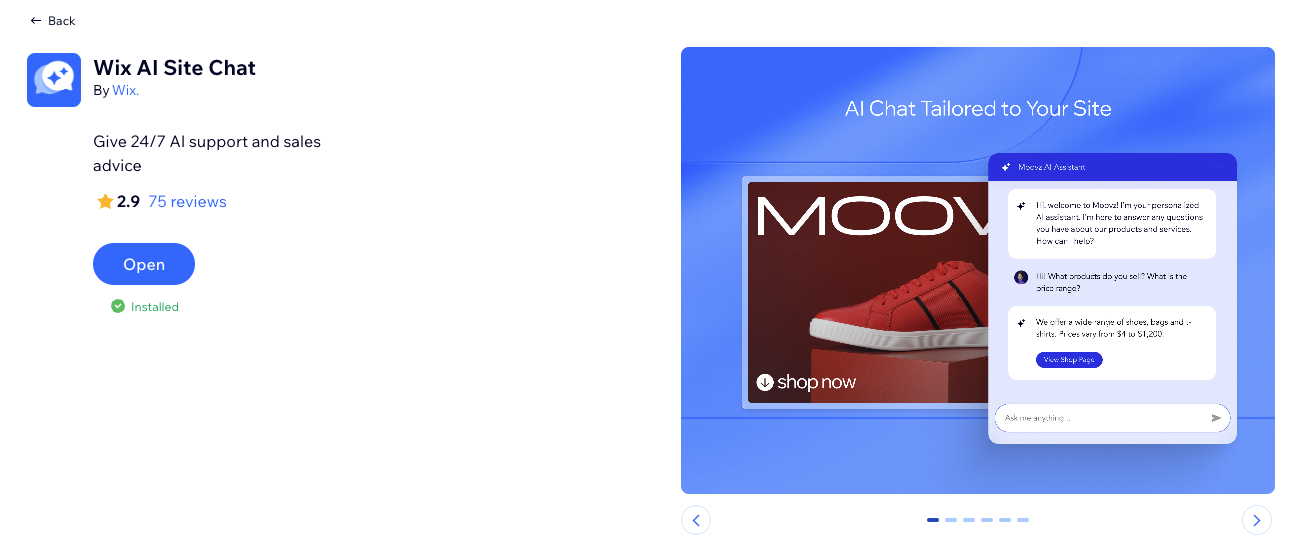
The Wix AI Chat Assistant is a customizable on-site chat interface that provides your users with engaging natural conversations that inform them about your products and services. With a straightforward installation process, site visitors can make purchases and access support whenever they need it.
Step 1 | Add the AI Chat Assistant to your site
Add the Wix AI Chat Assistant to your site via the Wix App Market in your site's dashboard before placing it in your editor.
To add the AI Chat Assistant to your site:
- Go to the Wix App Market in your site's dashboard.
- Search for the Wix AI Chat Assistant app in the search bar.
- Click Add to Site.
- Select Go to Editor.
- Click Add Apps on the left side of the editor.
- Click Manage Apps.
- Click Complete Setup next to the Wix AI Chat Assistant.
Step 2 | Configure your AI Chat Assistant's settings
Improve the accessibility of your AI Chat Assistant by setting its working hours and providing a contact form for your site visitors.
To configure your AI Chat Assistant's settings:
- Go to the AI Chat Assistant in your site's dashboard.
- Click the Settings tab.
- Choose what you want to set up:
The AI Chat Assistant works according to the hours you choose.
In the Online chat hours section, choose what you want to set up:
- When the AI Chat Assistant is turned on: Select the relevant option:
- Keep it online 24/7: The AI Chat Assistant will stay online indefinitely until you switch it off or change its working hours.
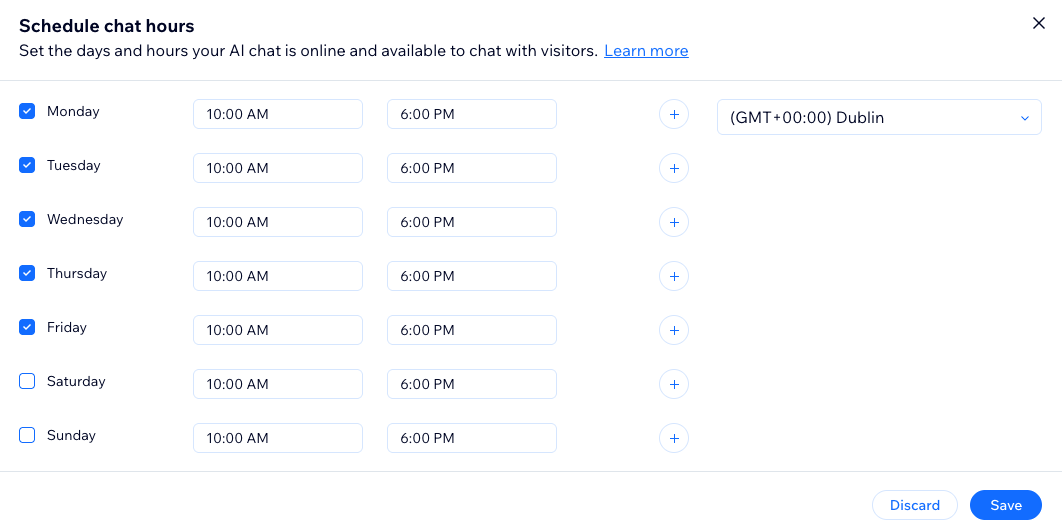
- Set custom hours: Click Edit Hours to choose when you want the AI Chat Assistant to be online:
- Click the checkboxes for the days you want the AI Chat Assistant to be online.
- Enter the times you want it to work next to each day.
- Select your time zone using the drop-down menu.
- When the AI Chat Assistant is offline: Choose what you want to happen when the AI Chat Assistant is offline:
- Show the AI assistant on my site: Select the relevant option:
- Collect leads with a contact form and let visitors write chat messages.
- Hide the contact form but let visitors write chat messages.
- Collect leads with a contact form but don’t allow visitors to write chat messages.
- Hide the AI assistant on my site: The AI assistant does not appear when chat is offline.
Note:
Remember to click Save Changes once you have configured your online chat hours.
A welcome message can help your site visitor start a conversation and increase engagement.
In the Chat intro message section, click the checkbox next to the message type you want to use and enter the message:
- Write an initial chat message to start the conversation: Enter your message in the field. We recommend writing a short, inviting message that includes your business name, as if they were entering a real store.
- Add a legal disclaimer in the chat: Enter a disclaimer in the field letting site visitors know that the conversation is powered by an AI Assistant. This helps users understand that mistakes or misunderstandings may occur. The disclaimer will appear once to every site visitor, right after the first welcome message.
- Write an initial chat message for your visitors when the AI assistant is offline and not responding to messages: Enter a message in the field that site visitors will receive when the AI Chat Assistant is offline. We recommend letting users know when it will be back online, and asking them to leave a short message that will be responded to later.
Note:
Remember to click Save Changes once you have entered a chat intro message.
Using a contact form is an great way to keep in touch with your site visitors. Once a visitor fills out the form, the information is sent to your inbox and contact list so you never miss a sales lead. The AI Assistant will only send the form if it does not recognize the visitor as a contact.
In the Contact form section, select the relevant options:
- Send the form to new visitors only in the chat when:
- The AI Chat Assistant is unable to answer a user's question: The form is sent to new visitors only when the AI Chat Assistant cannot answer the visitor's question.
- A user asks to speak to you directly instead of the AI Chat Assistant: The form is sent to visitors and you will receive it in your Inbox to respond later.
- Choose form fields: The following fields appear on the form by default. The Email field is mandatory, but you can deselect the Name, Phone Number, and Message fields.
- Name
- Email (this field is mandatory)
- Phone Number
- Message
Note:
Remember to click Save Changes once you have configured your contact form settings.
Step 3 | Activate your AI Chat Assistant
Activate the AI Chat Assistant to set it live on your site.
To activate the AI Chat Assistant:
Click the toggle at the top right of the page.
FAQs
Click a question below to learn more about the AI Chat Assistant.
Can I customize the design of the AI Chat Assistant?
Yes, you can
design and customize the appearance of your AI Chat Assistant to reflect your brand's style and voice.
Can I see the interactions between the AI Chat Assistant and my site visitors?
Yes, you can monitor interactions by reviewing the chat logs in your Wix dashboard. This allows you to understand common questions and improve the AI Chat Assistant's responses.
Is there a way to disable the AI Chat Assistant temporarily?
Yes, you can either set custom offline hours in the settings or choose to not show the AI Chat Assistant on your site by clicking the toggle at the top right of the dashboard to set it as inactive.
Is there a way to provide feedback on the AI Chat Assistant's performance?
Tip: Regularly update and test the AI Chat Assistant to keep it aligned with any changes in your products, services, or business strategies.