

Wix Bookings: Adding and Customizing a Weekly Timetable
4 min
In this article
- Step 1 | Add a weekly timetable to your site
- Step 2 | Customize your weekly timetable
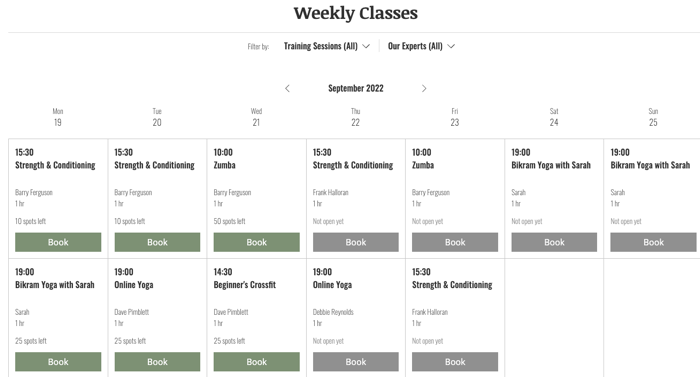
The weekly timetable makes it easier for your clients to find and book the right class. After you add a weekly timetable to your site, you can customize it to suit your business and branding.
The weekly timetable displays the registration status for each class throughout the week (for example, 'Closed' or 'Not open yet'). The buttons for each class also change depending on the registration status (for example, 'Book now', 'Join Waitlist', or 'Full').
Notes:
- The Weekly Timetable is not yet available in the Wix Harmony Editor.
- Courses and appointments do not appear in the weekly timetable.
- If your business offers more than 100 class services, only the first 100 classes appear on the Weekly Timetable.
Step 1 | Add a weekly timetable to your site
The weekly timetable allows clients to find the classes they want to book each week without searching through your service list.
Wix Editor
Studio Editor
- Go to your editor.
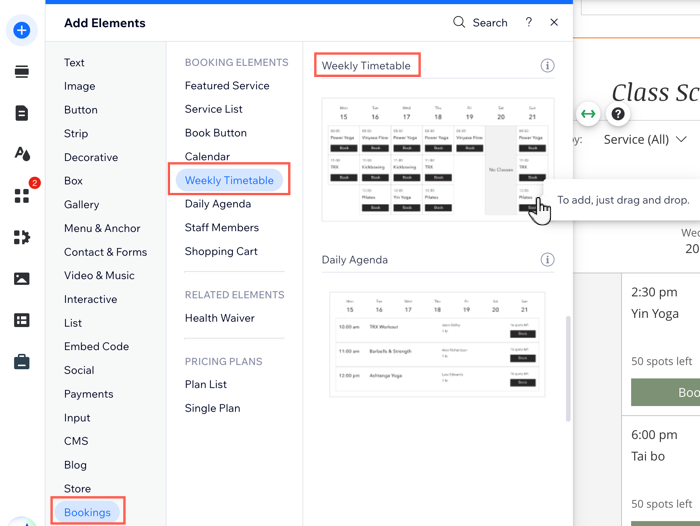
- Click Add Elements
 on the left side of the editor.
 - Click Bookings.
- Click Weekly Timetable.
- Drag a timetable onto your page.
Tip:
Your timetable automatically displays your visible classes on the days they are available. Hidden classes do not appear in the timetable. You can display a maximum of 100 class services on the weekly timetable.
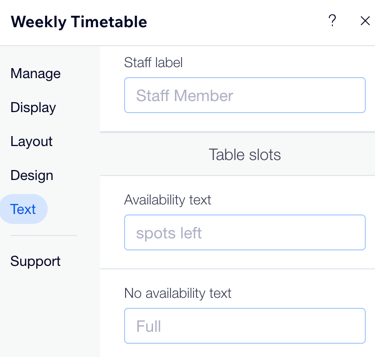
Step 2 | Customize your weekly timetable
Set up your weekly timetable so it works the way you want. Choose what details to show, update the wording for your sessions and buttons, and adjust the layout and colors to match your style. This helps your clients find the right class or service at a glance, and makes booking easier—clients can even filter the timetable by service and staff member to quickly find the class they want.
For example, you can choose to display your locations if your classes take place at more than one address.
To customize your weekly timetable:
- Click the weekly timetable element in your editor.
- Click Settings.
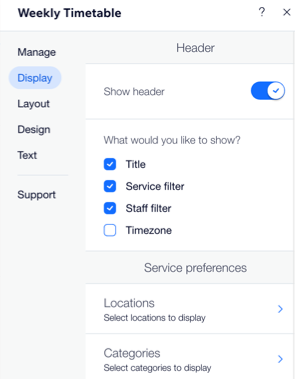
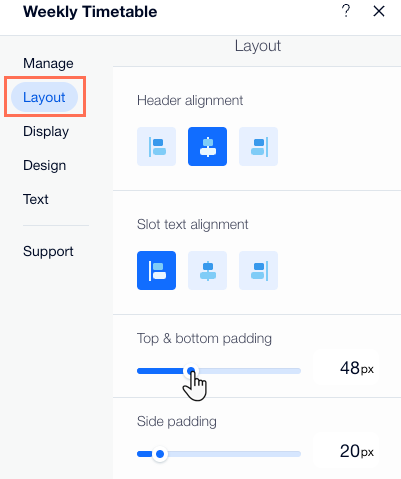
- Choose what you want to customize:
Display
Layout
Design
Text
Managing your schedule: 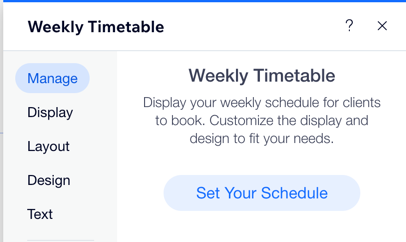
Click Manage and then click Set your schedule to manage your schedule from your booking calendar.
