

Wix Bookings: Customizing Your Weekly Timetable
2 min
Design your weekly timetable to match your brand and make it easy for clients to find scheduling information. You can personalize elements like the layout, text, buttons, and more to create a professional, user-friendly experience.
To customize your weekly timetable:
- Go to your editor.
- Click the weekly timetable element on your page.
- Click Settings.
- Choose what you want to edit:
Display
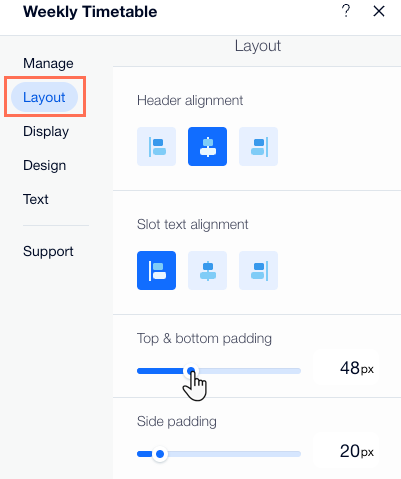
Layout
Design
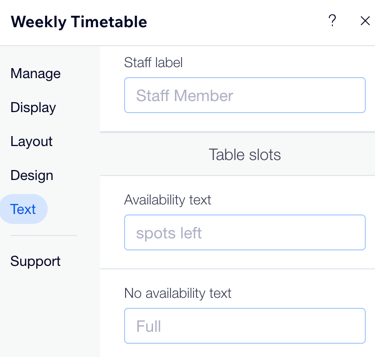
Text
Managing your schedule: 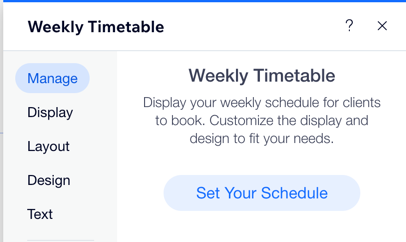
Click Manage and then click Set your schedule to manage your schedule from your booking calendar.
