Wix Stores: Adding Images, GIFs, and Videos to Products
5 min
In this article
- Creating effective product images
- Adding media to products
- Editing and cropping images
- Adding alt text to images
- Displaying different images for product options
- Adding product videos
- FAQs
Important:
We're in the process of releasing a brand-new product creation page. If the first field you see is 'Name', you have the new version. Click for info on images, GIFs, and videos.
Add images, GIFs, or videos to your products so customers can experience your store products. High-quality visuals help grab your customers' attention, boost confidence, and encourage purchases.

Creating effective product images
Great product images can be the difference between making a sale or losing out on one. Since customers can't touch or try your product in person, your images, GIFs, and videos GIFs, and videos are key to showing them exactly what you have to offer.
- Quality matters: Even your best products may not look enticing if the picture quality is poor. Use high-resolution images, proper lighting, and a tripod for sharp results.
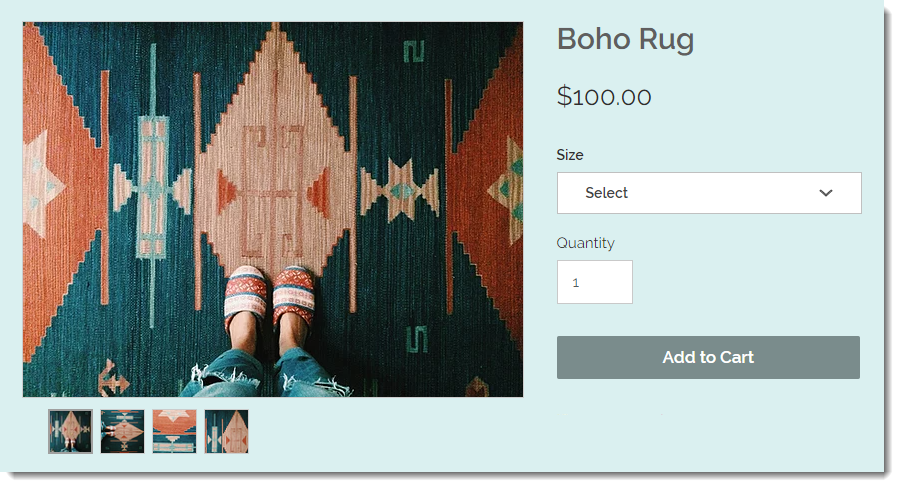
- Variety: Customers love to see products from multiple angles. Include close-ups to showcase details such as fabric stitching, textures, or craftsmanship.
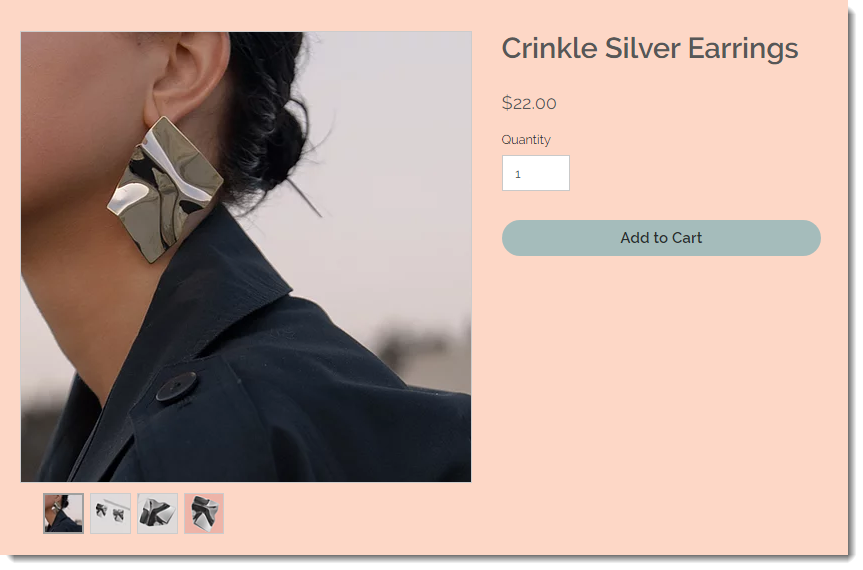
- In-context visuals: Show your product in action or being used. For example, instead of only showing a close-up of earrings, add an image of someone wearing them.

For many more helpful tips on creating outstanding product images, check out this guide.
Adding media to products
When creating your images, make sure you pay attention to image ratios (image width vs height). Follow these recommendations for optimal display:
Recommended images sizes and resolutions:
- Minimum resolution: 3000 x 3000 pixels.
- Image ratios: 16:9, 3:2, 4:3, 1:1, 3:4, 2:3, 9:16
- Recommended ratio for mobile: 1:1 (a square picture).
- Recommended for desktop: The Classic Product Page layout supports all image ratios. Other layouts look best with wider images.
To add images or GIFs to a product:
- Go to Products in your site's dashboard.
- Click to select a product.
- Click Add Images.
- Select images, GIFs, or videos from your Media Manager or click Upload Media to add images or GIFs from your computer.
- Click Add Media.

Editing and cropping images
After you upload an image, you can use the Wix Photo Studio to make changes, right in the Products tab. You can:
- Crop images
- Adjust the brightness, contrast, or saturation
- Create transparent images
- Change the background color
- Add text
- And more...
To access the photo studio in Wix Stores:
- Go to Products in your site's dashboard.
- Click to select a product.
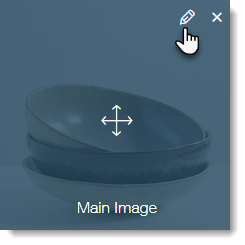
- Hover over the image you want to edit.
- Click the Edit icon
 .
.

Learn more about the advanced tools available in the Wix Photo Studio.
Adding alt text to images
Improve your SEO and accessibility by adding alt text to product images. Alt text describes your image for search engines and users with visual impairments. For example, the alt text for a leather handbag could be "Brown leather handbag with gold detailing and adjustable strap".
To add alt text:
- Go to Products in your site's dashboard.
- Click to select a product.
- In the Images & Videos section, click the More Actions icon
 .
. - Click Edit Alt Text for Images.
- Enter the Alt Text.
- (Optional) Click the Copy to all images icon
 to apply the same text to all images.
 - Click Done.
Displaying different images for product options
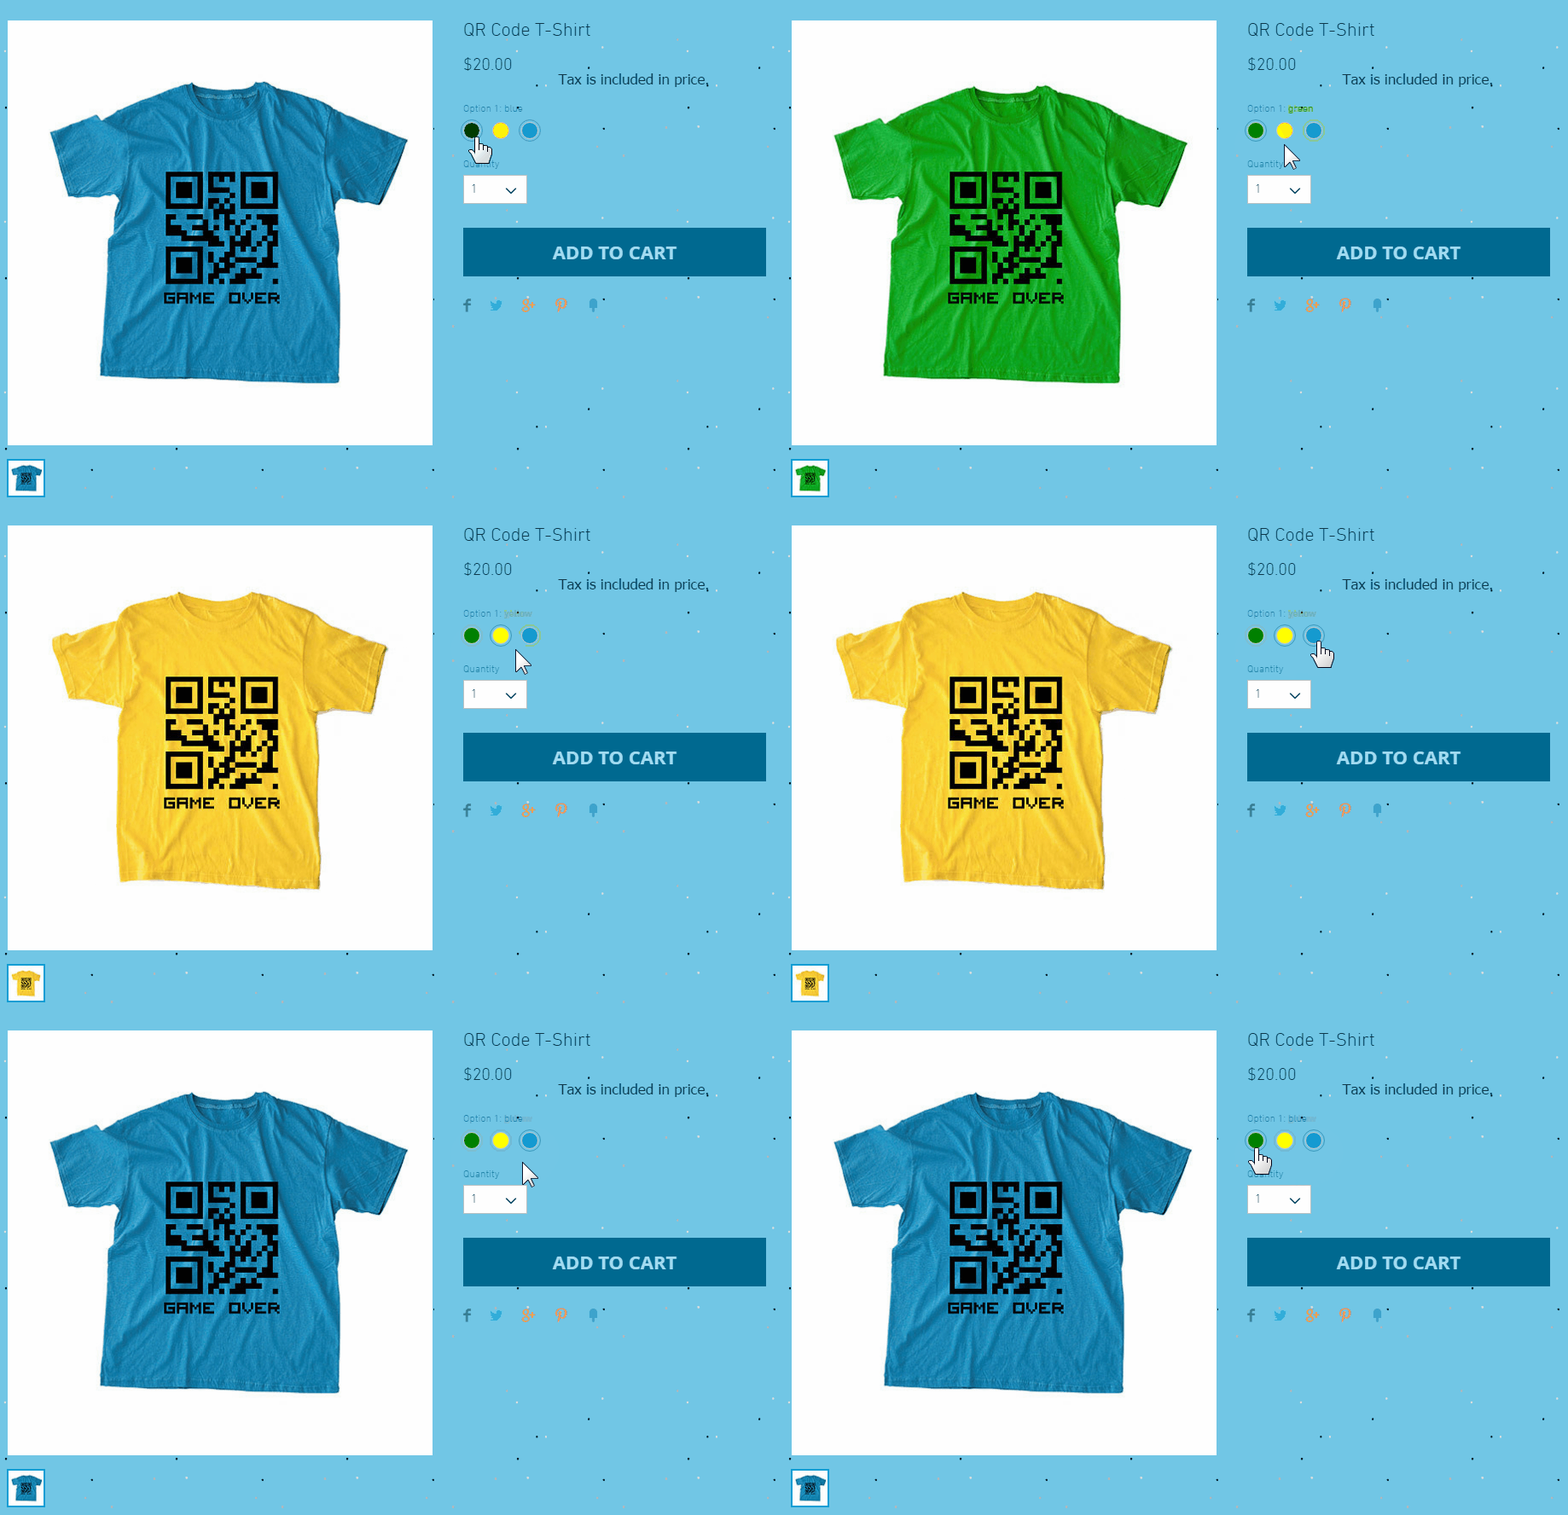
Help customers visualize each of your product options by displaying separate images of each one.

Note:
You can link images to each option, but not to each variant. To vote for this feature, click here.
To link images, GIFs, and video to product options:
- Go to Products in your site's dashboard.
- Select a product with product options.
- Scroll down to the Product Options section and click Connect Images.

Adding product videos
Product videos are the next best thing to experiencing a product in person. They can give customers the confidence they need to make a purchase.
Notes:
- Acceptable video formats: AVI, MP4, MOV, MPEG
- Videos can be up to 50 MB in size.
To add videos to your store products:
- Go to Products in your site's dashboard.
- Select an existing product or click New Product to add a new one.
- Click Add Videos.
- Select videos from your Media Manager or click Upload Media to add videos.
- Click Add to page.
FAQs
Can I protect my store images from being copied by visitors?
How can I sell video content?
Want to learn more?
Check out the full Wix Learn course on getting started with Wix eCommerce.


