

CMS: Connecting a Button to a Dataset
8 min
In this article
- Connecting a button to a dataset
- FAQs
Connect a button element to a dataset to define what happens when the button is clicked. For example, you could link a button to the "Submit" click action, a dynamic item page, or a document stored in your collection. You can also connect the button label to a collection field to show dynamic text on your button.
The list of available dataset actions varies depending on the dataset mode and whether you connect to a regular dataset or a dynamic page dataset. Learn more about all the available dataset click actions.
Connecting a button to a dataset
Once you connect a button to a dataset, you can see all the available connection types in the Click action connects to drop-down. The dataset is what binds elements on your page to your CMS collection content.
Wix Editor
Studio Editor
- Go to the relevant page in your editor.
- Click the button you want to connect to the CMS. Learn how to add a button.
- Click the Connect to CMS icon
 .
. - Click the Choose a dataset drop-down and select an existing dataset that connects to your collection. Alternatively, click Add a Dataset, then choose the collection you want to connect, give the dataset a name and click Create.
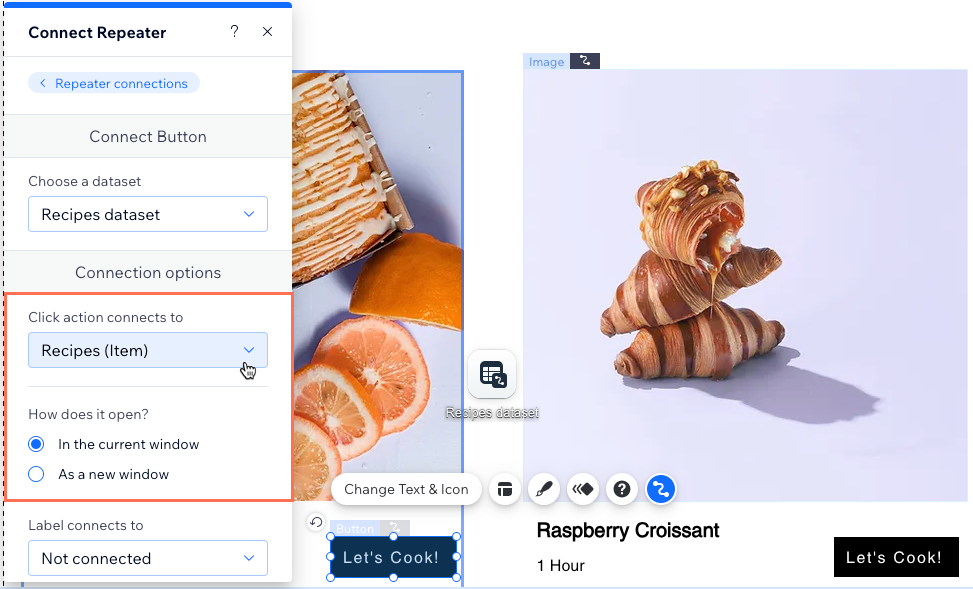
- Click the Click action connects to drop-down and select the relevant option:
- Dynamic Pages: Choose the dynamic page you want to link to. Then choose how the link opens: In the current window or As a new window. Click the Rel values (SEO) drop-down to set the link attributes.
- Dataset Actions: Choose the action you want the dataset to perform when the button is clicked.
- Fields: Choose the collection field you want to connect to. You can connect to the following field types: Audio, Document, Email, Image, URL, or Video. Learn more about the field types and their content limitations.
Tip: Select + Add to add a new field in your collection and link to it.
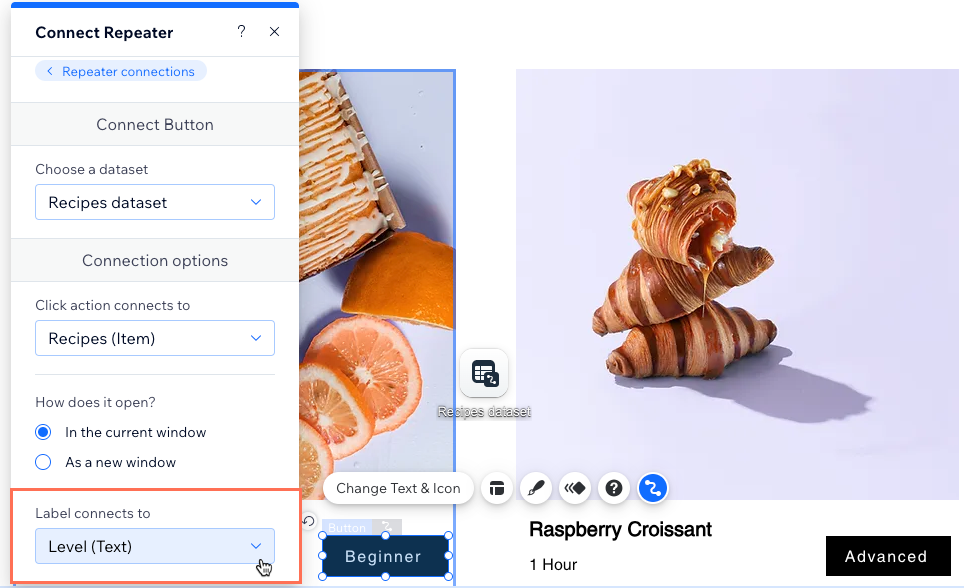
- (Optional) Display dynamic text in the button that changes based to the collection item it links to. Click the Label connects to drop-down and select the relevant collection field.
Tip: Alternatively, you can use static text that doesn't change by going to the button settings.
- Click the Accessible name connects to drop-down and select the field that best describes to screen readers what happens when the button is clicked.
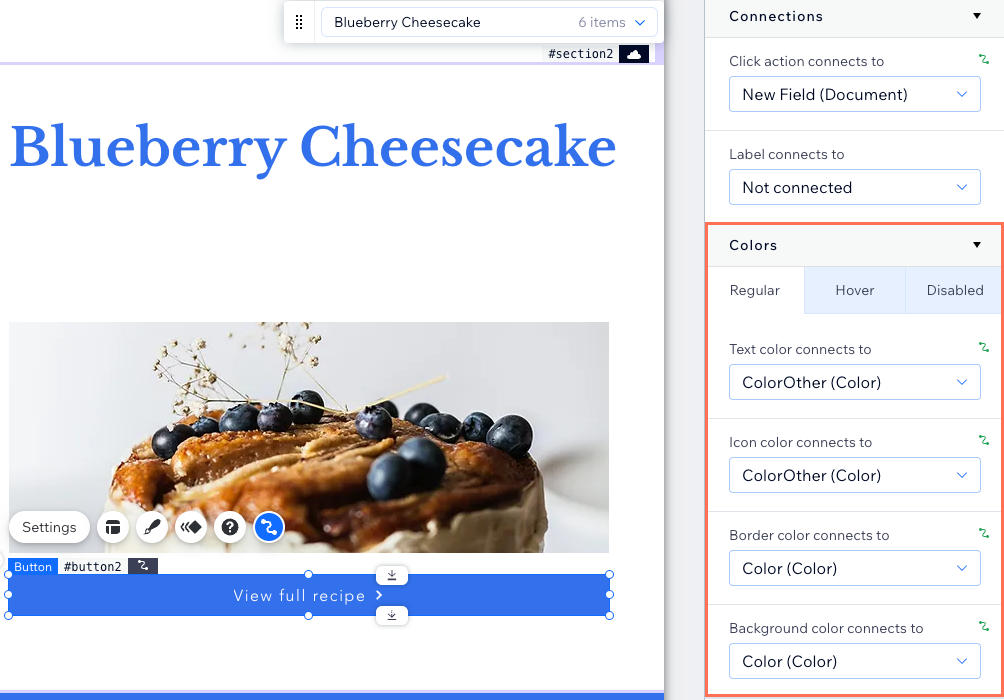
- (Optional) Connect 'Color' fields to your button:
- Scroll down to Colors in the Connect Button panel on the right.
- Click relevant tab to choose which button state you want to connect: Regular, Hover, or Disabled
- Click the relevant drop-down menus to select the 'Color' field(s) you want to connect:
- Text color connects to: Connect a 'Color' field to the color of the text characters.
- Icon color connects to: Connect a 'Color' field to the button icon (if your button has an icon).
- Border color connects to: Connect a 'Color' field to the border color.
- Background color connects to: Connect a 'Color' field to the background color of the button.
- Repeat this step for each button state you want to connect to a 'Color' collection field.
- Click Preview to test your connections.
- Click Publish if you are ready to make the changes go live.
FAQs
Click below for answers to common questions about linking buttons in the CMS.
Can I create a dynamic link that visitors click to send emails?

Can I display dynamic text on my button?
What types of content limitations should I be aware of when connecting to different field types?
What should I use for the button’s accessible name field?
