Wix Pro Gallery: Creating Sub-Galleries
5 min
In this article
- Step 1 | Create a sub-gallery
- On a new page
- On a lightbox
- Step 2 | Link your sub-gallery to the main gallery
If you have a lot of images or videos to display on your site, you can organize your media into sub-galleries and display each gallery on a different page or even in a lightbox.
You can create a 'main gallery' that serves as a gateway to your sub-galleries. The main gallery contains cover images. Each cover image is clickable and links to the corresponding sub-gallery.

Step 1 | Create a sub-gallery
Add a new Pro Gallery to a new page or lightbox and upload the media you want it to display. This gallery will become your sub-gallery. You can create as many pages or lightboxes as you need to display all your sub-galleries.
On a new page
Create a sub-gallery on an individual page to showcase your media in an organized way, making your site look more attractive and engaging for your site visitors.
Wix Editor
Studio Editor
- Go to your editor.
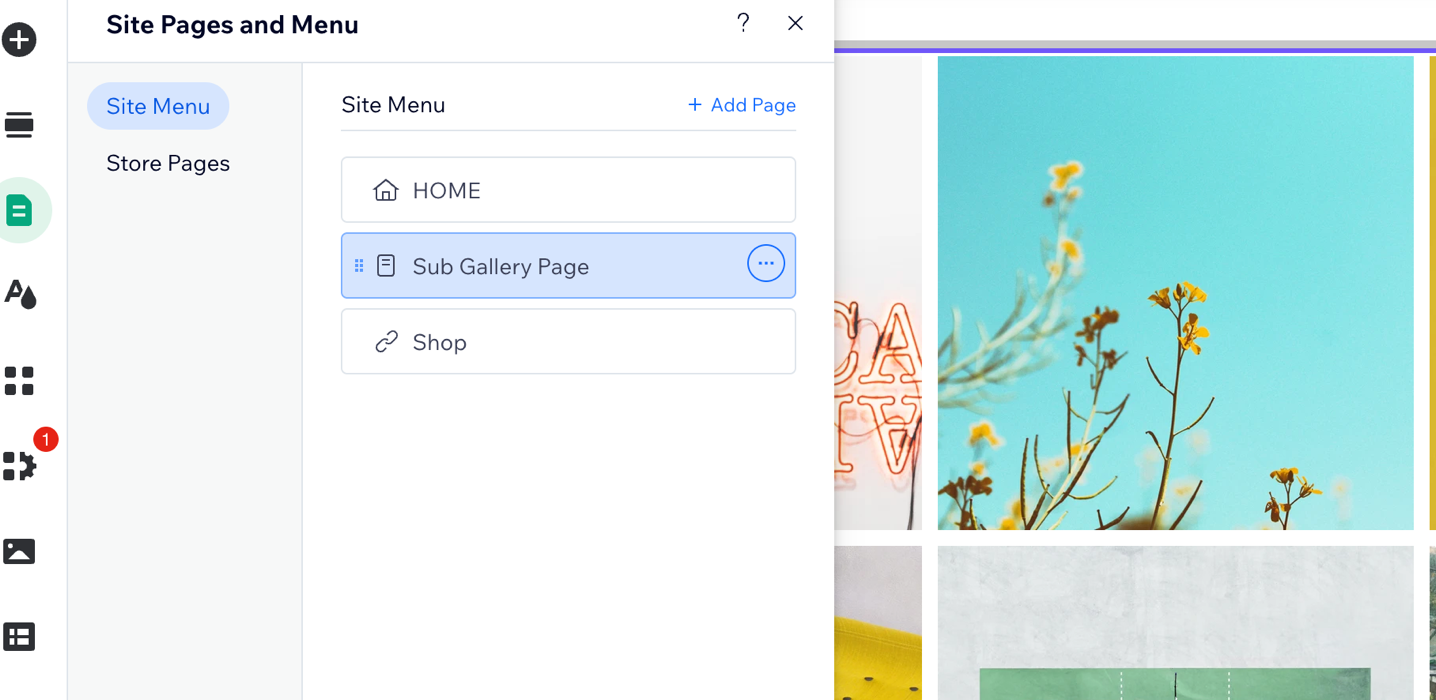
- Click Pages & Menu
 on the left side of the editor.
 - Click + Add Page at the bottom.
- Name the page as you would name the sub-gallery and then click Done.
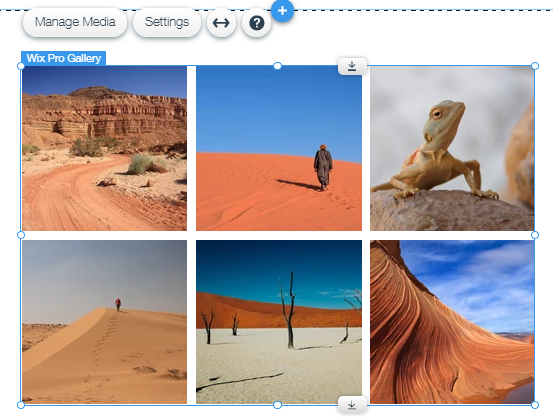
- Navigate to the newly created page and add a Wix Pro Gallery.
- Add the specific media that you want to appear in this sub-gallery.
- Repeat steps 1-5 for each of the sub-galleries that you want to display.

On a lightbox
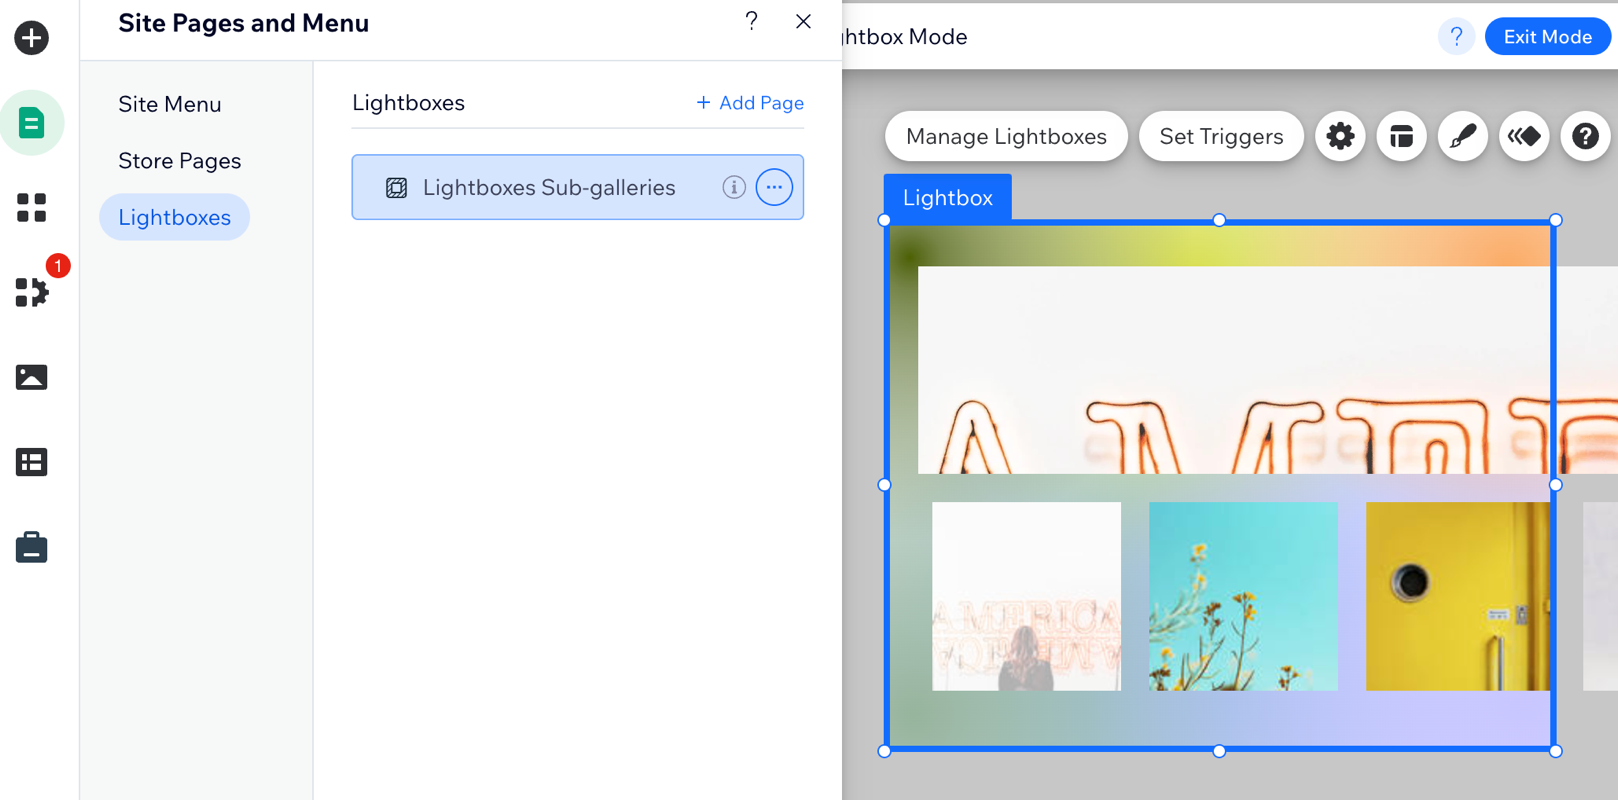
Lightboxes pop up in a window on the screen, keeping your visitors on the same page, making it easy for them to focus on your gallery's media.
Wix Editor
Studio Editor
- Go to your editor.
- Click Add Elements
 on the left side of the editor.
 - Click Interactive.
- Select a lightbox category and choose the lightbox you like best.
- Name the lightbox as you would name the sub-gallery.
- Disable the triggers for the lightbox.
- Add a Wix Pro Gallery to the lightbox.
- Add the specific media that you want to appear in this sub-gallery.
- Repeat steps 1-7 for each of the sub-galleries that you want to display.


Step 2 | Link your sub-gallery to the main gallery
Once you have established your sub-gallery pages or lightboxes, you can set up your main gallery. Add media to your main gallery, which act as cover images, and then link each cover image to its sub-gallery.
To link your sub-gallery to the main gallery:
- Add the Wix Pro Gallery where you want the main gallery to appear.
- Add the media that serve as the "cover images" for each gallery.
- Link each cover image to its related sub-gallery:
- Select the Pro Gallery in your editor and click Settings.
- Click the Settings tab.
- Click the When clicking on an item drop-down and select A link opens.
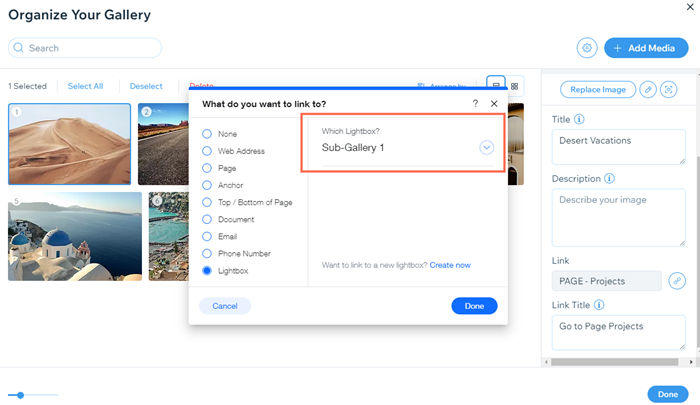
- Click Manage Media.
- Select an image for the sub-gallery's "cover image".
- Click the Link icon on the right and select Page or Lightbox.
- Select the relevant sub-gallery page or lightbox and click Done.
- Repeat steps 1-3 for each of your sub-galleries.


