

CMS: Adding and Setting Up a Ratings Input Element
7 min
In this article
- Step 1 | Add and set up the ratings input element
- Step 2 | Connect the ratings input to the CMS
- FAQs
Adding a ratings input element to your site allows visitors to rate content, products, or services, and submit their ratings directly to your CMS (Content Management System) collection. This can provide valuable feedback and enhance user engagement.
Before you begin:
- Make sure to add the CMS to your site if you haven't already.
- Make sure you have a collection with suitable permissions for storing submissions from the ratings input element.
Step 1 | Add and set up the ratings input element
Add the ratings input element to your page and customize its settings, layout, and design.
Wix Editor
Studio Editor
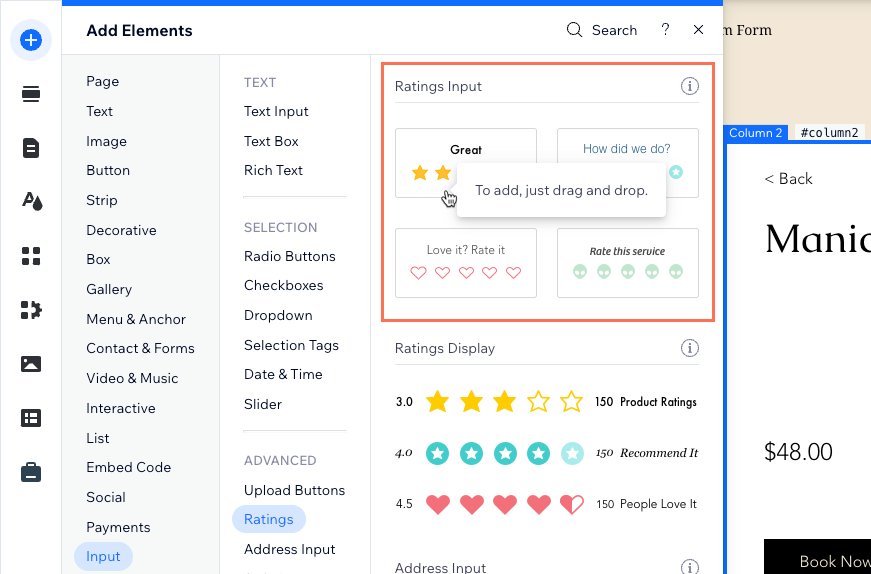
- Click Add Elements
 on the left side of the editor.
 - Click Input.
- Click Ratings.
- Click and drag the Ratings Input element of your choice onto the page.
- Set up the ratings:
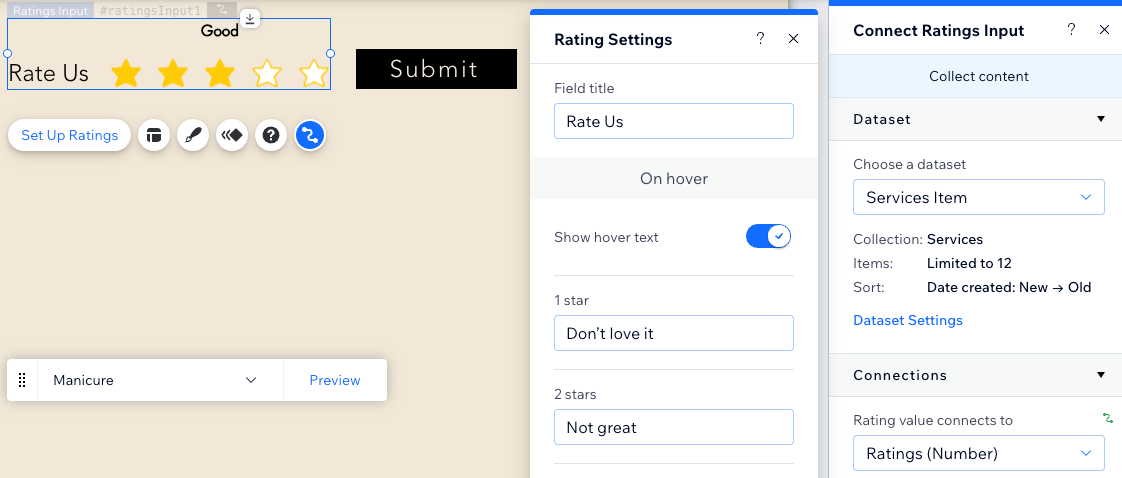
- Click Set Up Ratings on the ratings input element.
- Enter the Field title that will display in the element.
- Click the Show hover text toggle to choose whether to show hover text or not:
- Enabled: Display explanations for each rating option when visitors hover over the ratings. Enter the text in each rating field.
- Disabled: Explanations do not appear when visitors hover over the ratings. Click Accessible names and enter explanations for each rating that helps screen readers and assistive technology understand what each rating represents.
- Select the Required checkbox if you want to make it mandatory that visitors select a rating before they can submit it as part of a custom form.
- Click the Layout icon
 to customize the location of the field title and rating value. You can also set the title alignment and padding, the spacing and icon size, and the text direction.
 - Click the Design icon
 to choose a preset design. Then click Customize Design to adjust the design further.
Step 2 | Connect the ratings input to the CMS
Connect the ratings input element to a dataset that links to your CMS collection, allowing you to store and manage the ratings submitted by visitors.
Wix Editor
Studio Editor
- In your editor, click the ratings input element.
- Click the Connect to CMS icon
 .
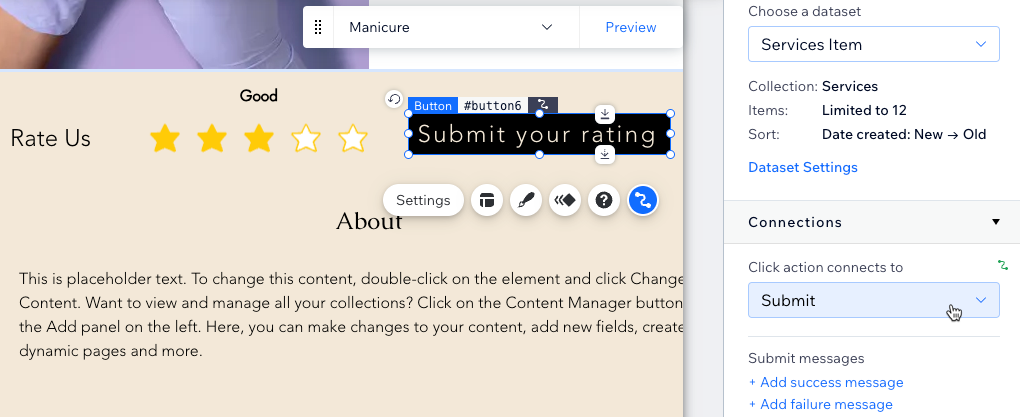
. - Click the Choose a dataset drop-down and select a dataset that connects to the collection where you will store the submissions. Alternatively, select Add a Dataset, then choose the collection you want to connect, give the dataset a name and click Create.
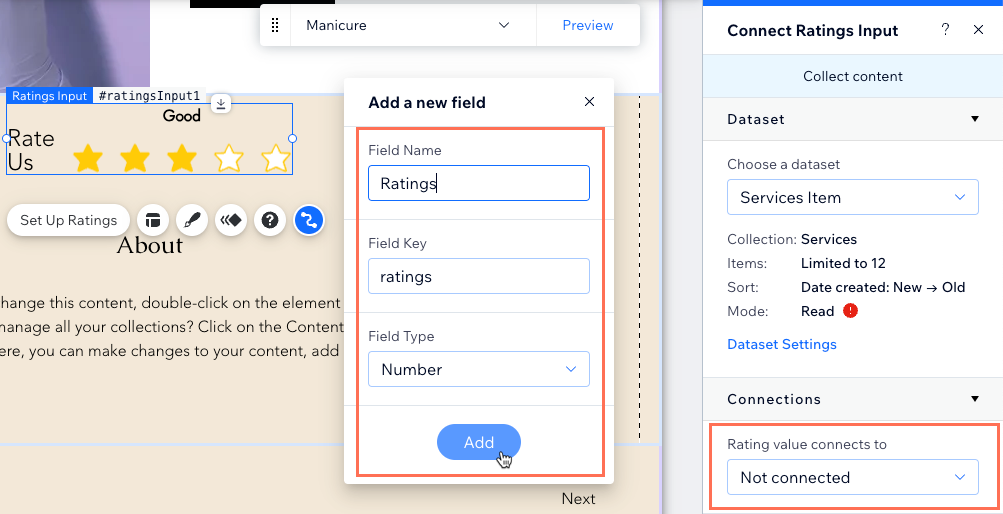
- Click the Rating value connects to drop-down and choose the number field that the ratings input will submit to.
Tip: Select + Add to add a new collection field for storing the submissions. Then enter the field name and field key (Velo only) and click Add.
- Set the dataset mode and collection permissions:
- Click Dataset Settings in the panel on the right.
- (Optional) Click the permission type next to Permissions to determine who can view, add, update, or delete collection content.
- Click the Dataset mode drop-down and select the relevant option:
- Write: Connected input elements can add new items to the collection, but cannot edit existing items.
- Read & Write: Connected elements can update existing items in the collection. If you connect a 'New' button, visitors can use it to update existing items and add new items to your collection.
- Create a submit button that visitors click to submit their ratings.
FAQs
Click a question below to learn more about the ratings input element.
Can I use Velo to capture and display ratings?
What type of field can I connect the ratings input to?
How can I display the submitted ratings on my site?
What are the dataset modes I can use with the ratings input element?
Can I let visitors rate my Wix Stores products?
Are there any 3rd party apps I can add to handle ratings and reviews?
