Wixel: Creating Fonts with AI
9 min
In this article
- Generating a font
- Customizing your font
- Saving and exporting your font
This article refers to the new Wixel, released in December 2025. If you're unsure whether you’re using the new or previous Wixel, view more information here.
Create a custom font in Wixel that matches your brand and creative vision. Start with Aria or an existing logo, then refine the font set and individual characters to get it just right. Once your font is ready, you can export it to use across different projects and platforms.

Notes:
- Actions that involve generating and editing fonts with AI use AI credits.
- Currently, you can only generate fonts for basic Latin letters (A–Z), numbers (0–9), and symbols. Accented and special characters (e.g. é, ñ, ç) aren't supported yet.
Generating a font
Start by generating a font from a prompt in Aria or from a logo you already created in your project. Wixel first generates uppercase letters, then offers more options so you can continue building the font set.
Note:
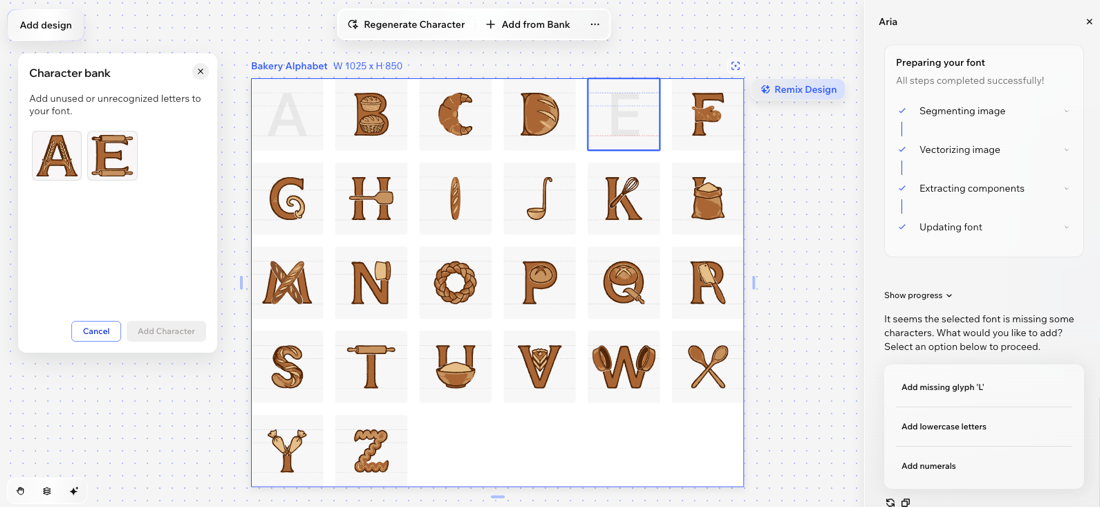
A generated font concept may not include the full alphabet at first. If you like the overall style, keep working with that option and fill empty slots later from the character bank or by regenerating individual characters.
To generate a font:
Desktop browser
Wixel app
- Go to your project in Wixel.
- Choose how you want to start:
- Ask Aria to create a font (e.g. "Create a font for a rustic artisan bakery").
- Select an existing logo in your workspace and ask Aria to "Create font from this logo"
- Browse the generated font concepts and select the one you want to continue editing.
Tip: Click Regenerate if you want to see more font concepts. - Fill in empty slots by clicking the relevant letter slot. You can add a letter from the character bank or click Regenerate Character to generate a new option.
- (Optional) Continue expanding your font set by generating lowercase letters, numerals, and symbols.
Tip:
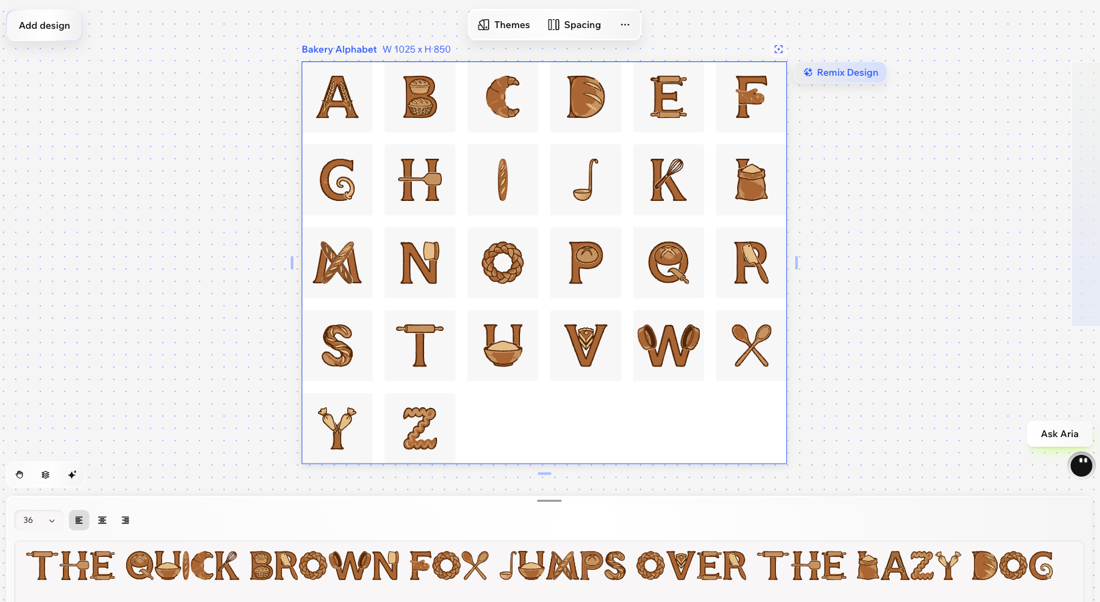
Use the preview panel at the bottom to test how the font looks when typed out. Play around with it by making the font bigger or smaller, and using the alignment options (e.g. align center, align left). When you make any changes to the font, click Apply Changes at the bottom to refresh the preview.
Customizing your font
Once you choose a font concept, you can customize the font asset as a whole or adjust individual characters. This helps you keep the style you like while refining the characters that need more work.
To customize your font:
Desktop browser
Wixel app
- Go to your project in Wixel.
- Click the relevant font asset in your project.
- Choose what to customize:
Customize the font set
Customize a character

Saving and exporting your font
When your font is ready, save it to your project so you can use the font in images, slideshows, and more. You can also download the font and upload it on external platforms. The .ttf file can be used anywhere custom fonts are supported, such as document and design tools.
To save or export your font:
Desktop browser
Wixel app
- Go to your project in Wixel.
- Select the relevant font asset in your project.
- Choose what to do:
- Download the font set:
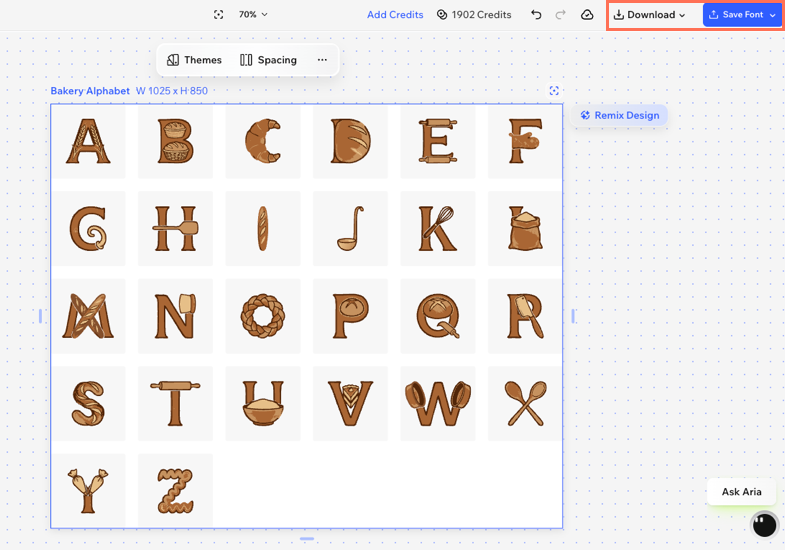
- Click Download at the top right.
- Select the relevant file type (e.g. ttf).
- Click Download.
- Save the font set to your Wixel project: Click Save Font at the top right.
- Download the font set:

Using a custom font in Wixel:
After saving your font, you can use it in your Wixel design. Select a text element, then choose your saved font under My Fonts in the Font dropdown.


: Adjust the character's vertical position.
: Increase or decrease the size of the selected character.
: Rotate the selected character.
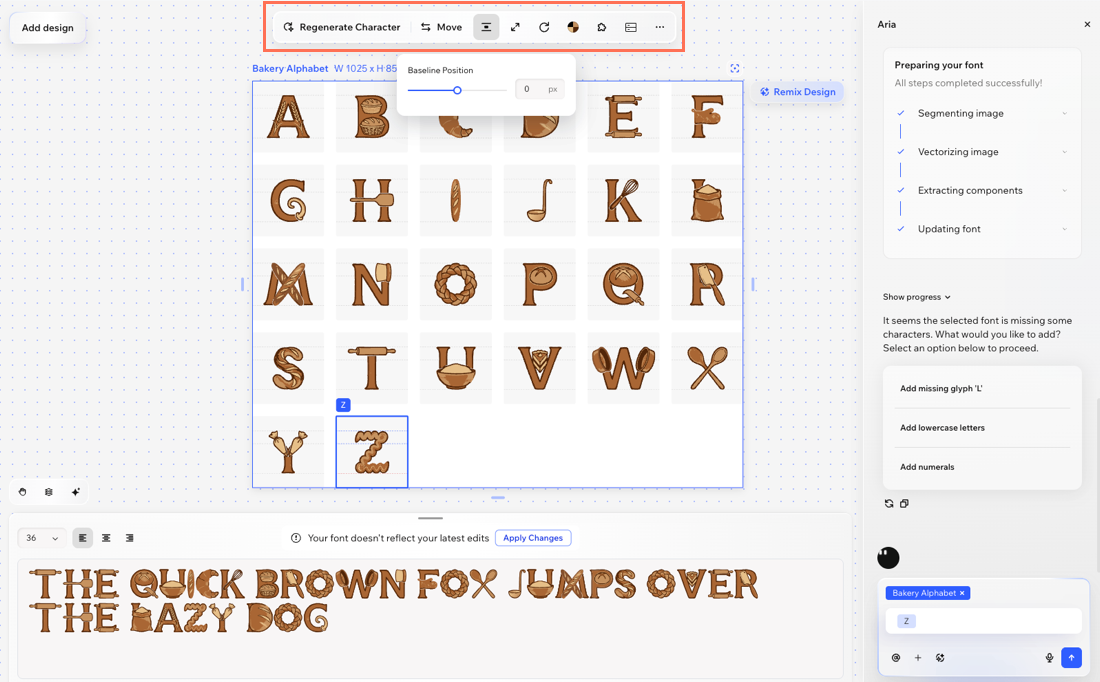
: Refine the character by adding, moving, or removing elements. Under character parts, you can select existing parts to remove them. Under Other parts, you can select extra parts to add to the character.