Wix Stores: Adding Product Options
9 min
In this article
- Creating Product Options
- Displaying different images for product option choices
- Managing pricing and other settings per product variant
- Pricing
- Inventory
- Pre-order
- Cost of goods
- SKU or Barcode (GTIN)
- Shipping weight
- Updating multiple variants at once
- FAQs
Important:
We're in the process of releasing a brand-new product creation page. If the first field you see is 'Images and videos', you have the previous version and should follow these instructions on adding product options.
Product options help you provide customers with choices, such as product size, color, or material. After creating the necessary options, you can manage inventory, set pricing, and more for each variant.

Before you create product options:
Wix Stores gives you the option of adding modifiers to products in addition to product options. Use modifiers to allow customers to send you messages (e.g. which name to engrave) or to add product variations that don't require separate inventory or pricing.
Learn more about the difference between modifiers and product options.
Understanding product option terminology
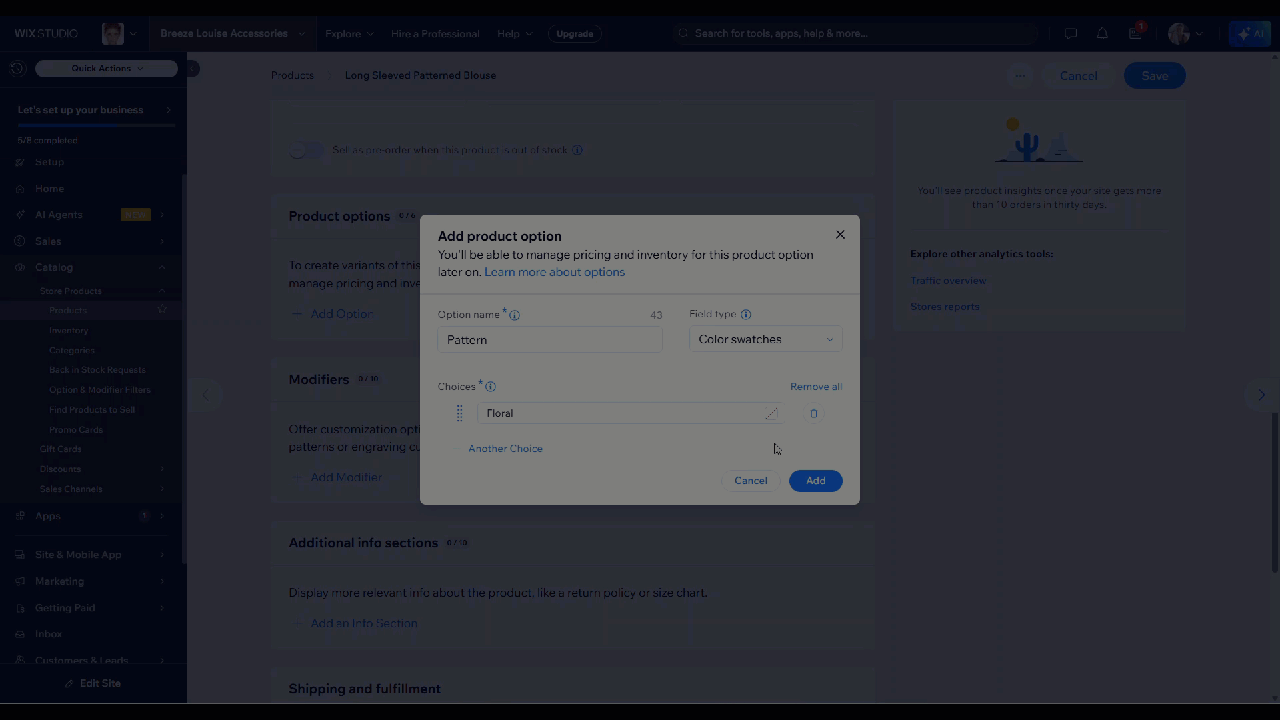
Creating Product Options
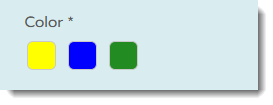
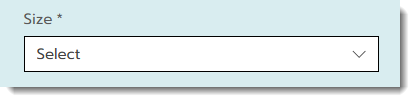
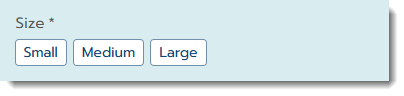
Adding product options enables your customers to make customized choices. These options are displayed as text choices or color swatches.

To add a product option:
- Go to Products in your site's dashboard.
- Click + New Product, or select an existing product.
- Scroll down to the Product Options section.
- Click + Add Option.
- Choose the kind of option you want to create:
Create a color swatch option
 .
.
 .
.Create a text choice option
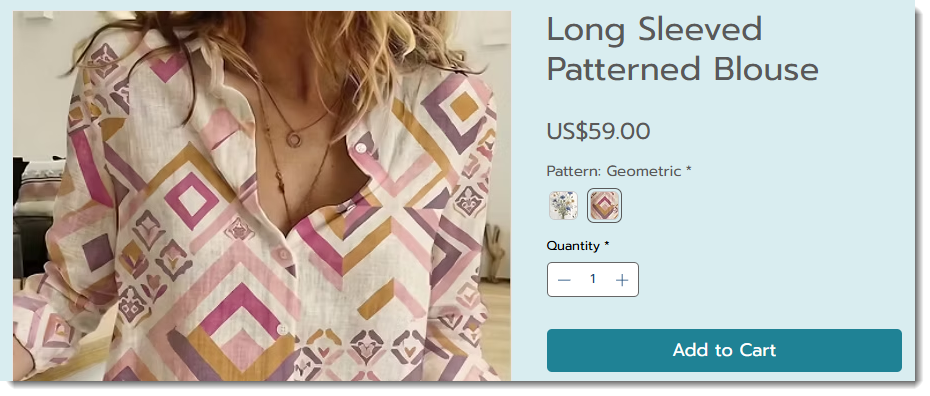
Displaying different images for product option choices
Linking images or videos to product option choices enhances the shopping experience. Customers can visualize how the variations, like colors or patterns, look before they order.

To connect media to option choices:
- Go to Products in your site's dashboard.
- Select a product with product options.
- Click the Connect images and videos icon
 next to the relevant product option in the Product Options section.

- Click the + icon next to an option choice.
- Upload or select up to 50 images or videos.
- Click Apply.
Note:
Connecting media works for individual product option choices (e.g. each color choice) but not for each variant (e.g. blue small, blue large, green small, green large).
Managing pricing and other settings per product variant
Once product options are created, settings like pricing, inventory, and pre-order availability are managed per variant, not for the product as a whole. To get started customizing the variant settings, click Edit Variants.
Note that you can customize which columns you display. If you don't see the column with the setting you need, you can add it.

Pricing
Store products have a number of pricing settings:
- Product price
- Strikethrough price
- Cost of goods
- Price per unit
As soon as you add product options, all of these are managed per variant. Learn more about pricing settings for store products.
Inventory
Set your inventory amount or status per variant. Note that you can also update inventory for multiple products and variants at once in the Inventory tab.
Tip:
If you have variants that don't require separate inventory, we suggest you add product modifiers.
Pre-order
Allow customers to pre-order one or more variants when they're out of stock. Learn more about setting up pre-orders.
Cost of goods
Track how much it costs to purchase or produce each product variant so that your profit and margin can be calculated automatically. Learn more about calculating your cost of goods.
SKU or Barcode (GTIN)
Give each product variant a unique SKU (stock keeping unit), barcode, or GTIN (Global Trade Item Number).
Shipping weight
If you set up shipping by weight, you can enter a weight for each variant.
Updating multiple variants at once
Updating multiple variants can save time if you need to make similar changes, such as adjusting prices, SKUs, or weights.
Tip:
For advanced control, use the Inventory tab for bulk edits.
To bulk edit product variants:
- Go to Products in your site's dashboard.
- Select a product with product options.
- Click Edit Variants.
- Select the variants you want to update:
- All Variants: Select the checkbox at the top.
- Specific variants: Select the checkboxes next to the relevant options.
Tip: You can filter the list.
- Click Set Visibility or More Actions and make the required changes.
FAQs
Click a question below to learn more about adding product options:
How many product options can I create per product?
What happens if I enter details like price or weight for a product, but then create options?
What happens if I remove or add options to an existing product?
Can I change the name of a product option and have the change apply to all products?
 next to Product Options to view a list of all the product options names you created. Then, click Edit next to the name you want to edit.
I'm editing variants. Why don't I see some of the settings?

 .
.Can I display text options as buttons instead of in a dropdown list?
I use my product options to display filters on my live site. How can I organize them?
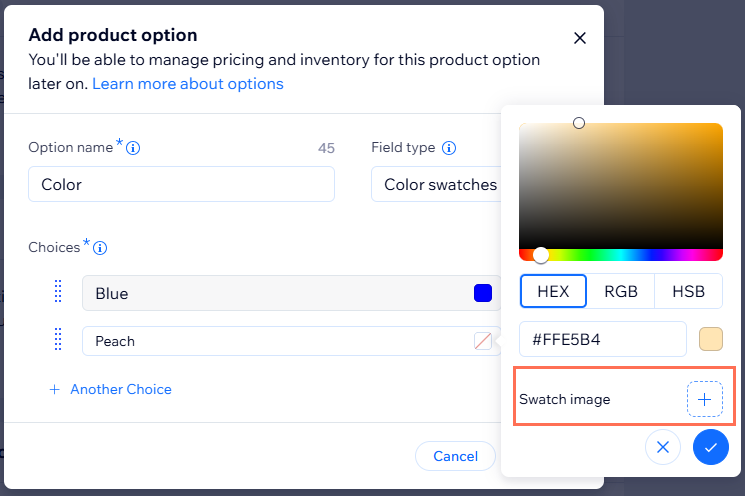
How can I create a swatch image from my product image?