Wix Multilingual: Translating Text, Buttons and Links
3 min
You can translate text, buttons and links on your site with Wix Multilingual. Choose whether to use the Translation Manager in the dashboard, or head over to your editor to see how your translations look on the page.
Before you begin:
Add and set up Wix Multilingual on your site and translate it in the Translation Manager.
To translate text, buttons and links:
Wix Editor
Studio Editor
Dashboard
- Go to your editor.
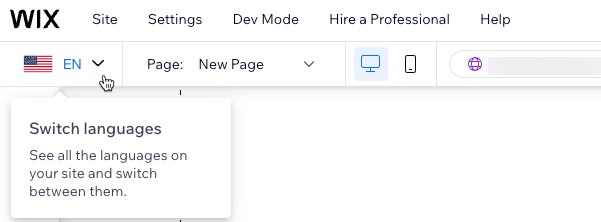
- Click the Switch languages drop-down menu at the top of the editor.
- Select the language you want to edit.
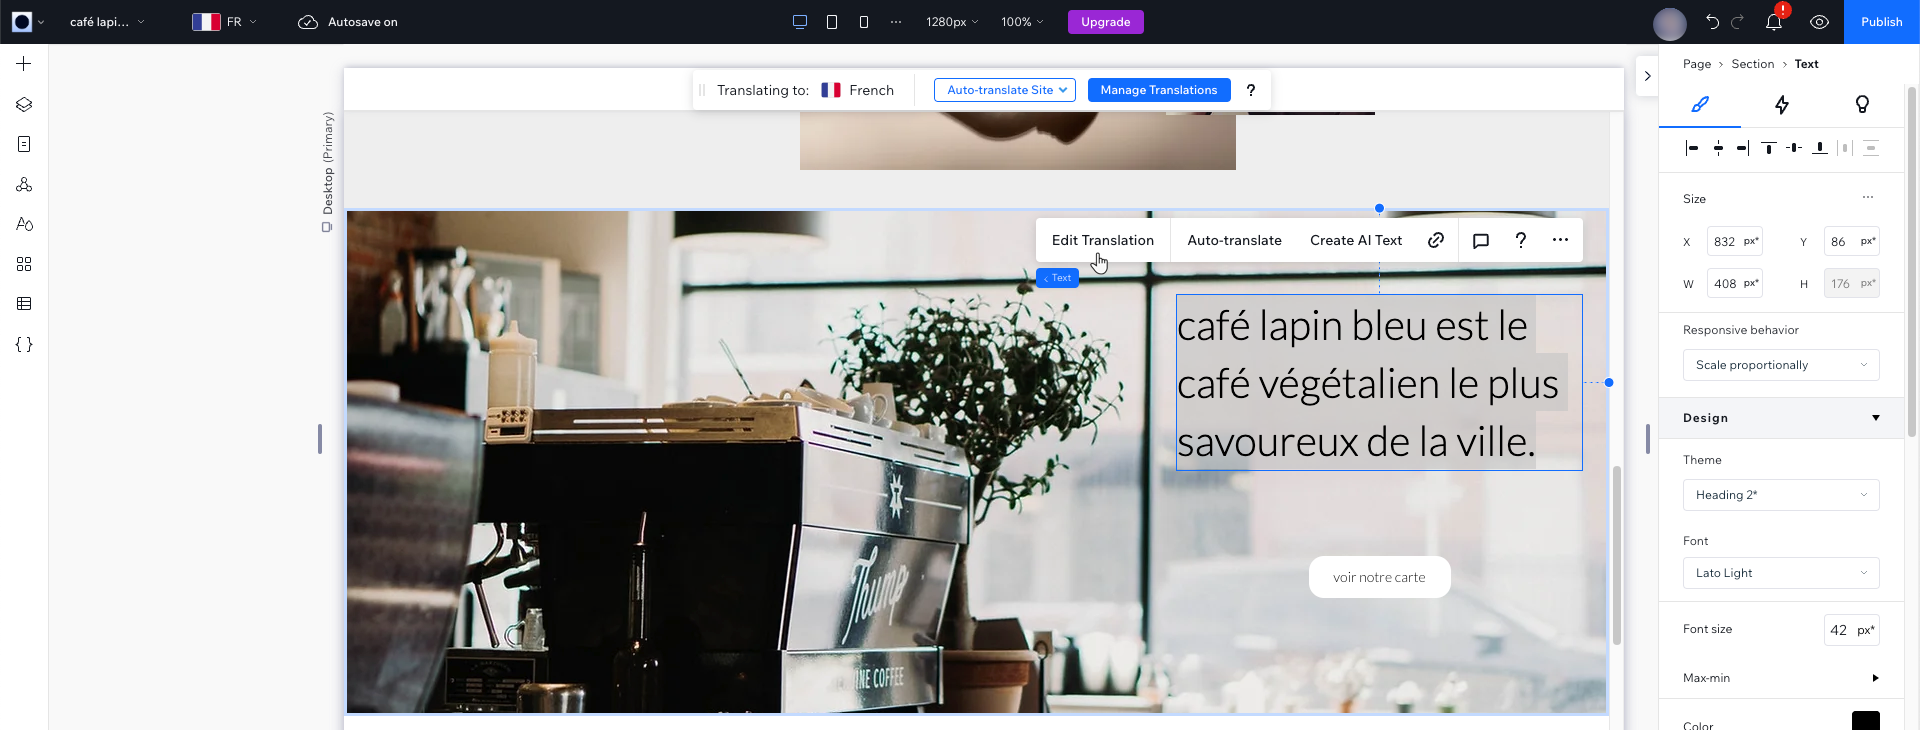
- Select the text element you want to translate in your page.
- Click Edit Translation or Auto-translate to enter or edit the translation.
Note: Currently, collapsible text can only be translated manually. - (Optional) Design the element in your secondary language.
- (Optional for buttons and links) Click the Link icon
 to change the link.
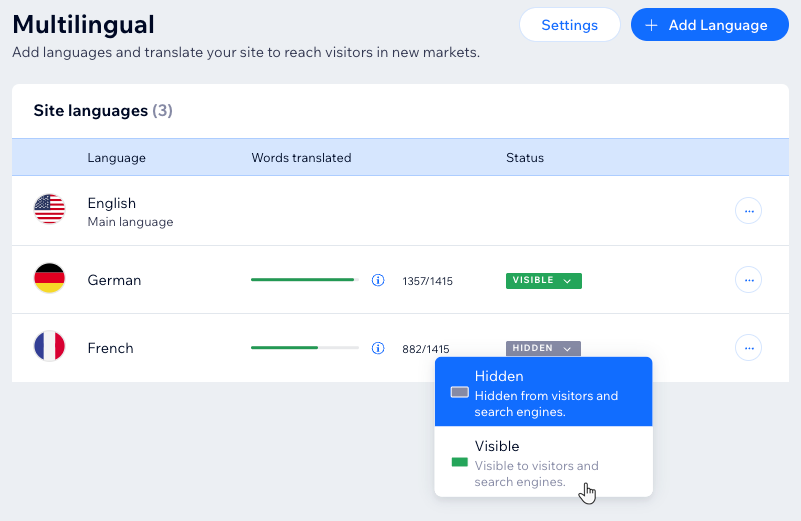
 - (If the secondary language is still hidden) Make this language visible on your site:
- Go to Multilingual in your site's dashboard.
- Click the Status drop-down next to your language and select Visible.