Wix Forms helps you collect details from visitors so you can stay in touch, get leads, take bookings, and more. Add a form directly on your page in the Wix Harmony Editor, then customize how it looks and how it works for your business.
Step 1 | Add a form to your site
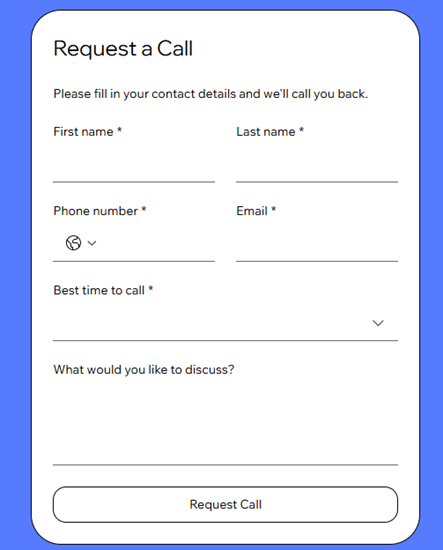
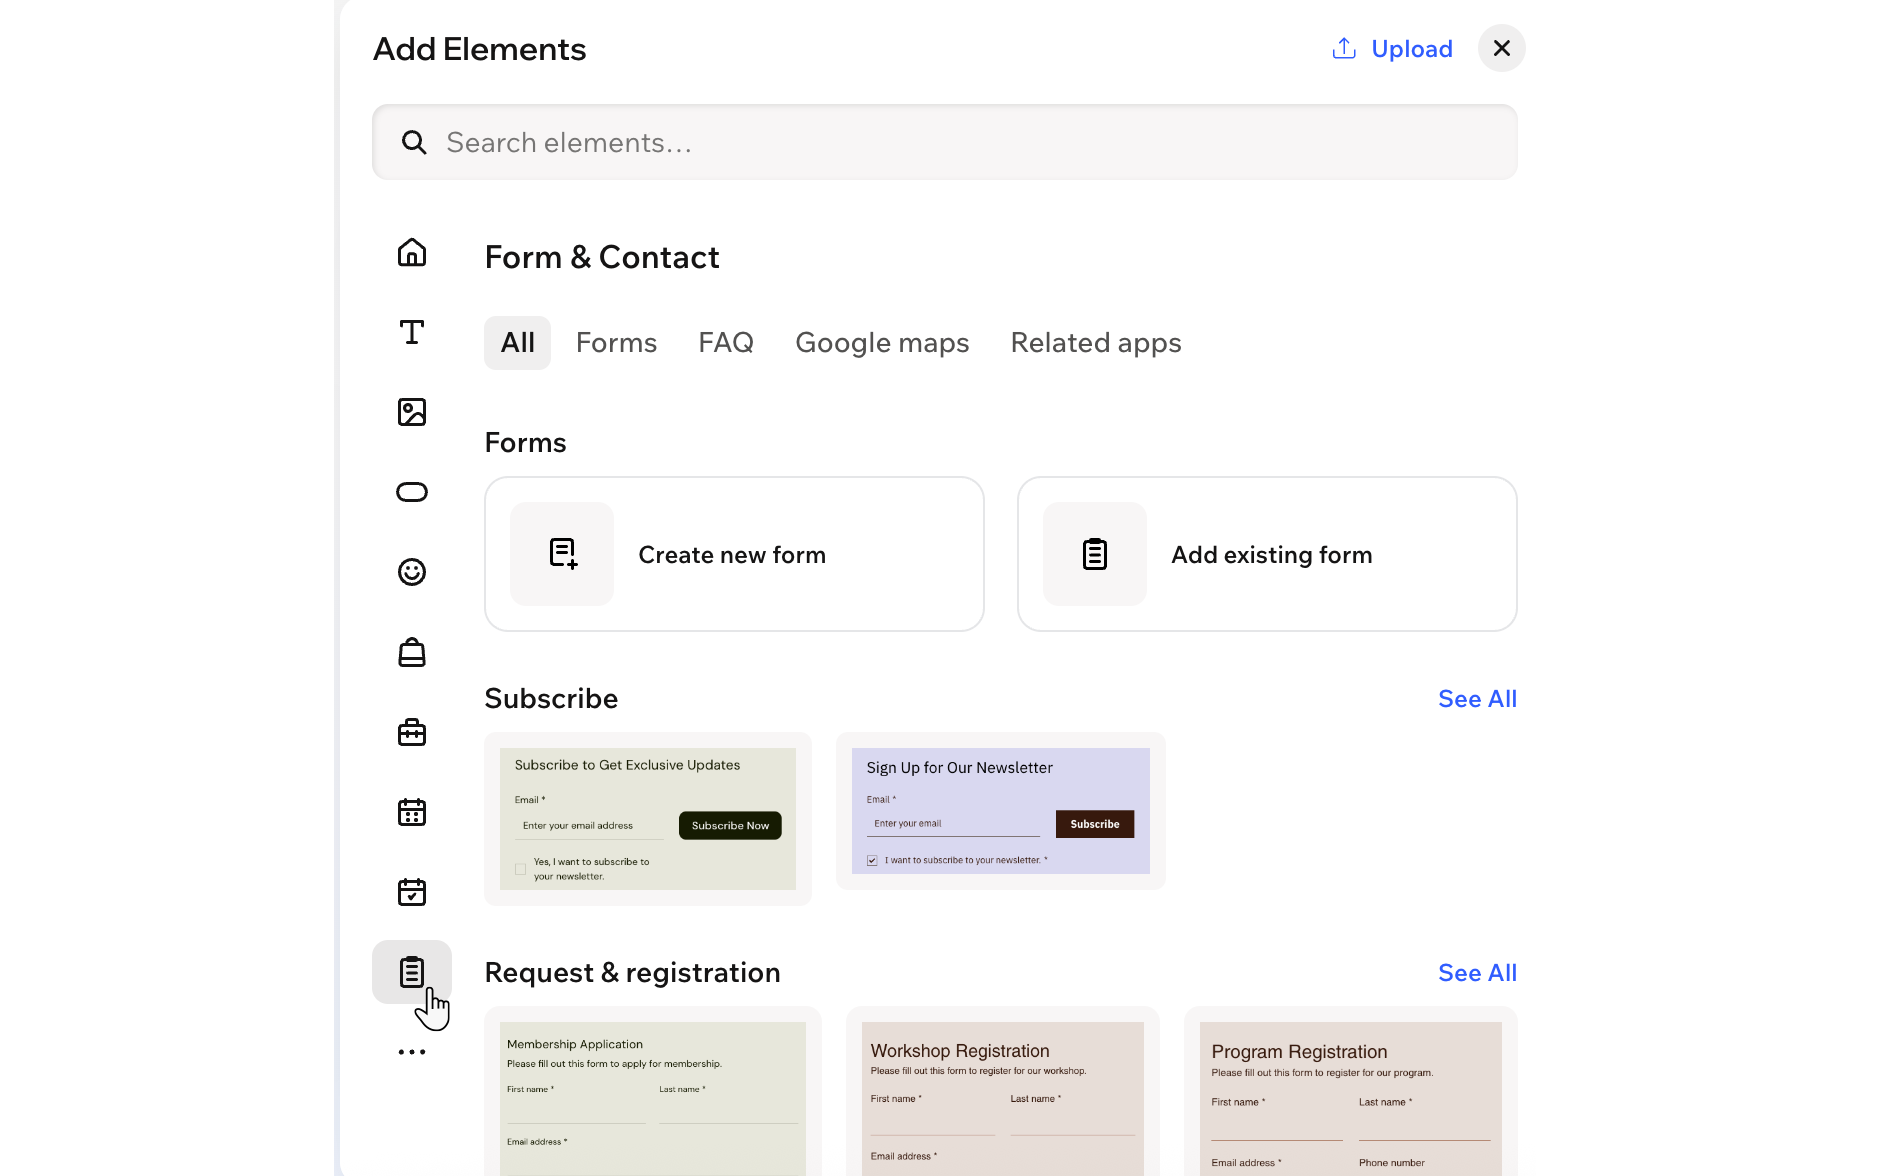
First, add a form to your site from the Add panel. You can choose a template from categories like Subscribe, Request & Registration, and Contact us, select one of your existing forms or start from scratch and design your own.
To add a form to your page:
- Go to your editor.
- Click + Add at the top left of the editor.
- Select Elements.
- Hover over the More Options icon
 , then scroll down and click Form & Contact
  .
. - Choose how you want to start:
- Create a new form from scratch:
- Click Create new form.
- Add the relevant fields.
Tip: You can customize these later.
- Add an existing form:
- Click Add existing form.
- Select the form you want to reuse.
- Add a form template:
- Select the template you want to use.
- Drag the template onto your page.
Step 2 | Customize your form fields
Once you have a form on your page, you can tailor it to your needs and use it to collect and manage important information about your visitors. Add, edit, duplicate or remove fields so each form only asks for what matters.
To customize your form fields:
- Click the form element in your editor.
- Choose what you want to do:
- Click Edit Form on the action bar.
- Click the Add icon
 on the left.
 - Click the type of field you want to add.
Change the design of a field
- Click the Settings icon
 on the action bar.
 - Click Design.
- Click Form Fields.
- Click the State drop-down at the top and select the state you want to customize: Normal, Hover, or Error.
- Use the available options to design your form fields, such as colors, borders and text style.
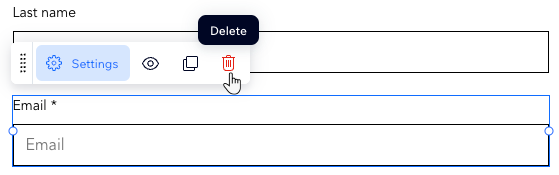
- Click Edit Form on the action bar.
- Click the relevant field.
- Click the Delete icon
 .
.
Step 3 | Edit your form's settings and save
Adjust your form settings so it looks and works the way you want. Update the layout, spam filter, success message and more to create a form that fits your site and style.
To edit your form settings:
- Click the form element in your editor.
- Choose what you want to do:
Customize the form's design and layout settings
- Click the Settings icon on the action bar.
- Click any of the tabs to customize the form:
- Layout: Adjust the form's padding and spacing.
- Design: Customize the form's background, fields, header, paragraphs and buttons.
- Manage: View and manage all your forms in one place.
- Click Save.
- Click Edit Form on the action bar.
- Click Settings.
- Enter a name in the Form Name field.
- Click Save.
- Click Edit Form on the action bar.
- Click Settings.
- Scroll down and click the Spam filter settings drop-down in the Spam filter section.
- Choose from the following options:
- Only reCAPTCHA: Uses invisible reCAPTCHA to analyze site visitor behavior and determine if they are human or a bot. If suspected to be a bot, a challenge is shown. This is the lowest level of spam protection.
- Basic and reCAPTCHA: After passing invisible reCAPTCHA, submissions go through a basic spam filter that labels spam based on criteria like network identifiers and contact information. This is the mid-level spam protection.
- Advanced and reCAPTCHA: Includes reCAPTCHA and the basic filter, plus an advanced filter using additional technologies to mark spam. This highest level of spam protection is only applied if the other two filters do not mark the submission as spam.
- Click Save.
Edit the required field style
- Click Edit Form on the action bar.
- Click Settings.
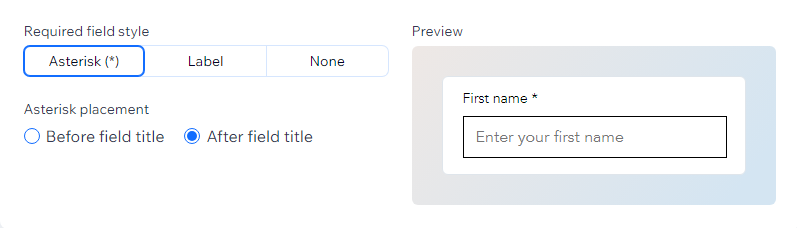
- Under General settings, choose how required fields are shown:
- Asterisk: Display an asterisk so your visitors know the field is required.
- Label: Display a label that says "Required".
- None: Do not display anything letting your users know this field is required.
- (Optional) Choose whether to display your asterisk before or after the field title.
- Click Save.
Edit the confirmation message
- Click Edit Form on the action bar.
- Click Settings.
- Under Confirmation message, choose how the message behaves:
- When a form is submitted: Click the drop-down and choose what happens after a visitor submits the form:
- Show a message: Display a confirmation message on the form.
- Redirect to a URL: Send visitors to another page or external link.
- Clear the form: Clear all fields after submission.
- Message display time: Choose how long to show the message:
- Custom: Show the message for a set number of seconds. Enter the time in Seconds displayed.
- Always: Keep the message visible.
- Click Save.
Create rules and / or extra pages for the form
- Click Edit Form on the action bar.
- Click Rules or Pages on the left to add conditional rules or multiple pages to the form:
- Rules: Add a conditional rule to the form. Rules improve the way you collect information based on responses. A visitor's response to one field can determine if another field is shown, hidden, required, or optional. For example, add a rule such as, 'If a visitor chooses Option A in Question 1, then Question 2 is hidden. But if they choose Option B, Question 2 is visible.'
- Pages: Create multiple pages for the form. This keeps questions and information organized.
Tip: If you have multiple pages, make sure you add a Submit field to each page so visitors can navigate through the pages by clicking 'Next.'
- Click Save.
Step 4 | View and manage your form submissions
All the information you collect through Wix Forms is stored in one place. From the Forms & Submissions tab in your site’s dashboard, you can review and export submissions, control who gets notified when someone submits a form and more.
To view and manage form submissions:
- Go to Forms & Submissions in your site's dashboard.
- Hover over the relevant form and click the More Actions icon
 .
. - Select View submissions.
- Choose how to manage your submission data:
Click the arrow next to the relevant field title to sort the table by that column.

- Click the relevant submission.
- Click Edit under Submission details.
- Edit the submission as needed.
Export data from the table
- Select the checkbox to the left of the relevant submission.
- Click Export.
- Select the data you want to export.
- Click Export.
- Click the More Actions icon next to the submission.
- Select Download PDF.
- Access the PDF from your downloads folder.
Notes:
- You can only download one submission at a time.
- You can't customize the PDF settings.
- Only fields with data are included in the PDF. Empty fields (e.g., optional fields left blank) are excluded.
Mark a submission as spam
- Select the checkbox to the left of the relevant submission.
- Click Report as spam.
Notes:
- Unmark submissions marked as spam by selecting the checkbox to the left of the relevant submission in the Spam tab, then click Report as not spam.
- To permanently delete spam submissions, click the More Actions icon and select Permanently delete.
- Spam submissions (submissions filtered automatically by the spam filter or submissions manually marked as spam) will stay in this tab for 30 days, after that they will be permanently deleted.
Mark a submission as trash
- Select the checkbox next to the relevant submission.
- Click Move to trash.
Note: You can always restore submissions you previously marked as trash from the Trash tab. Form submissions manually marked as Trash will be kept in the Trash tab for 180 days. After that time, they will be permanently deleted.
FAQs
Click a question below to learn more.
To test a form, follow the steps below:
- Select the form in your editor.
- Click Edit Form on the action bar.
- Click the Preview tab at the top of the form builder.
- Test the form by selecting different options, inputting information in text boxes, and clicking 'Next' to navigate between form pages.
How many forms can I add to my site?
You can create 4 forms for free. If you
upgrade your site, you can create as many forms as you need.
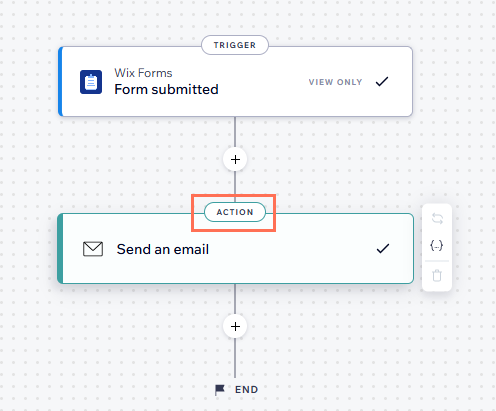
How do I set email notifications for a form?
When someone submits a form, an email automatically gets sent to the site owner notifying them about the submission. This email notification is built using
Wix Automations. Once you have
set up an automation trigger, you can update the automation as well as change who receives emails from the
Forms & Submissions tab in the site's dashboard.
- Go to Forms & Submissions in the site's dashboard.
- Click the More Actions icon
 next to a form.
 - Click Form notifications.
Tip: This opens the Settings tab where you can see your active automations. - Click Edit next to the relevant automation.
- Click the Action.
- Scroll to the Set Recipients section on the left panel.
- Click + Add Recipients.
- Click Collaborator Roles.
- Select the Collaborator roles you want to receive the form submission notifications.
- Click Apply.
I would like to restore a deleted field, is this possible?
Yes. When deleting a field from a form with existing submissions, it moves to the Deleted Fields section.
Click the
More Actions icon

to restore the field to make it active again or delete it permanently. Keep in mind that permanently deleting a field also removes all submissions associated with it.
How do I customize my form’s design and layout settings on mobile?
To customize your form’s design and layout settings on mobile:
- Click the Mobile icon
 at the top right of the page.
 - Click the form you want to edit.
- Click the Settings icon on the action bar.
- Click any of the tabs to customize the form:
- Layout: Adjust the form's padding and spacing.
- Design: Customize the form's background, fields, header, paragraphs and buttons.
- Click Save.