

Wix Events: Customizing the Checkout Form for Ticketed Events
3 min
In this article
- Customizing the checkout form of a ticketed event
- FAQs
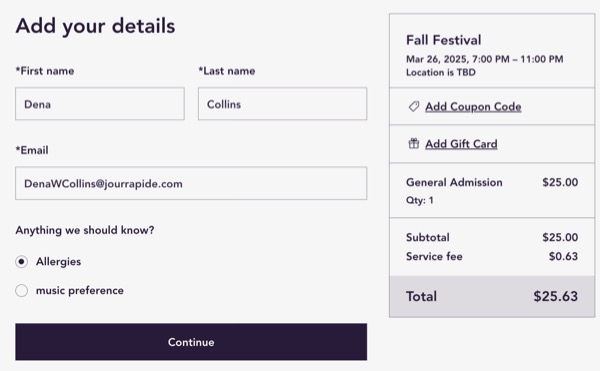
When guests purchase event tickets, they fill out a checkout form. You can customize this form to gather the exact information you need from each attendee.
Customizing the checkout form of a ticketed event
Update the fields in the checkout form to get the details you need from your guests (e.g. phone numbers).
Note:
First name, last name, and email are required fields on the checkout form. It is not possible to remove them.
To customize the checkout form:
- Go to Events in your site's dashboard.
- Click Manage next to the relevant event.
- Click the Settings tab.
- Click Edit next to Checkout form.
- Choose how to collect guest info:
- 1 form per order: Guests fill out the form once, even for multiple tickets.
- 1 form per ticket: Guests fill out a separate form for each ticket.
Tip: Learn more about collecting guest info for individual tickets.
- Edit the form text:
- Hover over a text field and click the Edit icon
 .
. - Edit the text and click the checkmark to save.
- Hover over a text field and click the Edit icon
- Add new fields to the form:
- Click + Add Fields.
- Select the field you want to add (e.g. phone number, address, custom question).
Note for custom questions: If you're using the dropdown menu, multiple choice or checkboxes response type, press Enter / Return key on your keyboard after each choice. - (Optional) Select the Make this info required checkbox.
- Click the checkmark to save.
- (Optional) Edit the Button text:
- Hover over the current text and click the Edit icon
 .
. - Edit the text and click the checkmark to save.
- Hover over the current text and click the Edit icon
- Click Save at the top right.
FAQs
Click a question below to learn more about customizing the checkout form.
How can I read responses to checkout form questions?
How can I customize the "Tickets Unavailable" and "Registration Closed" messages?
How can I customize the design of the checkout form?
