

Wix Editor: Customizing Your Text
5 min
In this article
- Changing the size of your text
- Choosing a new font
- Changing the color of your text
- Adding formatting to your text
- FAQs
You can customize the look of your text at any time in the Text Settings panel. Adjust options such as the size, fonts, and colors to keep providing visitors with the information they need to know in a unique, streamlined way.
Changing the size of your text
Adjust your text size to suit your needs. We recommend using bigger sizes for titles and headings, and smaller sizes for text paragraphs. You can also choose to resize only part of the text in your text box (e.g. make a specific word bigger than the rest).
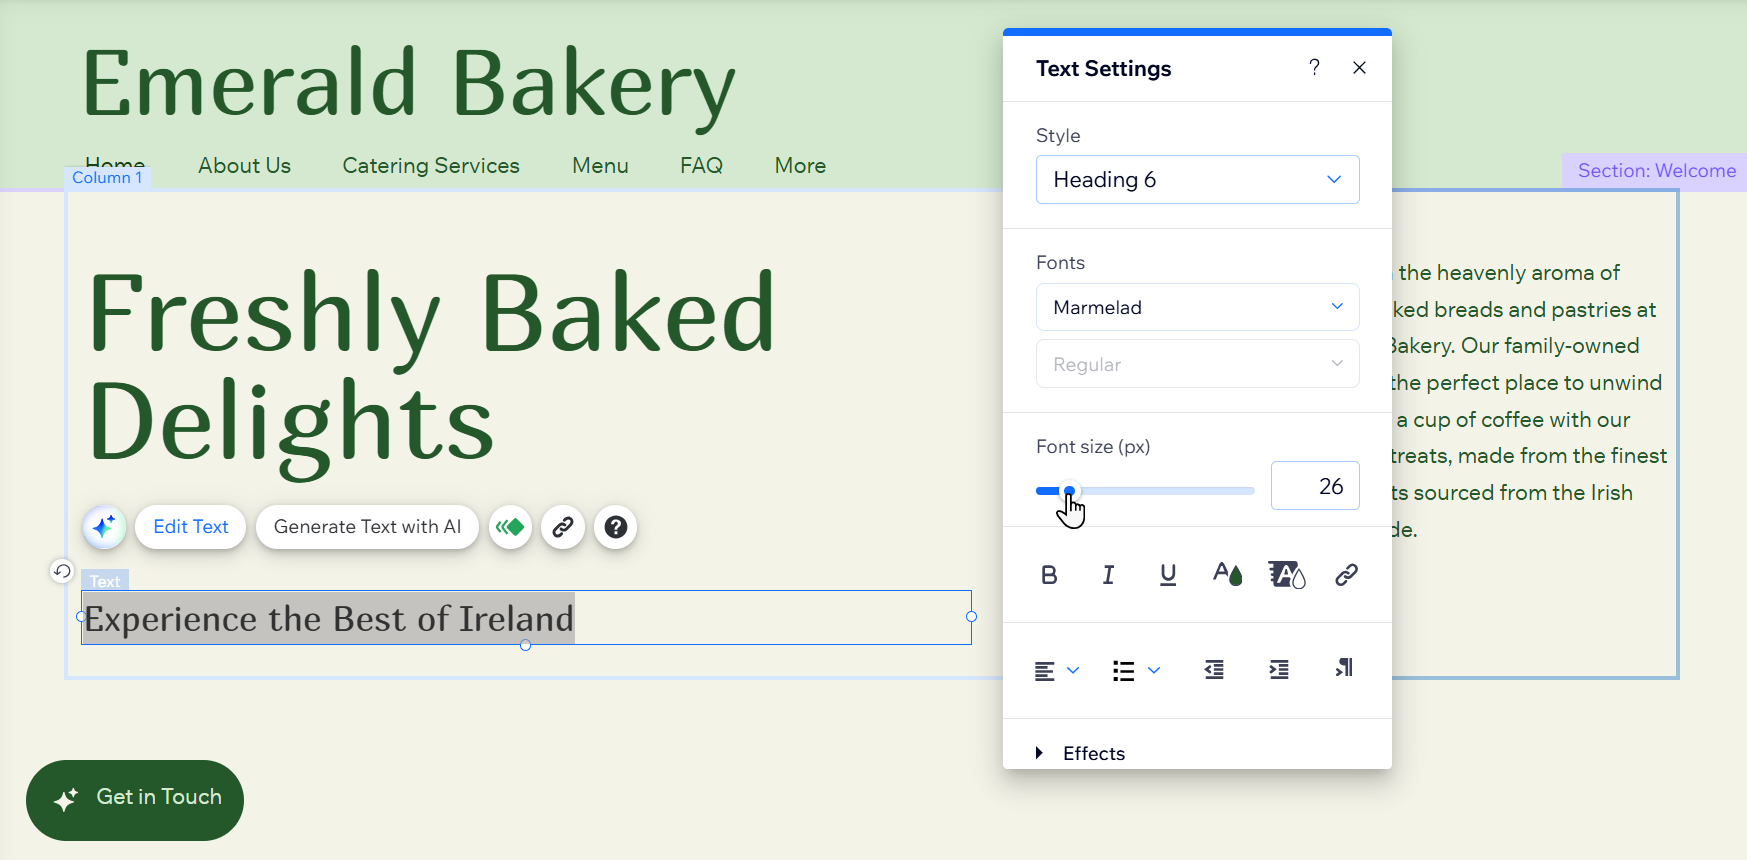
To change the text size:
- Go to your editor.
- Select the relevant text box.
- Click Edit Text.
- (Optional) Highlight the specific word(s) you want to resize.
- Drag the Font size slider to resize the text, or enter a specific value between 6 and 999 pixels.
Choosing a new font
Customize your content by changing the text font. Select from a variety of fonts provided by Wix, or upload your own. You can also choose a different font for a specific part of the text in your text box.
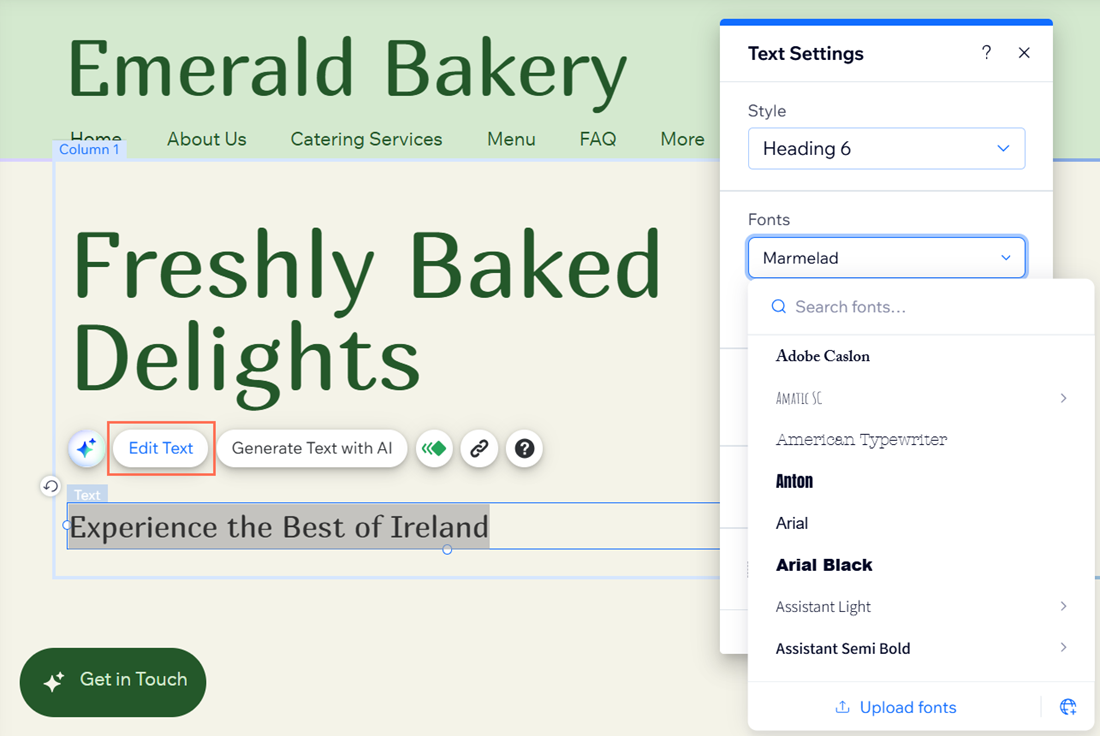
To change your text font:
- Go to your editor.
- Select the relevant text box.
- Click Edit Text.
- (Optional) Highlight the specific word(s) you want to show in a different font.
- Click the Fonts drop-down.
- Do one of the following:
- Select a Wix font.
- Click Upload Fonts to upload your own font.
- Click the Add Languages icon
 to add a language font.
Important:
- View the complete list of fonts available in the editor that are licensed for use on your site. Note that these fonts are licensed for digital use only within your Wix site. For more information, see the Wix Terms of Use.
- You cannot download the fonts to use, but you may find the open source versions and install them to your computer. Be careful with fonts found in external URLs. These are not owned by Wix, and you need to contact the author for permission to use them.
Changing the color of your text
Complement pages and sections by changing the text color. You can display different colors in a text box, or apply one color to the entire text.
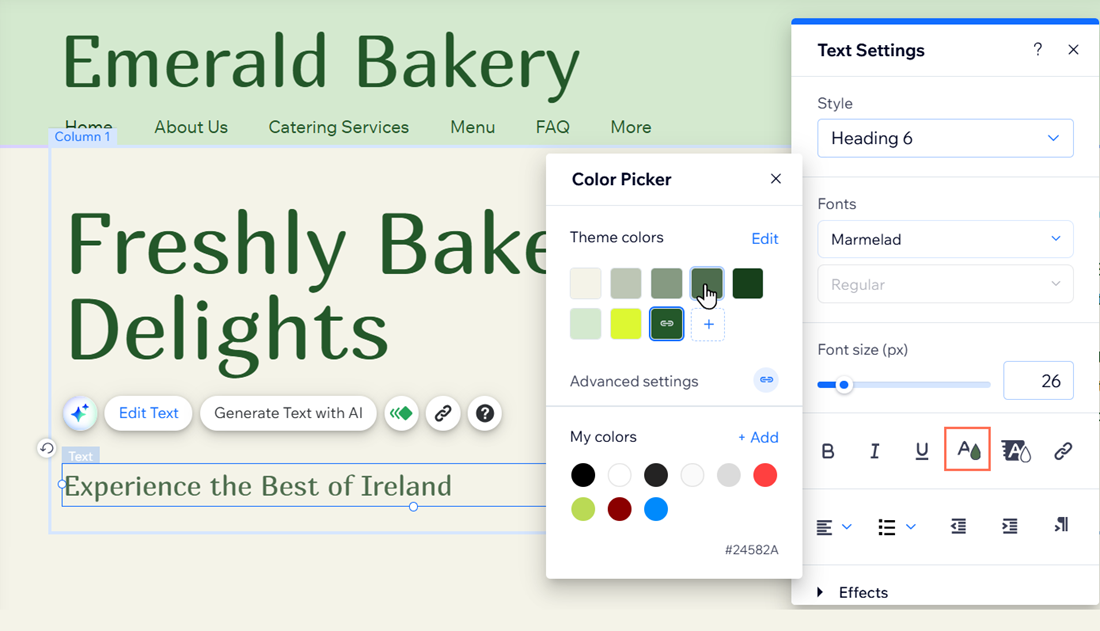
To change the color of your text:
- Go to your editor.
- Select the relevant text box.
- Click Edit Text.
- (Optional) Highlight the specific word(s) you want to show in a different color.
- Click the Color icon
.
- Select the color you want from the panel.
- (Bulleted or numbered lists) Change the color of your bullet points or numbering:
- Highlight all the text in the text box, including the bullets or numbers.
- Select the color you want for the bullets or numbers.
Note: All the text in the text box changes to the selected color. - Highlight the relevant text (without the bullets or numbers).
- Select the color you want for the text.
Note: The text changes to the new color, but the bullets and numbers stay the color you chose in step b.
Adding formatting to your text
Emphasize and personalize your site content with text formatting. Add effects such as bold and italics, and change the alignment to suit your page or section layout.
Before you begin:
Explore the available text formatting options.
To format your text:
- Go to your editor.
- Select the relevant text box.
- Click Edit Text.
- (Optional) Highlight the specific word(s) you want to format.
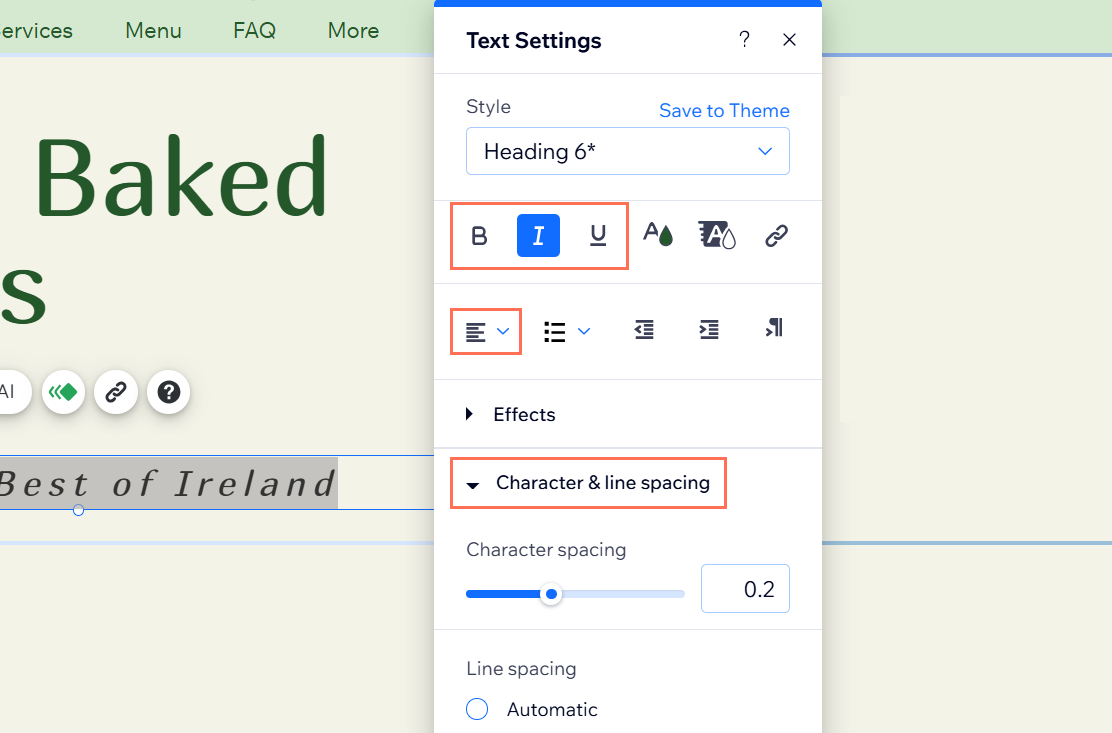
- Choose how you want to format the text:
- Formatting effects: Select the Bold , Italics, or Underline icons to add effects to the text.
- Alignment: Open the Alignment dropdown and choose whether to align text to the left, right, or center.
- Spacing: Select Character & line spacing, and adjust the spacing of text.
FAQs
Click a question below to learn more.
How can I ensure my site’s fonts are consistent across all pages?
Why is my text invisible in the editor or on the live site?
How can I remove duplicate titles or unwanted text from my site?
How do I fix text alignment issues across different devices?
Why can't I see the text on my dropdown menu?
