Wix Editor: Adding and Setting Up a Hamburger Menu
5 min
In this article
- Step 1 | Add a hamburger menu to your site
- Step 2 | Set up the menu button
- Step 3 | Manage your menu items
- Step 4 | Set up the container
Hamburger menus are menus that display a button on your live site. When visitors click the button, the menu opens in a container. This means they're a great way to let visitors browse your site without compromising on space or layout.

You should know:
Although the icons for hamburger and mobile site menus are similar, they are separate menus. Hamburger menus are not available to add in the mobile Editor, and any you add on desktop are not transferred to the mobile version of your site.
Step 1 | Add a hamburger menu to your site
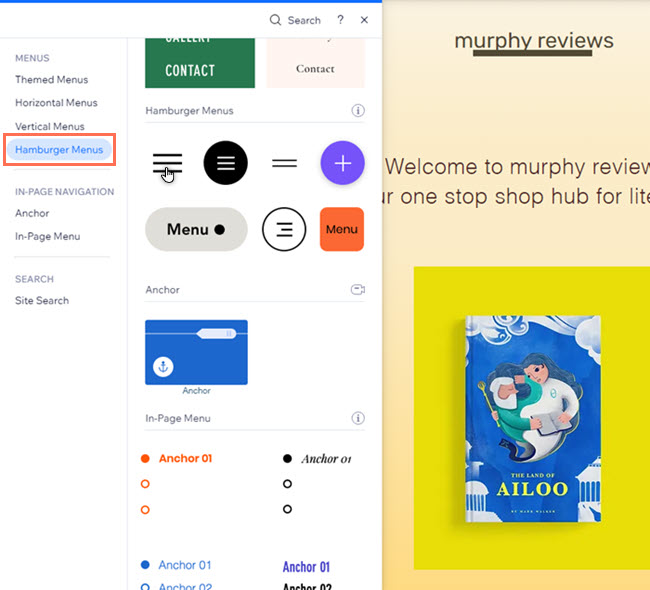
Add a hamburger menu to your site to get started. There a variety of pre-designed options, so you can choose one that fits your site's theme and look.
To add a hamburger menu:
- Click Add Elements
in the left side of the editor.
- Select Menu & Anchor.
- Click Hamburger Menus.
- Click and drag your chosen menu icon to the page.

Step 2 | Set up the menu button
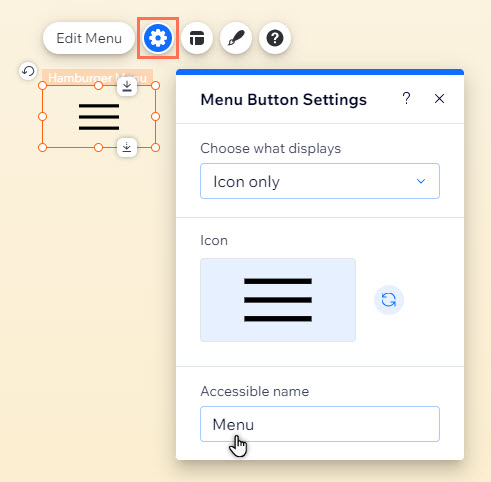
After adding the menu to your site, choose what to display on the button - text, an icon, or both. If needed, you can select a new icon and / or update the text to your liking.
To set up the button:
- Click the hamburger menu button on the page.
- Click the Settings icon
.
- Click Choose what displays to set what visitors see on your live site:
- Icon only: Only the icon is displayed.
- Replace icon: Click the Replace icon
to choose a new icon for the menu button. You can choose from a variety of free options available from Wix, or upload your own.
- Accessible name: Enter the icon's accessible name into the field.
Note: This text allows screen readers to "read" the name and understand the button's purpose. It isn't displayed on your live site.
- Replace icon: Click the Replace icon
- Text only: Only text is displayed on the button.
- Text: Enter your chosen text into the field.
- Text and icon: Both text and an icon are displayed.
- Replace icon: Click the Replace icon
to choose a new icon for the menu button. You can choose from a variety of free options available from Wix, or upload your own.
- Text: Enter your chosen text into the field.
- Replace icon: Click the Replace icon
- Icon only: Only the icon is displayed.

Step 3 | Manage your menu items
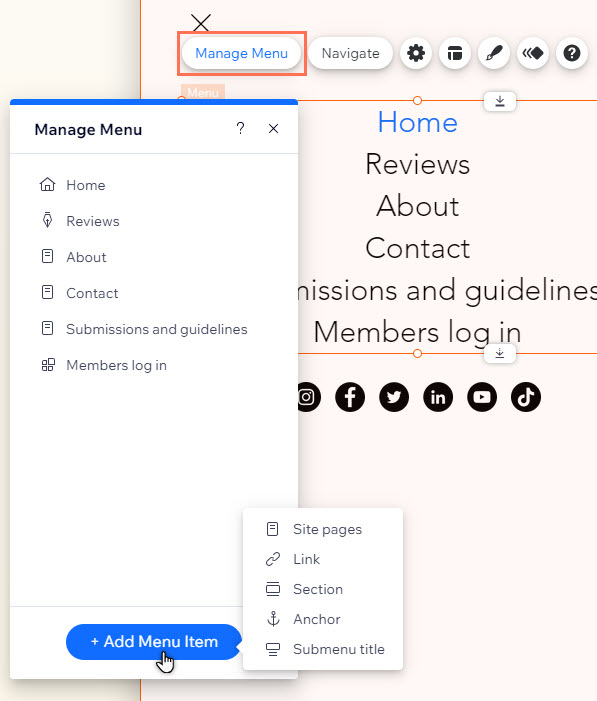
Choose which items you want to show in the menu. If you set the menu as advanced, you can show and hide items from the Manage Menu panel. If you do not enable advanced menus, you can make the desired changes from the Site Pages panel.
To manage your menu:
- Click the hamburger menu button on the page.
- Click Edit menu to open the menu's container.
- Select the menu items.
- Click Manage Menu.
- Use the options to manage the items:
- Add an item:
- Click Add Menu Item at the bottom.
- Select and set up the item type you want to add.
- Hide / Show an item:
- Advanced menus:
- Click the More Actions icon
beside the relevant item.
- Click Hide from menu
.
Note: To show an existing item in an advanced menu, you need to add it using the previous steps (Add an item).
- Click the More Actions icon
- Regular menus:
- Click the More Actions icon
beside the relevant item.
- Click Hide from menu
/ Show in menu
.
- Click the More Actions icon
- Advanced menus:
- Add an item:

Step 4 | Set up the container
Use the container settings to choose how your site pages look and behave when visitors open the menu.
To set up the container:
- Click the hamburger menu button on the page.
- Click Edit menu to open the menu.
- Click the container.
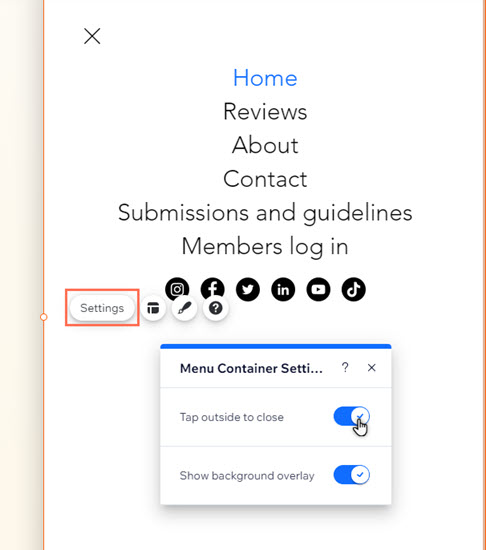
- Click Settings.
- Set up the container the way you want:
- Tap outside to close: Click the toggle to let visitors close the menu by clicking outside the container.
- Show background overlay: Click the toggle to display a background overlay on the site page when visitors open the menu.

What's next?
Customize the design and layout of your hamburger menu to make it look how you want.


