

Wix Automations: Adding a Delay in Automations
1 min
In this article
- Adding a delay
- FAQs
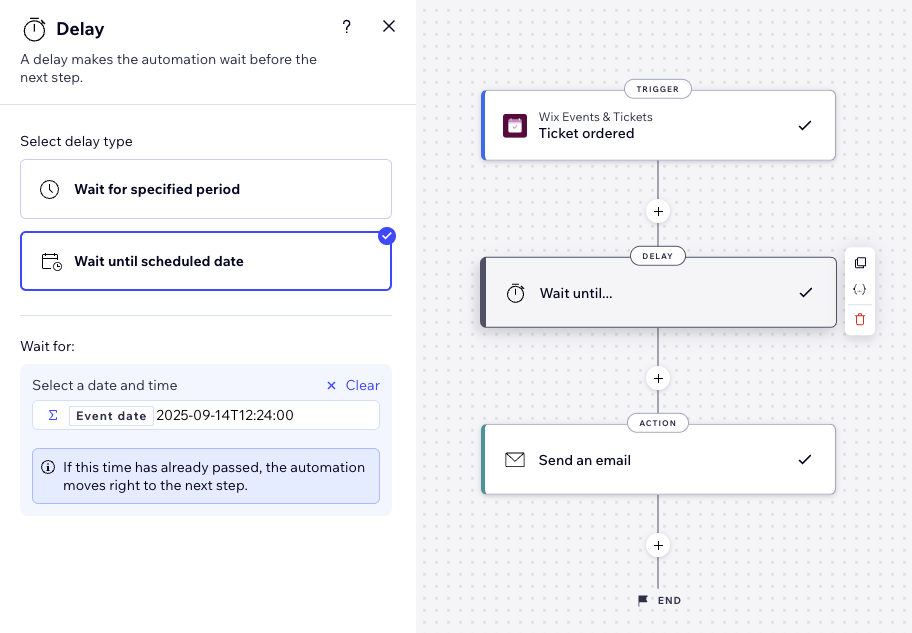
Add a time buffer between steps in your automation flow. For example, if your trigger is 'Customer abandons a cart' and your action is 'Send an email', you would want to delay the automation by sending this after a certain amount of time has passed.
Adding a delay
- Create a new automation or edit an existing automation.
- Click + to add a step.
- Click Delay.
- Choose how to set up your delay under Select delay type:
- Wait for specified period: Click the up and down arrows (or enter a number in the text box) and click the drop-down to choose between days, hours, and minutes.
- Wait until scheduled date: Set specific date and time or click Customize to use formula field to build your expression.
FAQs
Click a question below to learn more.
Can I change the delay?
Can I add more than one delay?
Where should I place delays?
