Verifying Your Site with Naver Webmaster Tools
2 min
In this article
- Step 1 | Get your meta tag from Naver
- Step 2 | Add the meta tag to your Wix site
- Step 3 | Complete site verification on Naver
Verifying ownership of your domain on search engines helps to improve your presence in search results. You can verify your site with Naver Webmaster Tools by adding a meta tag to your Wix site.
Important:
- You need to complete the steps in this article using the Korean language version of Naver. Translation tools such as Google Translate can prevent you from being able to complete the steps properly.
- It's currently not possible to verify free Wix URLs. You can only verify custom domains.
Step 1 | Get your meta tag from Naver
First, you need to get a meta tag for your site from your Naver Webmaster Tools account.
To get your meta tag:
- Sign in to Naver Webmaster Tools account.
- Enter your website URL under Site Registration.
- Click the Add icon
 .
. - Select HTML tag (태그).
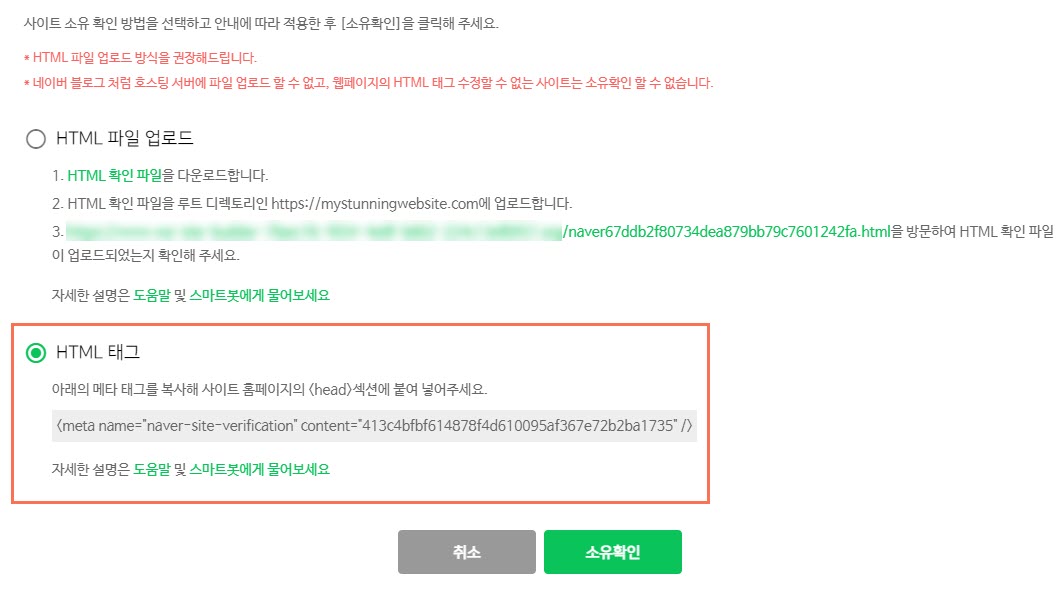
- Copy your meta tag.
- Leave Naver Webmaster Tools open.
Step 2 | Add the meta tag to your Wix site
Next, you need to add the meta tag from Naver Webmaster Tools to your Wix site using the Site Verification tool.
To add your meta tag:
- In a new tab, go to SEO & GEO in your site's dashboard.
- Scroll down to Tools and settings.
- Click Site Verification.
- Click on Naver Webmaster Tools to expand.
- Enter your meta tag under Site verification tag.
- Click Save.
Step 3 | Complete site verification on Naver
The final step is to use Naver Webmaster Tools to verify the meta tag that you've added to your site.
To verify your site:
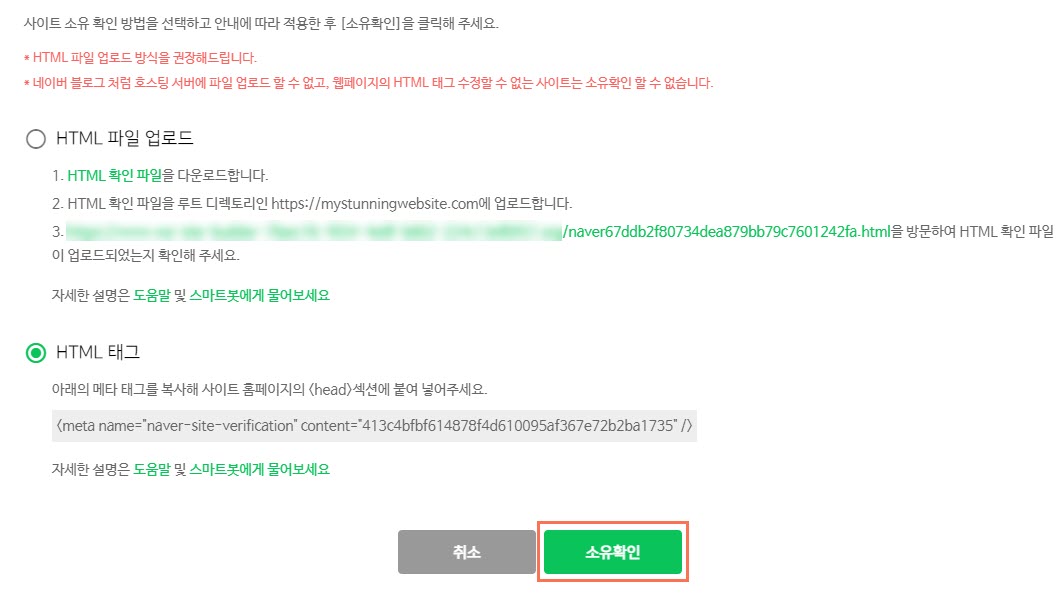
- Return to Naver Webmaster Tools.
- Click 소유확인 (Ownership Confirmation).
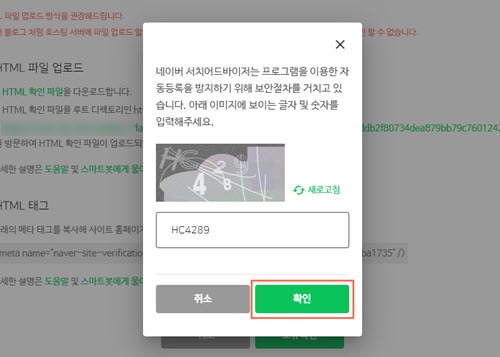
- Enter the numbers and letters show in the pop-up.
- Click 확인 (Confirm).