Wix Multilingual: Using Multi-State Boxes to Switch From LTR to RTL
11 min
In this article
- Step 1 | Add a multi-state box in your site's main language version
- Step 2 | Change the current state's name
- Step 3 | Duplicate the state and rename it
- Step 4 | Adjust your box in the secondary language
Warning:
Your site's SEO will be negatively impacted by adding multi-state boxes because search engine bots cannot read the boxes' content.
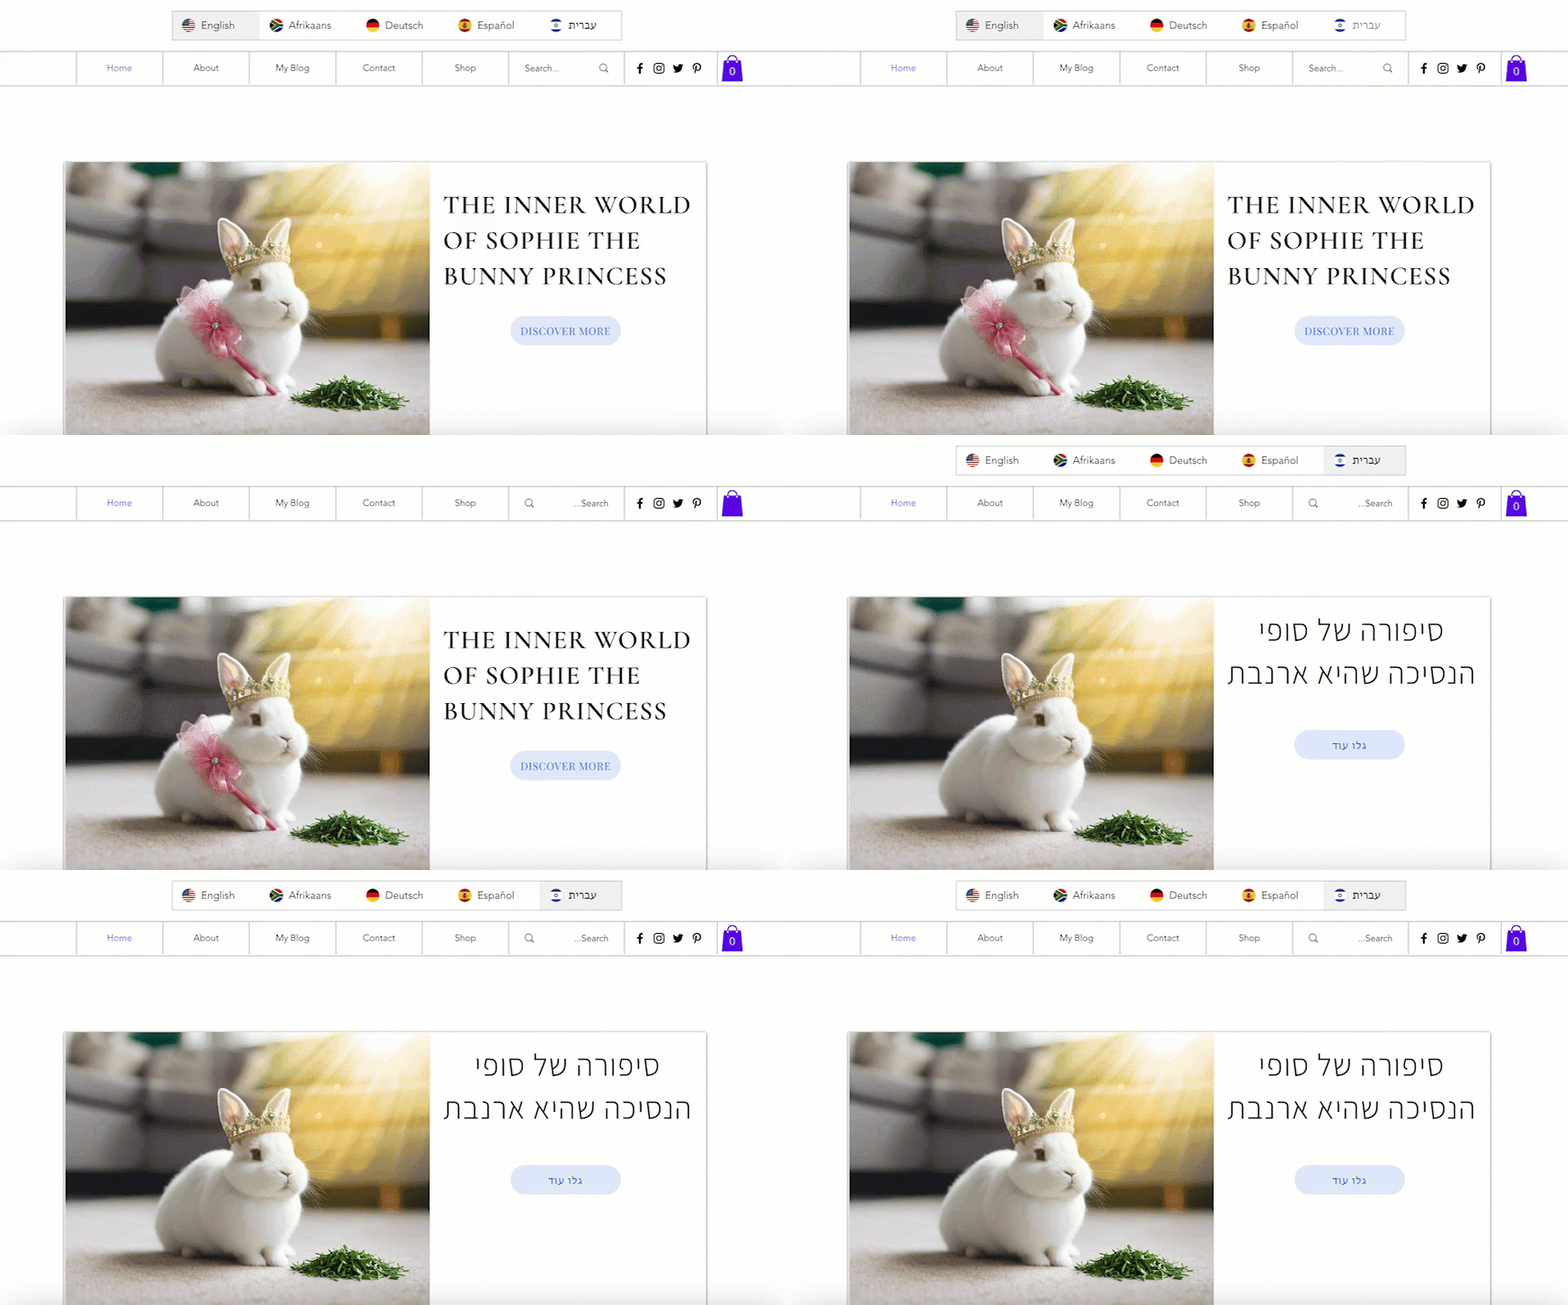
Some languages like English are written from left-to-right (LTR), while others like Hebrew are written from right-to-left (RTL). If your multilingual site supports both types, you can add multi-state boxes that display different content based on the selected language. This allows you to create a different 'state' for each language and tailor the design individually.
Step 1 | Add a multi-state box in your site's main language version
The first step is adding a blank multi-state box to your site in your main language. Design it for that language, adding text, images, buttons or any element you need.
Wix Editor
Studio Editor
Before you begin:
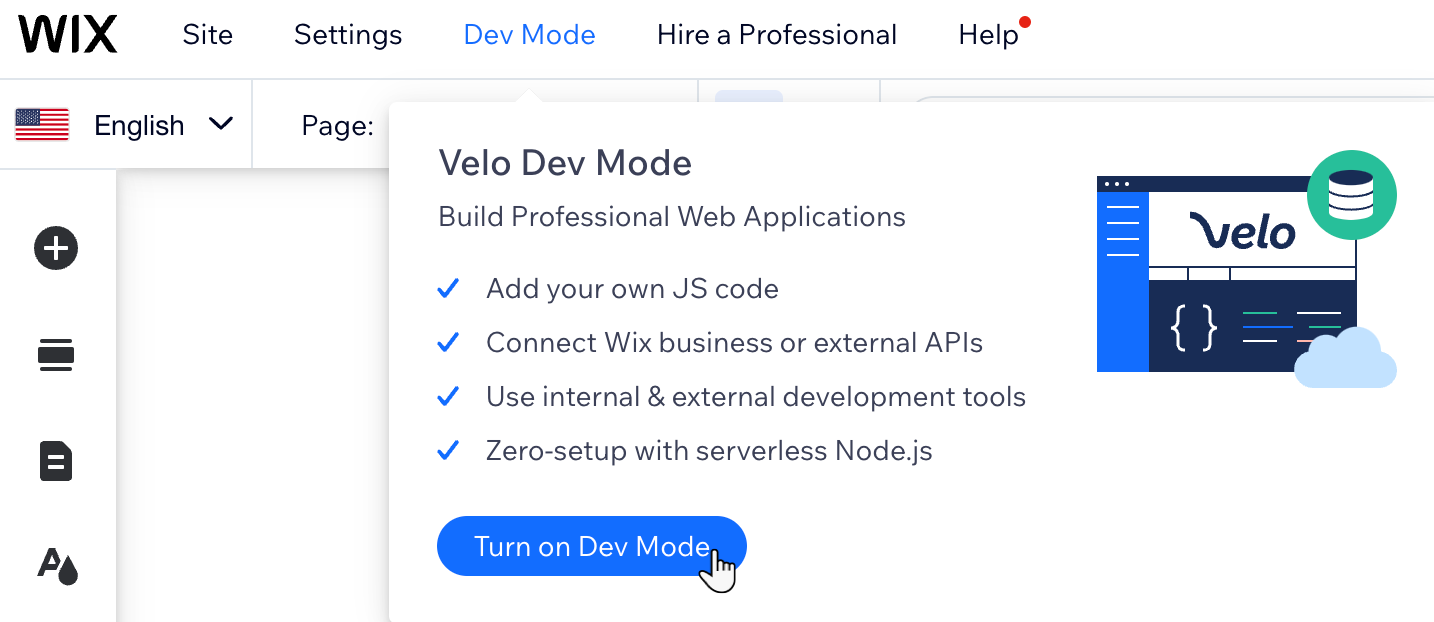
Make sure you've added Wix Multilingual to your site and enabled coding.

- Go to your editor.
- Click Add
 on the left side of your editor.
 - Click Box.
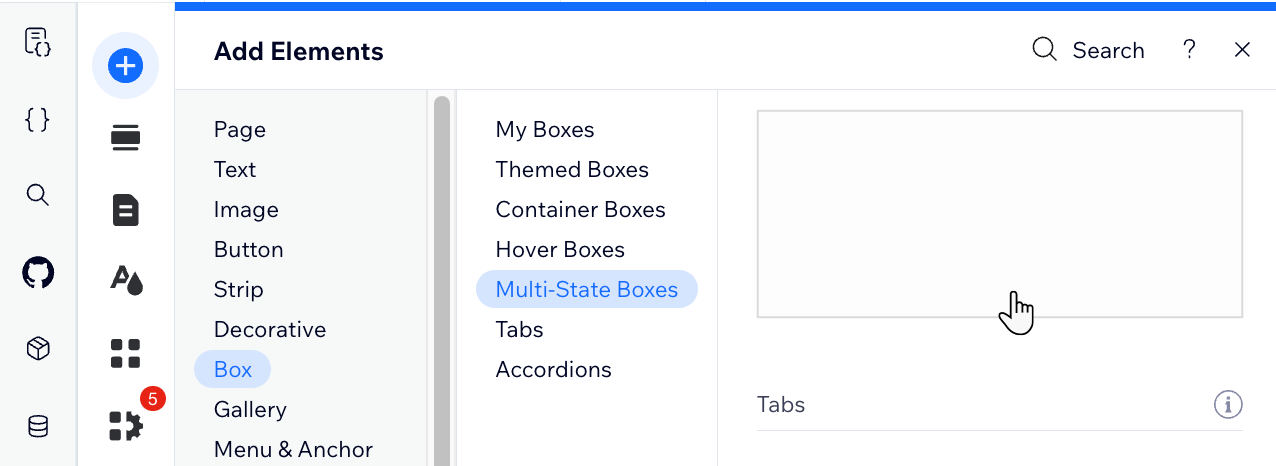
- Click Multi-State Boxes.
- Drag the Blank multi-state box to the relevant location on your page.
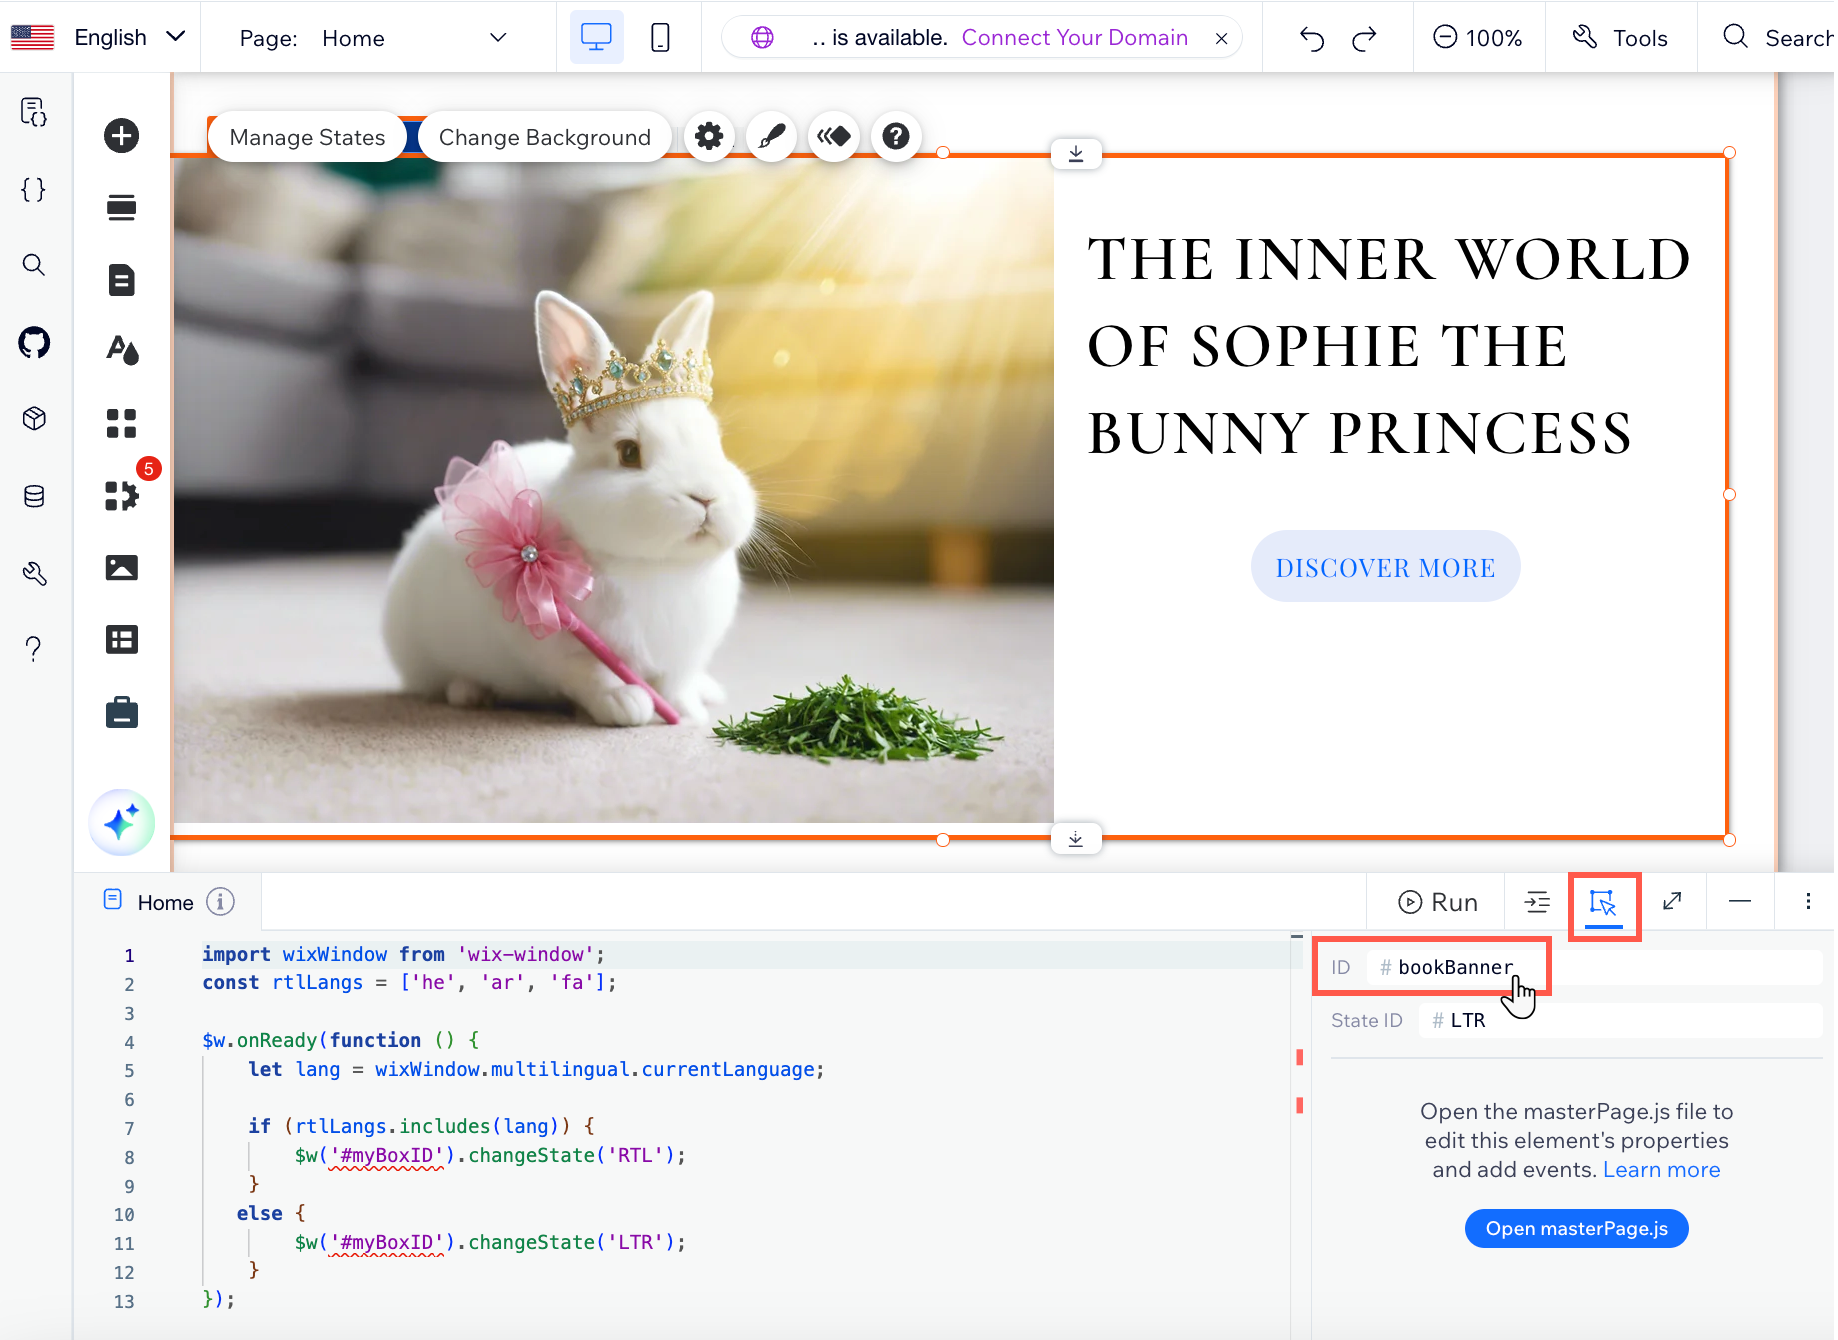
- Change your box's default ID to a meaningful name:
- Click Page Code
 on the left side of your editor.
 - Click Home.
- Click the Properties Panel icon
 in the page code tab.
 - Select your multi-state box.
- Enter a meaningful name for your box in the ID text box.
- Click Page Code
- Add elements to the box and design it as you wish.
Step 2 | Change the current state's name
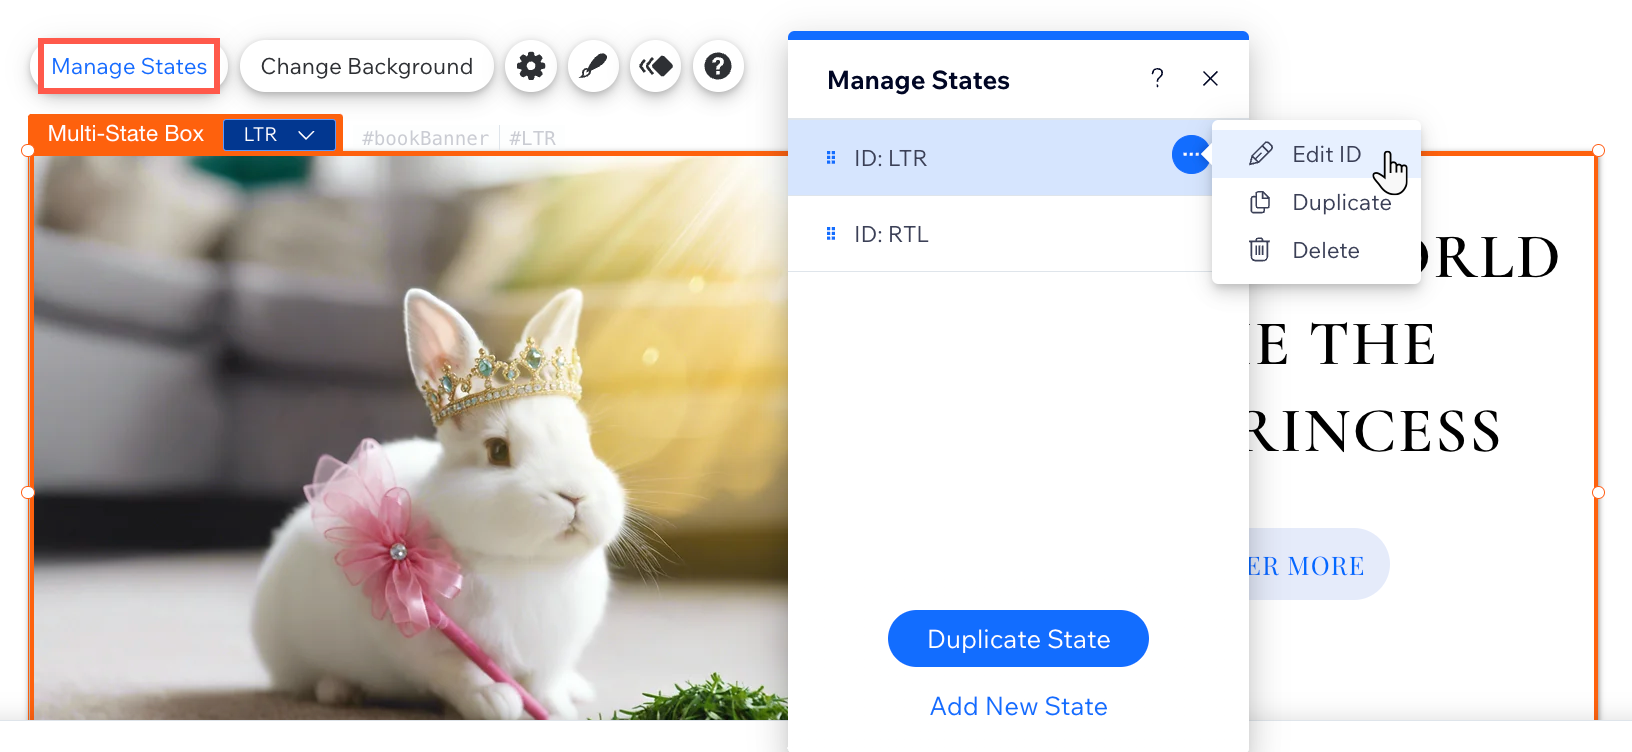
Once your box is ready in your main language, open the Manage States panel to rename the current state. Call it "LTR", in that exact spelling and capitalization (without the quotation marks), to ensure the code you'll add functions properly.
Wix Editor
Studio Editor
- Select your multi-state box.
- Click Manage States.
- Click the More Actions icon
 next to the current state's name.
 - Select Edit ID.
- Type "LTR" in the text box and click Done.
Note: If your primary language is RTL, name the state RTL instead. - Click the More Actions icon
 next to other states and select Delete to remove them.
Step 3 | Duplicate the state and rename it
After creating the "LTR" state in the Manage States panel, duplicate it and call the new one "RTL". Similarly to the first step, it's important that you call it "RTL", in that exact spelling and punctuation, so the code works as it should.
Wix Editor
Studio Editor
- Select your multi-state box.
- Click Manage States.
- Click the More Actions icon
 next to the current state's name.
 - Select Duplicate.
- Click the More Actions icon
 next to the duplicate state.
 - Select Edit ID.
- Type "RTL" in the text box and click Done.
Note: If your secondary language is LTR, change the state's name to LTR instead.

Step 4 | Adjust your box in the secondary language
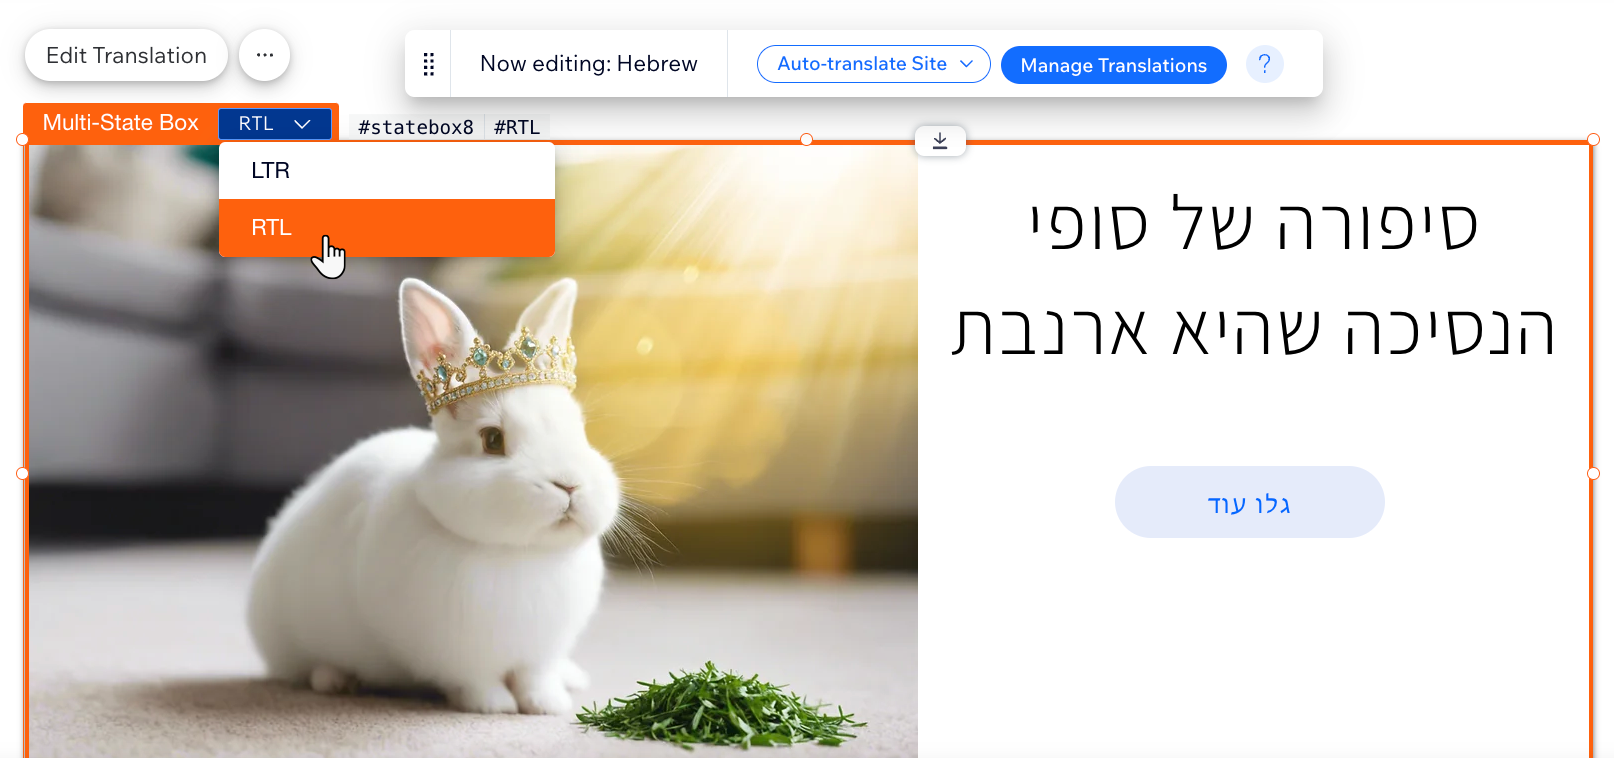
Now, your multi-state box is set up and ready for translation. Switch to your RTL language, change the state to RTL and start localizing your content. You can reorganize the placement of the elements without affecting their placement in the original state. Then, copy the code snippet to your page's code.
Wix Editor
Studio Editor
- Click the Switch languages drop-down menu at the top of the editor.
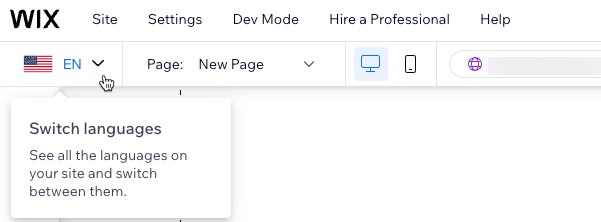
- Select the RTL language you want to edit.
- Click the multi-state box drop-down and select the relevant state of the box.
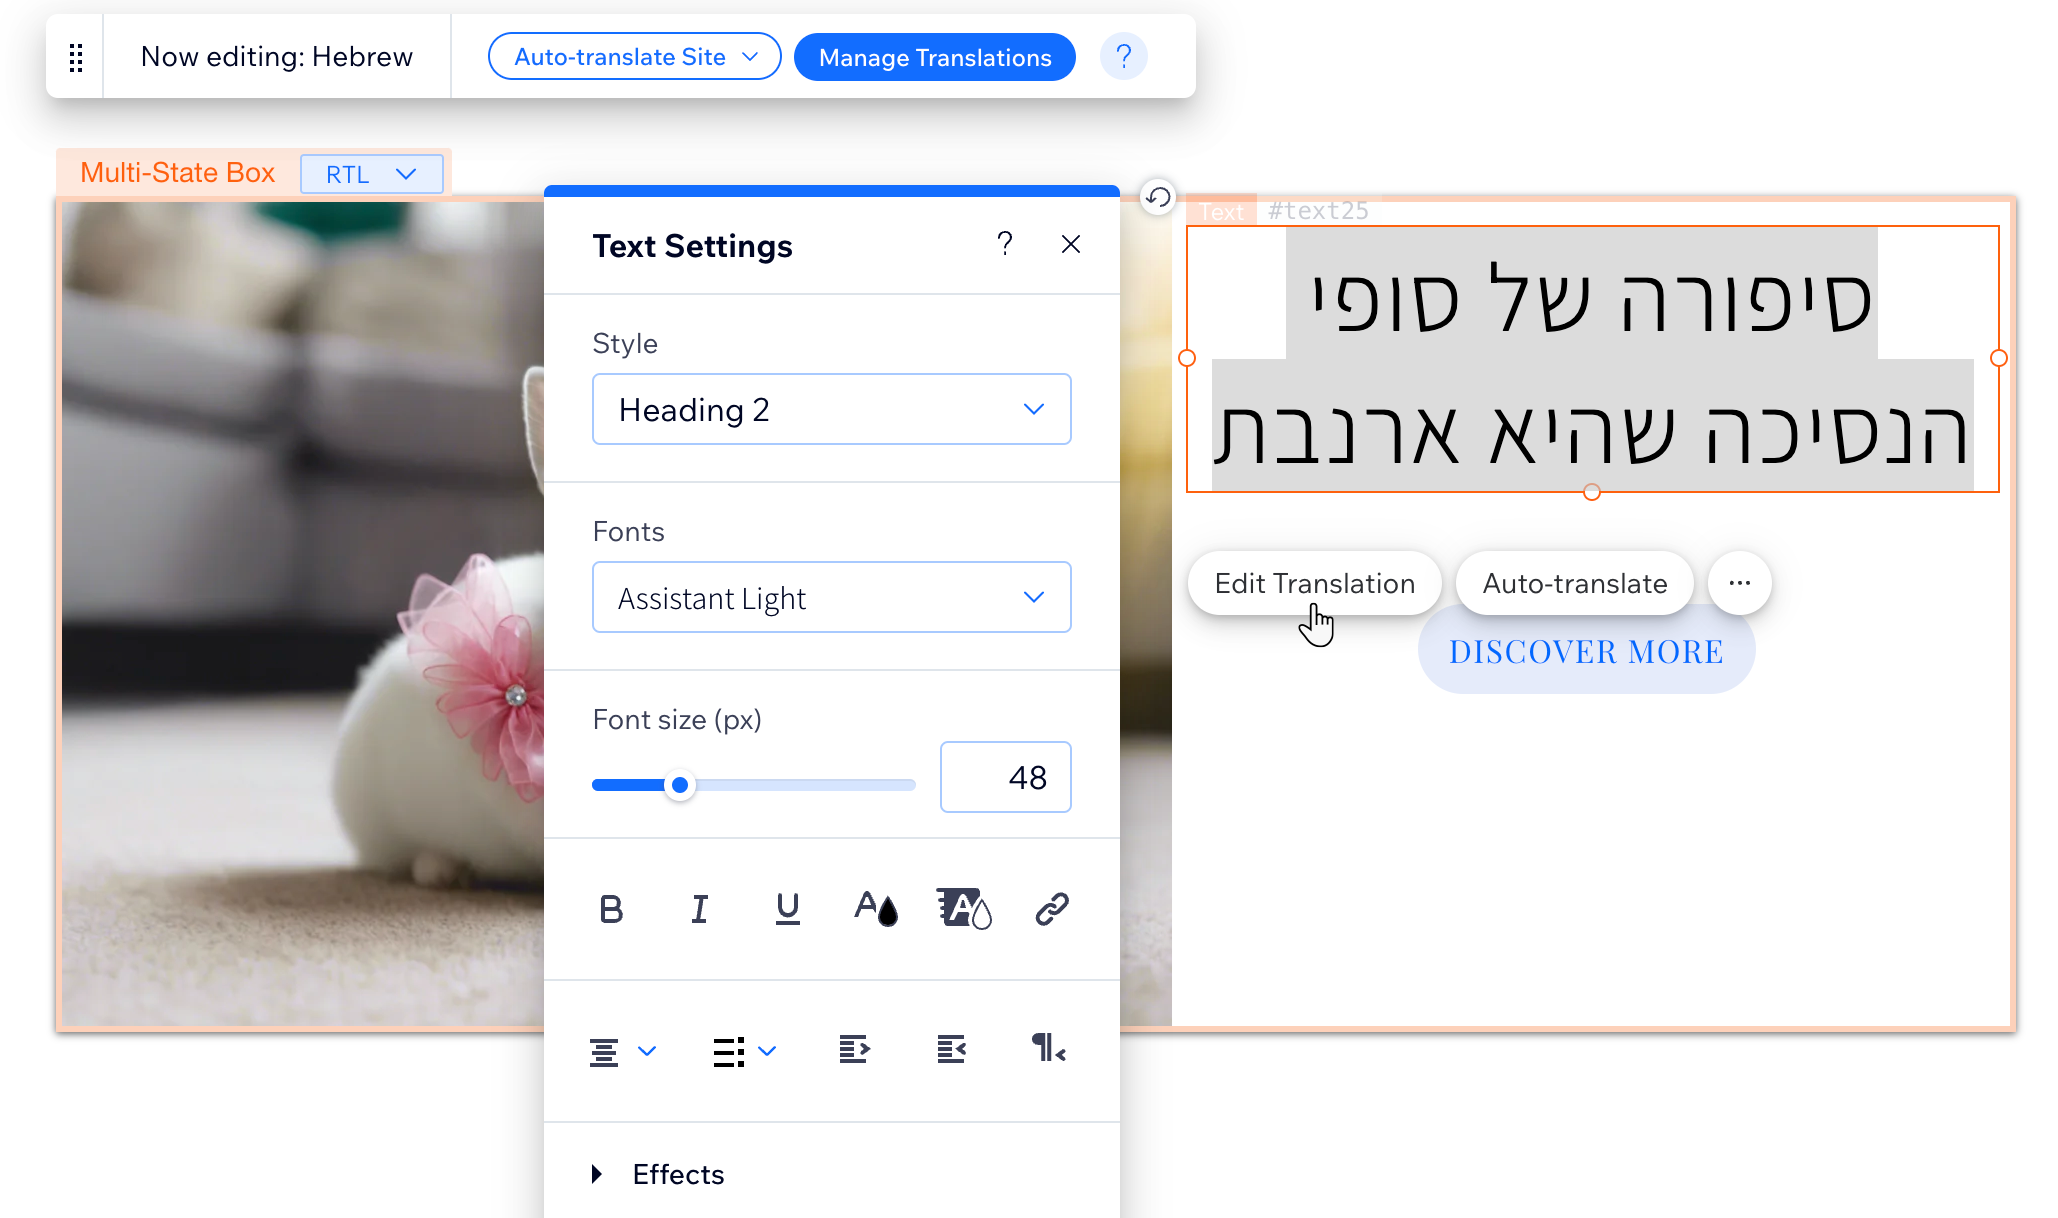
- Select the element in the box that you want to translate:
- Text: Click Edit Translation or Auto-translate to translate the text. Then, click the Change text direction icon
 in the Text Settings panel to switch the text direction.
 - Images: Click Edit Translation, then click Change to choose a different image for the RTL version of your site.
- Text: Click Edit Translation or Auto-translate to translate the text. Then, click the Change text direction icon
- Add the following code in the properties panel:
- Click Page Code
 on the left side of your editor.
 - Click Home.
- Click the Properties Panel icon
 in the page code tab.
 - Select your multi-state box.
- Copy the following code snippet below and paste it at the top of the coding panel.
- Click Page Code
1import wixWindow from 'wix-window';
2const rtlLangs = ['he', 'ar', 'fa'];- Add the following code to your onReady function:
Important:
- Be sure to replace the placeholder IDs with the ID you created earlier.
- The onReady function is written for your convenience, if you already have this function, add only the code within the first to last braces { }.
1$w.onReady(function () {
2    let lang = wixWindow.multilingual.currentLanguage;
3
4    if (rtlLangs.includes(lang)) {
5        $w('#myBoxID').changeState('RTL');
6    }
7   else {
8        $w('#myBoxID').changeState('LTR');
9    }
10});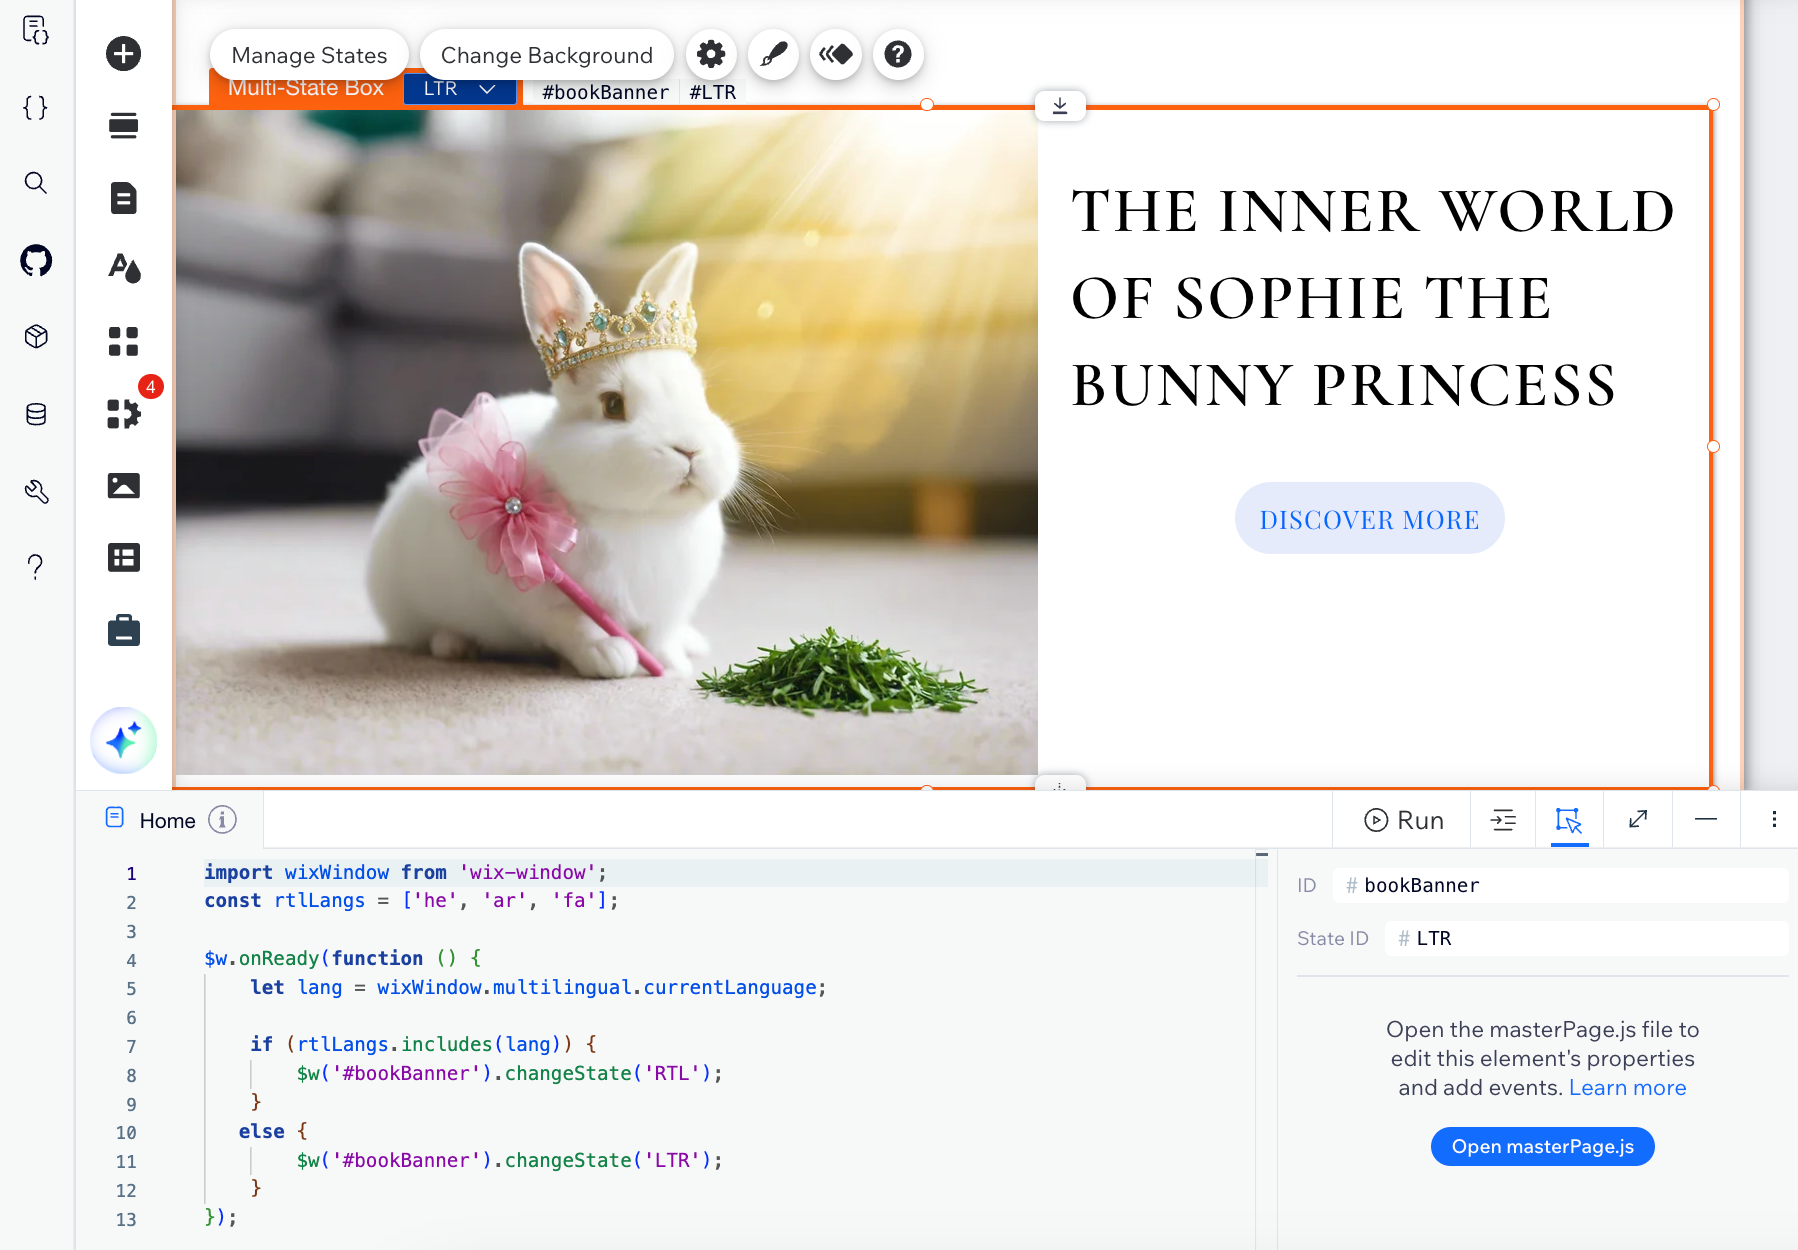
- Click Preview to test your multi state box.
- Publish your site when you are ready to make the changes go live.
Would you like to see additional RTL capabilities?
With Wix Multilingual, you can create a multilingual site with right-to-left content. Currently, you can customize some aspects of your site like the menu, text, and images to be RTL per language (e.g., Hebrew, Arabic).
What additional RTL capabilities would you like to see in Wix Multilingual? Contact Customer Care with your feedback and suggestions.


