

Studio Editor: Stacking Elements
7 min
In this article
- Applying a stack
- Switching between horizontal and vertical stack
- Managing a stack
- Designing a stack
- Adjusting the stack layout
Stacking elements is a quick way to organize your design with consistent spacing, creating a clean and polished layout. A stack is a flexbox container that "hugs" a group of elements—ensuring they stay in order (with the spacing you define), and never overlap.
Having said that, you can use negative margins to make elements overlap intentionally.
Dealing with overlapping elements?
Review our troubleshooting video to learn what to check and how to resolve this issue.
Applying a stack
When elements are placed next to each other (in the same parent element), the option to stack them appears. Based on the order you place elements in, you can stack them either horizontally or vertically.
Good to know:
- If the elements are placed in a square shape (e.g. 2 x 2 elements), both the vertical and horizontal stack options are available for you to choose from.
- You can use the Responsive Checker to spot opportunities to stack adjacent elements, ensuring they never accidentally overlap.
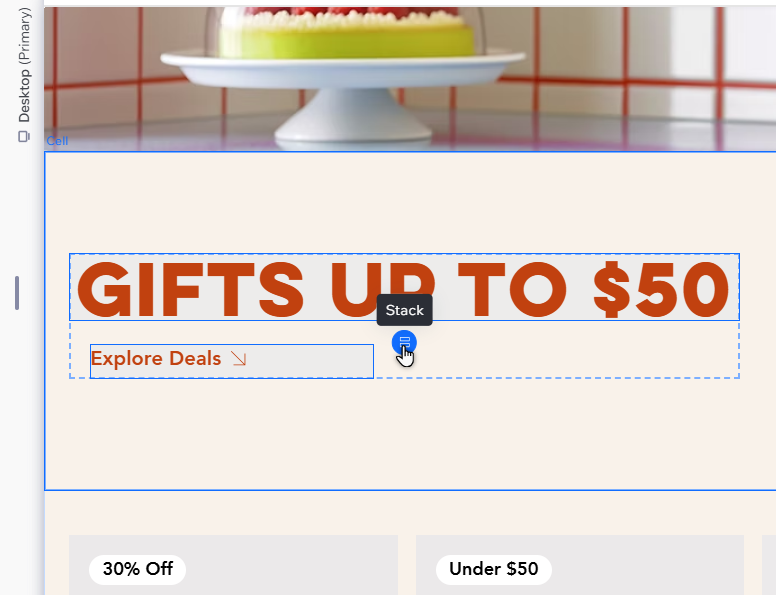
To apply a stack:
- Go to your editor.
- Align the elements you want to stack together.
- Select one of the elements.
- Hover over the Stack icon
(horizontal) /
(vertical) to preview how the stack will look.
Note: The available stack icons (horizontal or vertical) depend on how you've aligned the elements. - Click the Stack icon to apply it.
- (Optional) Drag the line between the elements to set margins.
Did you know?
- You can also stack elements by multi-selecting them on the canvas, and clicking Stack in the Inspector.
- You can create negative margins to make elements overlap intentionally.
Switching between horizontal and vertical stack
Don't like the layout of a stack? You can always switch it from horizontal to vertical (and vice versa) to align them how you want. This automatically rearranges the elements so they're in the right order.
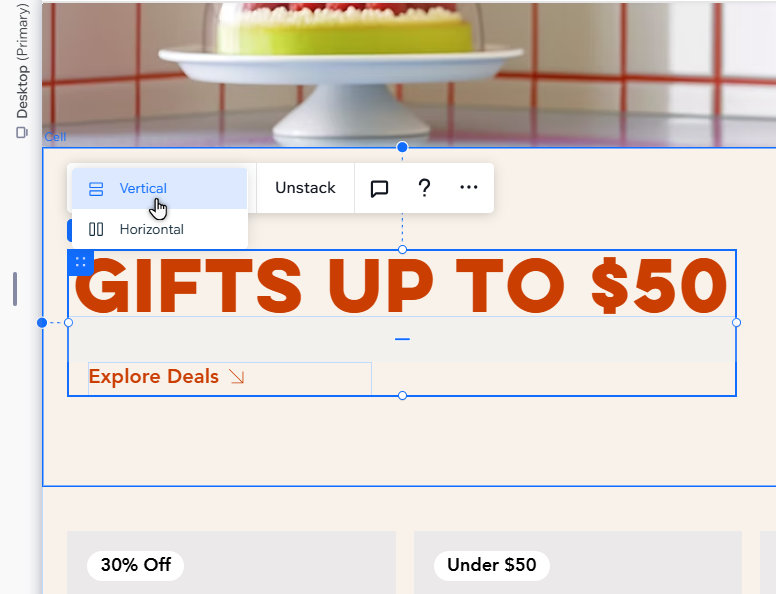
To switch a stack's layout:
- Select the stack in your editor.
- Click the dropdown.
- Select Horizontal or Vertical.
Managing a stack
You can customize the stack to match new content and requirements. Add more elements to the stack, move them around in a click of a button, and detach elements that are no longer needed.
To manage a stack:
- Go to your editor.
- Select the relevant stack.
- Choose what to do next:
Add an element to the stack


Detach an element from the stack
 . Then, click Detach from Stack.
Reorder elements in the stack
 / Move Down
  , or the Move Left
  / Move Right
  icons.
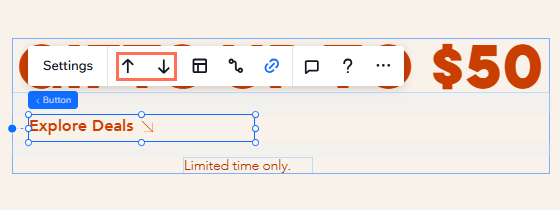
Unstack elements
Designing a stack
The stack does not have to be transparent – you can design it to make the content stand out on the page. Add a background color, border and shadow. You can also make the stack corners more round or square.
To design a stack:
- Go to your editor.
- Select the relevant stack.
- Click the Open Inspector icon
 at the top right of the editor.

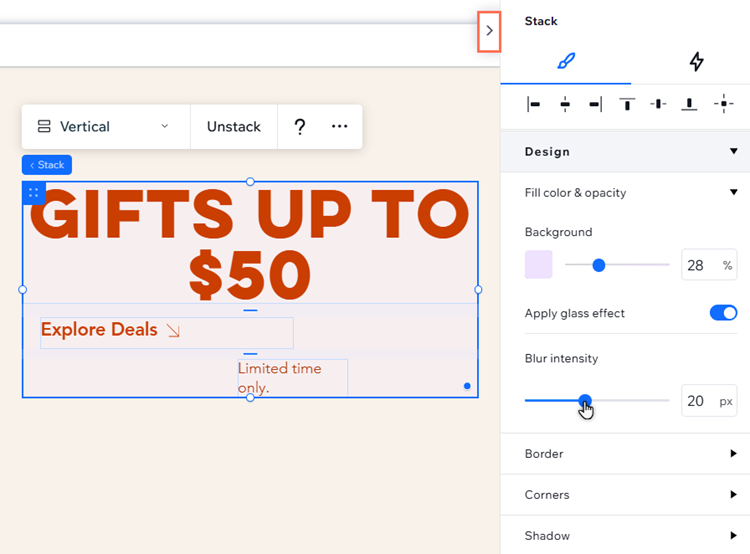
- Use the available options under Design to customize the stack:
- Set the background color. You can also adjust its opacity, and add a glass effect.
- Add a border to frame the stack.
- Choose a radius for the corners.
- Enable shadow and manage settings like its angle, distance, size, etc.
Tip: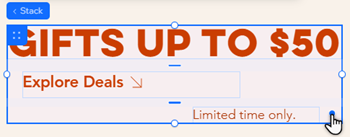
You can also adjust the corners of the stack by dragging the radius handle on the canvas.
Adjusting the stack layout
Adjust the stack layout to ensure that every element is spaced, aligned, and padded in a way that suits your creative vision or client’s needs.
To adjust the stack layout:
- Go to your editor.
- Select the relevant stack.
- Click the Open Inspector icon at the top right of the editor.
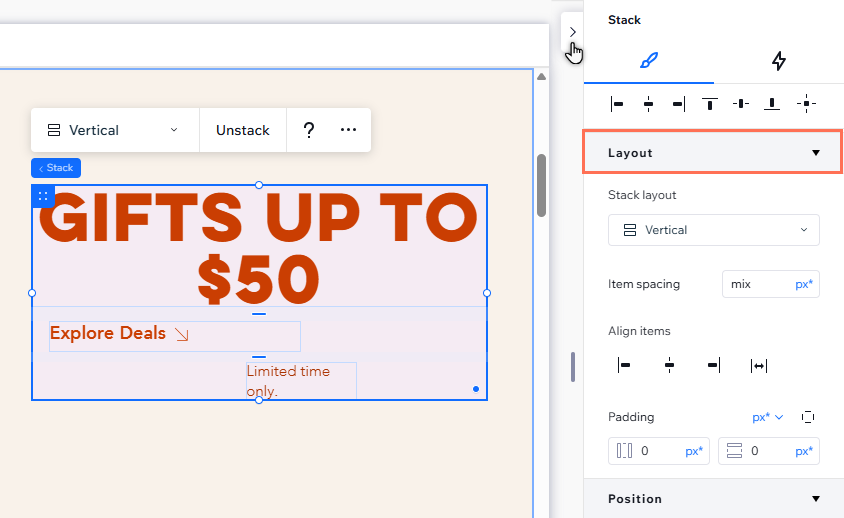
- Scroll down to Layout.
- Use the available options to adjust the stack layout:
- Switch the stack layout from Horizontal to Vertical or vice versa.
- (Horizontal only) Switch the direction from Left to Right to Right to Left or vice versa.
- Enter a value under Item spacing to create equal margins between the stack elements (i.e. items).
- Choose an alignment for the stack items: Left, Right, Center or Justified.
- Add padding to the sides.
Did you know? 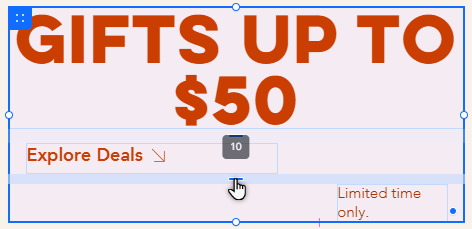
You can adjust the padding and spacing directly on the canvas. Drag the line between elements, or double-click the line if you prefer entering a precise value. You can even switch the size unit if needed.
